
How to Test a Magnetic Ballast
Magnetic ballasts are an integral part of fluorescent lighting, but they can also be used for other applications. For example, if you have a magnetic ballast and an old light fixture in your home that came with it, you could replace the light bulb with a new energy-efficient one to create more savings on your electricity bill.
In these blog posts, we will discuss how to test a magnetic ballast. It provides information about trying a magnetic ballast before disposal and what type of lights work best with them. So read on if you’re interested in this topic!
Summary: To test a capacitor-based magnetic ballast, you will need a voltmeter, ammeter, and ohmmeter. First, connect the voltmeter to the power supply and set it to measure DC volts. Next, connect the ammeter to the ballast terminals and set it to measure amps. Finally, connect the ohmmeter to the ballast terminals and set it to measure ohms.
Why do You need to Test Magnetic Ballast?
Magnetic (or inductive) ballasts work in conjunction with a standard light bulb to control the amount of electricity entering the lamp by interrupting it on and off. It differs from electronic ballast in that it does not contain any semiconductors or electron tubes but instead is made up of iron-core coils driven by a high-frequency alternating voltage.
Because magnetic ballasts are usually found in older homes, the most common type of magnetic ballast is nonpolarized. Therefore, it will fit any light fixture with similar characteristics of not require any current limiting device. However, some manufacturers produce polarized or electronic ballasts that will only work with fixtures that are of the same make/model.
Types of Magnetic Ballasts:
Magnetic ballasts are used in all types of fluorescent lamps. These fluorescent fittings use magnetic ballasts to control the flow of electricity through the tube’s filaments. The following are some types of magnetic ballasts:
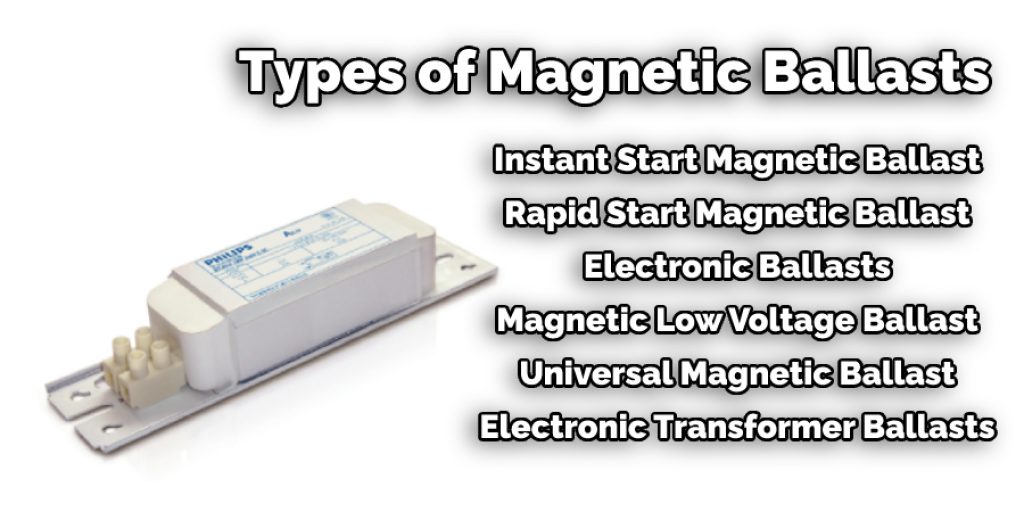
- Instant start magnetic ballast: This kind is often used for general purposes, high wattage applications and operates at a maximum of two lamps per ballast.
- Rapid start magnetic ballast: It is commonly used in energy-saving, high-frequency electronic equipment and operates at a maximum of one lamp per ballast.
- Electronic Ballasts: These types might affect the regular operation of some dimmers or 3-way wiring systems, so it’s essential to consult with a lighting specialist before using them.
- Magnetic Low Voltage Ballast: This kind is often used for special purposes, such as in miniature lamps, and operates at a maximum of one lamp per ballast.
- Universal magnetic ballast: It can be used for various applications and operates at a maximum of two lamps per ballast.
- Electronic transformer ballasts: These are often used in household appliances and operate at a maximum of one lamp per ballast.
Tools You’ll Need:
- Wire cutters
- Hobby knife
- Ammeter/Multimeter
- Philips head screwdriver
- Small rubber hammer
Step by Step Guide: How to Test a Magnetic Ballast
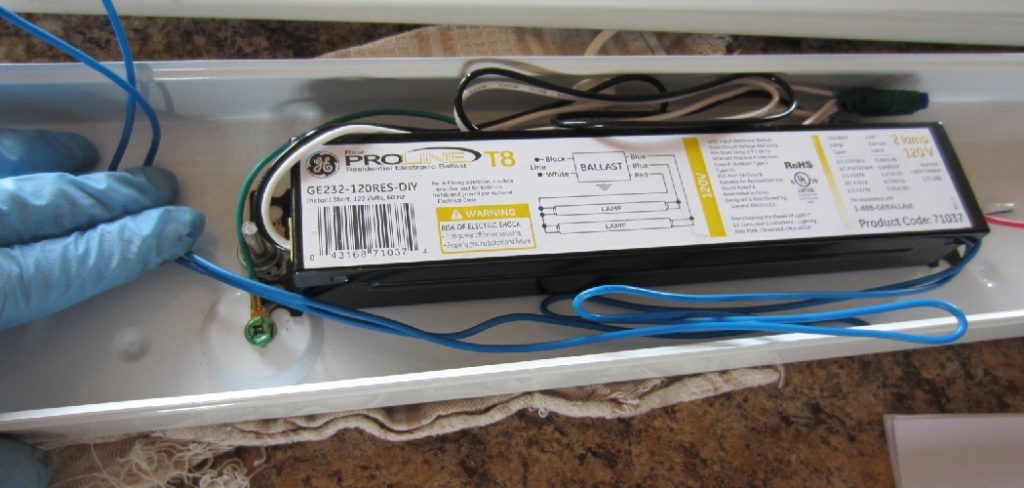
A magnetic ballast provides the startup current required for fluorescent light. It also regulates current and prevents the tube from overheating. If a fluorescent light flickers or fails to start, it is likely due to a problem with the ballast.
Performing resistance checks and ensuring there are no broken wires in the coil are some ways to test the condition of the ballast. Here are some steps we have provided to check a magnetic ballast.
Step 1: Remove Fixture From Electrical Outlet
Disconnect the fluorescent light fixture from the electrical outlet. The ballast of a fluorescent light typically hangs behind the light, connected to the ends of the electrical wiring.
Step 2: Test Ballast Inductance With Multimeter
Testing inductance is necessary to determine if you have an operating ballast. Turn the power switch off to ensure no electricity runs through your ballast when you complete the tests.
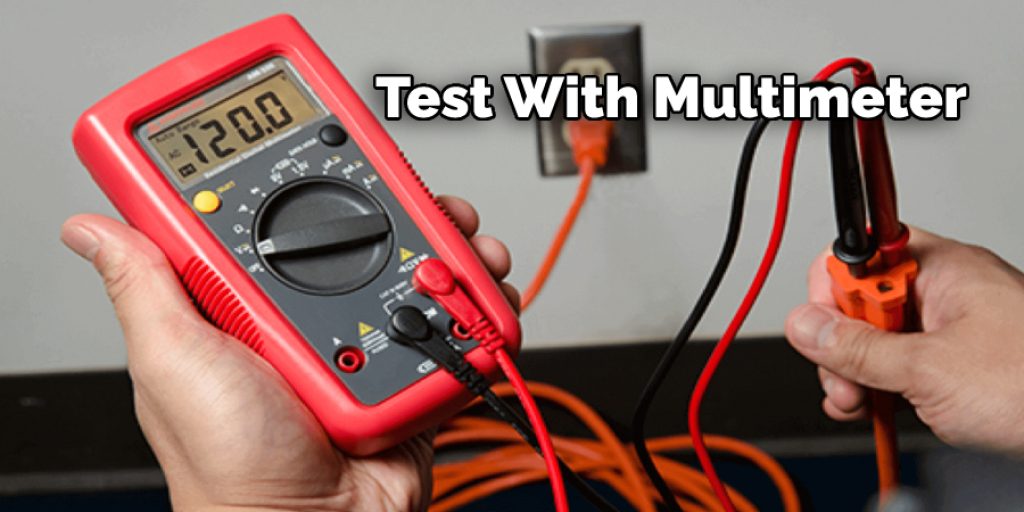
Step 3: Place Multimeter Probe on Both Ends of Inductor Wires
The wire ends which connect to the electrical wiring of a fluorescent light fixture are called “inductors.” Place one probe on each inductor wire so that the multimeter is in continuity test mode.
Step 4: Turn Power On While Multimeter Checks for Continuity
Turn the power switch back on. Watch the multimeter for continuity while it checks each inductor wire. The multimeter will display a reading confirming that the circuit has continuity if the ballast is not defective. If you have an open circuit or very little resistance, your magnetic ballast is defective.
Step 5: Test Ballast Resistance
If the ballast reads as an open circuit, your ballast likely has a broken coil inside of it. If you have continuity but very little resistance across the inductors, this indicates that your ballast is good, but the fluorescent lights flicker. Reinstall the fluorescent light to continue testing for proper operation.
Step 6: Test Resistance Between Wires
If you have continuity but very little resistance across the inductors, this indicates that your ballast is good, but the fluorescent lights flicker. This can be fixed by replacing the indicator lamp instead of repairing the ballast.
Step 7: Replace the Ballast If It Is Defective
Reassemble the fluorescent light fixture. If your magnetic ballast is still defective after completing these tests, replace it before installing the fluorescent light back in its original location.
Some Tips and Suggestions:
- If you don’t have a meter, look for the stamped metal “ballast tag” on your ballast when in doubt. The tag will usually list the primary and secondary voltage and even the coil resistance and maximum wattage.
- . If you have an ohmmeter, you can get a quick approximation of the coil resistance by measuring from each wire at either end of the coil. For example, a 4-wire ballast should measure about 10 ohms from one wire to another.
- For a three-wire ballast, if you measure between two wires at either end of the coil, it will likely be about 6 ohms.
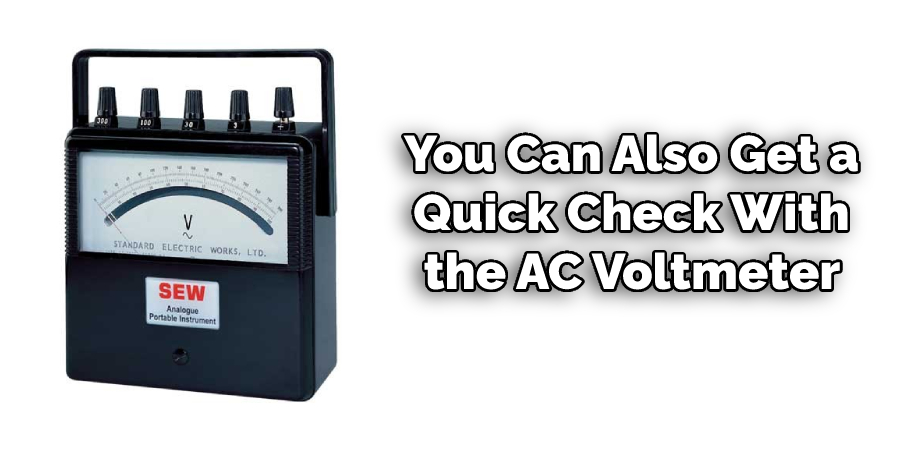
- You can also get a quick check on the ballast power supply if it has wiring terminals. If you have an AC voltmeter, plug it in to measure AC volts across the two screw-down wire terminals. It should read about 110-120 volts.
- To measure voltages on a ballast, you need to insert your meter leads in place of the 3-prong plug. It is usually more manageable if you use alligator clips on your testing leads so that they can clip easily around the screws or screw terminals on the ballast.
Conclusion:
A magnetic ballast is an essential part of any fluorescent light fixture. It contains the gas that gives off light when energized by electricity and must be tested at least every six months to ensure it’s functioning properly.
If you’re unsure how to test a magnetic ballast, read this full blog post for more information on what this entails. We have guided you through everything from opening up the device to examining its parts in detail so that you can make sure it’s working as fast as possible!
You Can Check It Out to : Find Ceiling Joist With Magnets


