How to Texture a Ceiling After Removing Popcorn
Do you find yourself standing in the middle of a room with popcorn textured ceiling wallowing in despair after realizing that it needs to be completely removed? Don’t worry, because you’ve come to the right place.
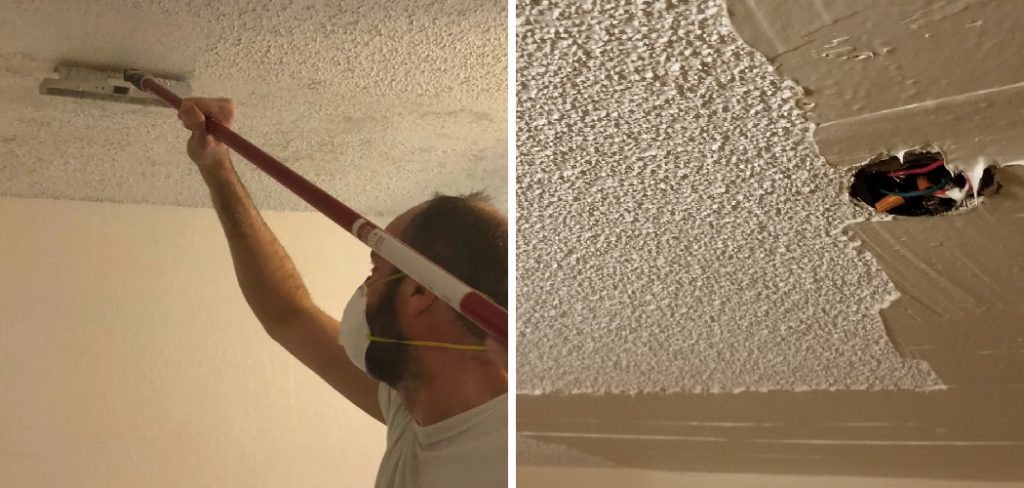
In this post on how to texture a ceiling after removing popcorn, we’ll walk through how to go about texturing a ceiling after removing popcorn and provide some insight into best practices for achieving the desired end result. With these pointers on hand, you can breathe new life into your room and turn it into an area that looks modern and attractive!
What is Popcorn Ceiling Texture?
Popcorn ceiling texture, also known as acoustic or cottage cheese ceiling, was popular in homes from the 1950s to the 1980s due to its cost-effectiveness. However, it has become less desirable over the years due to its outdated appearance and potential health risks associated with asbestos used in earlier versions. It is typically made by mixing drywall mud with water and then spraying it onto the ceiling in a lumpy texture.
10 Step-by-step Guidelines on How to Texture a Ceiling After Removing Popcorn
Step 1: Prepare the Room
The first step in texturing a ceiling after removing popcorn is to properly prepare the room. This includes covering floors and furniture with plastic sheets, removing light fixtures, and repairing any damage to the ceiling. You may also want to consider wearing protective gear such as goggles and a dust mask. It’s important to take these precautions to avoid any potential mess and keep yourself safe.
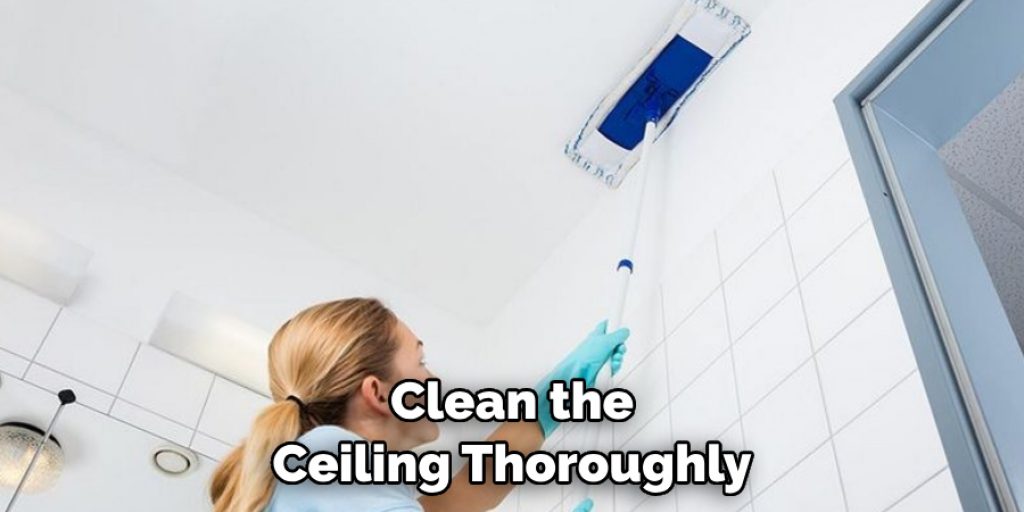
Step 2: Clean the Ceiling
Before applying texture, it is crucial to clean the ceiling thoroughly. Use a sponge or cloth with warm water and mild soap to remove any dirt, dust, or residue left over from removing popcorn. Rinse the ceiling with clean water and let it dry completely before moving on to the next step. Although it may seem like an extra step, cleaning the ceiling ensures a smooth and even texture application. It also helps the texture adhere better.
Step 3: Choose Your Texture
There are various techniques and materials you can use to texture a ceiling after removing popcorn. Some popular options include using drywall compound, joint compound, or textured paint. It’s important to consider the look you want to achieve and choose the right texture accordingly.
For instance, if you want a smoother texture, drywall or joint compound may be your best bet. If you prefer a more patterned or textured look, textured paint could be the way to go.
Step 4: Mix the Texture
If you’re using drywall or joint compound to texture your ceiling, mix it according to the instructions on the packaging. This usually involves adding water and stirring until you achieve a smooth, thick consistency. For textured paint, simply give it a good stir to ensure the texture is evenly distributed. You can also add paint colorant to the textured paint if you want a specific color for your ceiling.
Step 5: Test the Texture
Before applying texture to your entire ceiling, it’s always a good idea to test it out on a small area first. This will give you a chance to adjust the consistency and make sure you’re happy with the end result. If you’re using textured paint, you can also experiment with different application techniques to see which one gives you the desired texture. But keep in mind that the texture may look slightly different when applied to a larger area.
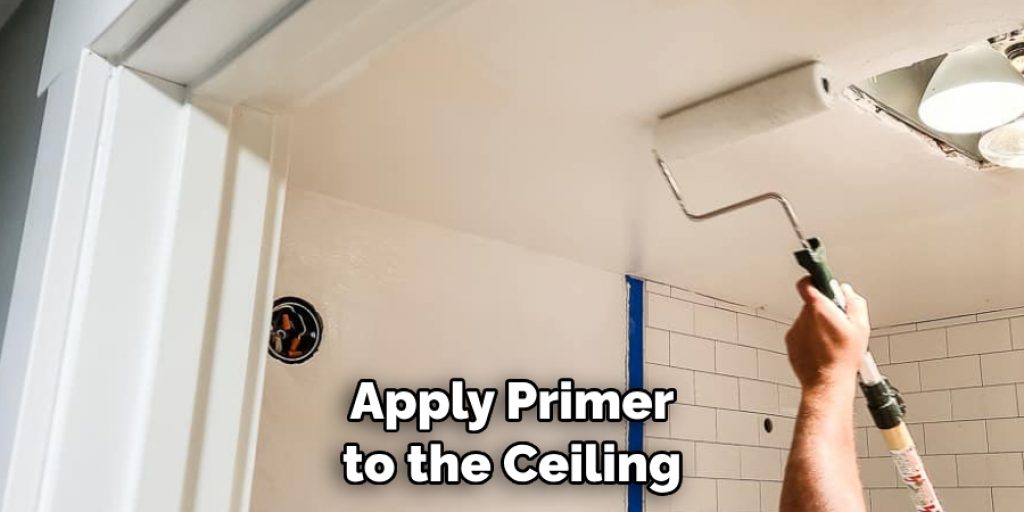
Step 6: Apply Primer
After the texture has been mixed and tested, it’s time to apply primer to the ceiling. This is important because it helps the texture adhere better and creates a smooth base for painting later on. Use a paint roller or paintbrush to apply primer evenly and let it dry completely according to the manufacturer’s instructions. You may need to apply a second coat for best results. It’s also a good idea to use a primer that is specifically formulated for textured surfaces.
Step 7: Apply Texture
Once the primer is completely dry, it’s time to apply the texture. This can be done using a variety of tools such as a trowel, brush, roller, or even a spray gun for larger areas. It’s recommended to work in small sections and use a consistent pattern or technique to ensure an even and cohesive look.
Don’t worry about getting it perfect as some imperfections can add character to the texture. This step may require some practice and patience, so don’t get discouraged if it doesn’t turn out exactly how you envisioned.
Step 8: Let it Dry
After applying the texture, let it dry completely according to the instructions on the product. This could take anywhere from a few hours to a full day depending on the type of texture used. It’s important not to rush this step as it can affect the final result and potentially cause cracks or bubbles to form. It’s also a good idea to keep the room well-ventilated during this time. But if you’re using a textured paint, this step may not be necessary as it typically dries faster.
Step 9: Sand and Touch-up
Once the texture is completely dry, lightly sand any rough spots or imperfections with fine-grit sandpaper. This will create a smoother surface for painting and help blend any areas that may have an uneven texture. You may also need to touch up any missed spots or areas with a different texture. You can do this by using a small brush or sponge and lightly dabbing the texture onto the desired areas.
Step 10: Paint the Ceiling
The final step in texturing a ceiling after removing popcorn is painting it. This will not only seal and protect the texture but also give your room a finished look. Choose a paint color that complements your room and use a roller or paintbrush to apply it evenly over the textured surface. You may need to apply multiple coats for full coverage, depending on the paint and desired look.
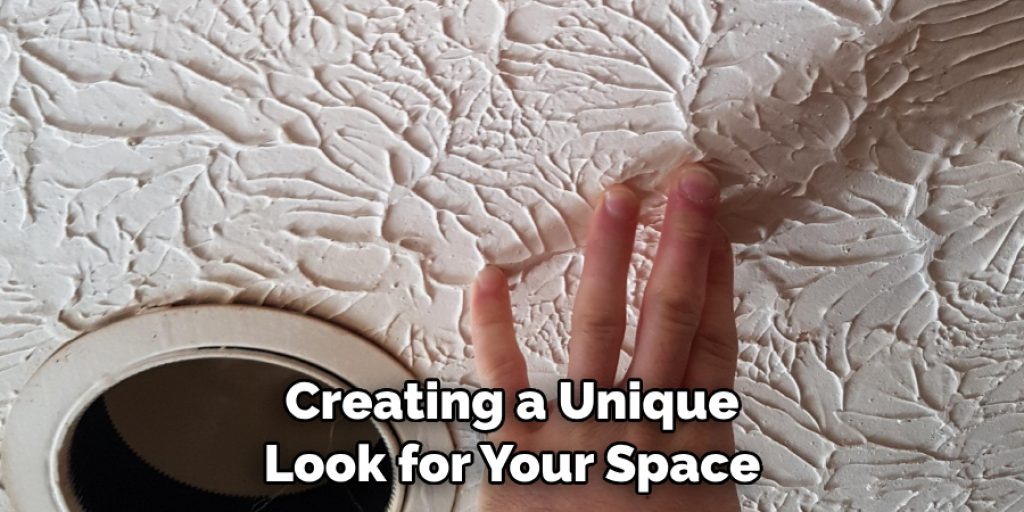
Following these step-by-step guidelines on how to texture a ceiling after removing popcorn can help you achieve a beautifully textured ceiling after removing popcorn. Remember to take your time, experiment with different techniques, and have fun creating a unique look for your space!
Some additional tips to consider include using a primer specifically made for textured surfaces, selecting the right type of paint for your chosen texture, and practicing on a scrap piece of drywall or cardboard before applying the texture to your ceiling.
How Much Could It Cost?
The cost of texturing a ceiling after removing popcorn will depend on various factors such as the size of the room, the type of texture used, and whether you hire a professional or do it yourself. If you choose to hire a professional, expect to pay anywhere from $1 to $3 per square foot for labor and materials. DIYers can save money by using household items such as a trowel, brush, or roller to apply the texture.
The cost of materials can range from $20 for a basic drywall compound to $50 or more for textured paint. You may also need to factor in additional costs for primer and paint if you don’t already have them on hand. Overall, texturing a ceiling after removing popcorn can be an affordable and rewarding DIY project that adds character and style to your home.
Frequently Asked Questions
Q1: Do I Have to Remove the Popcorn Texture Before Applying a New One?
It is not necessary to completely remove the popcorn texture before applying a new one, but it’s recommended to at least sand down any high spots and level out the surface for better adhesion.
Q2: Can I Texture Over the Painted Popcorn Ceiling?
Yes, you can texture over a painted popcorn ceiling as long as it is free of any cracks or peeling. Be sure to lightly sand the surface and clean it before applying the new texture. It’s also a good idea to use a primer for better adhesion.
Q3: Can I Use a Pre-Mixed Texture Product?
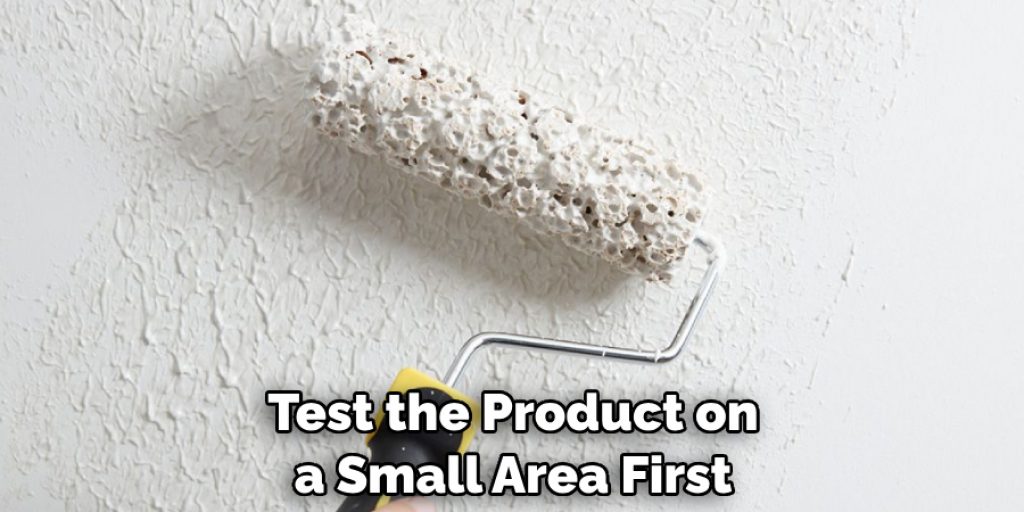
Pre-mixed texture products can be convenient and time-saving, but they may not offer as much customization as mixing your own texture. It’s up to personal preference and the desired end result. It’s always a good idea to test the product on a small area first before applying it to the entire ceiling.
Conclusion
Do you need to know how to texture a ceiling after removing popcorn? If so, don’t worry – you’ve come to the right place! In this blog post, we will show you exactly how it’s done by providing step-by-step instructions. Texturing your ceilings can add visual interest and value to any room in your home. You may be wondering why anyone would go through the hassle of removing popcorn from their ceilings and then replacing it with another type of texture.
Well, apart from simply wanting an updated look for their ceilings, people remove popcorn because of deterioration or possible health risks associated with asbestos exposure in some older homes. So if you are ready for a new textured ceiling – let’s get started learning what supplies you’ll need and the steps involved in creating beautiful results!

