How to Make Sewing Machine Belt
Learning how to make a sewing machine belt is a valuable skill for any sewer. Not only is this an easy project, but it can also save you money if your belt snaps or wears out. In this blog post, we’ll walk you through the steps of how to make sewing machine belt.
If your sewing machine is not working correctly, the belt may be the problem. A broken belt can cause many issues, including the engine not running at all. This article will learn how to make a sewing machine belt. This is a relatively easy process that requires few tools and supplies. You can complete this project in just a few minutes. So let’s get started!
10 Ways on How to Make Sewing Machine Belt
1. Use Elastic in Belt Casing
This is the easiest method for creating a belt. You will need a length of elastic that is twice the waist measurement plus one inch. Cut a casing strip from fabric 3 inches wide and as long as the adjustable plus one inch. Sew the ends of the elastic together, then insert them into the casing, making sure to stretch it as you sew.
2. Make a Waistband
This skirt is tailored to your waist measurement, plus 2 inches. You must cut a rectangle 14 inches wide by your waist measurement, plus 2 inches. Then, you will need to hem the top and bottom of the rectangle. Next, you will need to fold the rectangle in half so that the right sides are together. Once you have done that, you will need to sew around the outside of the rectangle, leaving a 6-inch opening for turning. After that, you must turn the skirt’s right side out and press it. Finally, you will need to topstitch the skirt.
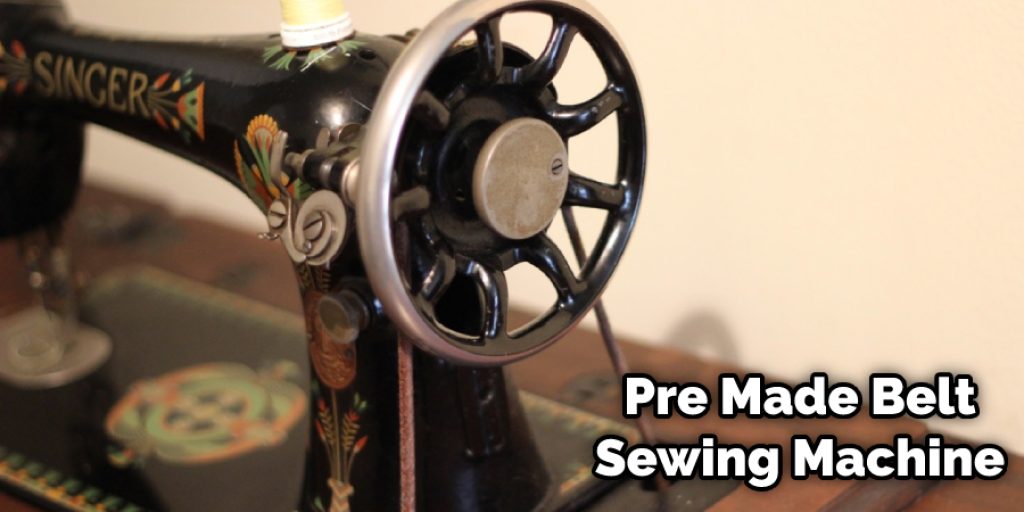
3. Use a Pre-Made Belt
If you don’t want to make your own belt, you can buy one already made. Look for a belt the same width as your casing strip and at least twice the waist measurement plus 1 inch.
4. Make a Buttonhole
This option is more decorative and can be used with fabric or a pre-made belt. Cut a casing strip the width of the belt plus 1 inch. Sew the ends of the belt together, then insert them into the casing and stretch it as you sew. Leave a small opening, then cut the center of the opening where you want to attach your button. Following the manufacturer’s instructions, work with a sewing machine to create a large buttonhole for the switch.
5. Add Flaps
You can add flaps to this style belt by attaching them inside or outside the casing. Cut two rectangles the width of the belt plus 1 inch and the length of the waist measurement plus 2 inches. Hem the top and bottom, then fold in half, so the right sides are together. Sew around the outside, leaving a 6-inch opening for turning. Turn right side out, press, and topstitch.
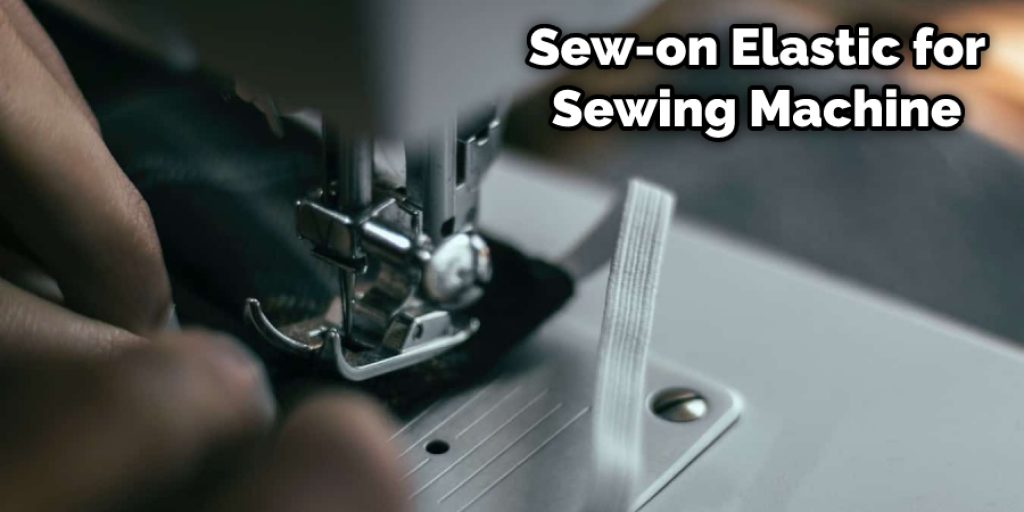
6. Use Sew-on Elastic
Stitch two rows of sew-on velcro to the wrong side of the belt’s top edge. Cut two lengths of elastic 4 inches shorter than the waist measurement plus 1 inch. Stitch ends together, then pin to the right side of the belt so that they are enclosed by the fold when you fold it over. Stitch to secure.
7. Make a Pocket
A simple pocket is a practical addition to any belt. Cut two rectangles 14 inches wide by 4 inches high to make the pocket. Fold in half, so the right sides are together, sew up both sides, and across one of the bottom corners. Turn right side out, press flat with an iron, then topstitch around the edges.
8. Make a Grommet Belt
This style belt requires some unique supplies and can be more challenging to make, but the results are worth it. You will need a length of grommet wire, grommets, and a belt buckle. First, cut a casing strip the width of the belt plus 1 inch. Next, sew the ends of the belt together, then insert them into the casing, making sure to stretch it as you sew.
9. Use a Piece of Ribbon
This is a quick and easy method if you have some ribbon on hand. First, cut a ribbon that is the correct length and width. Next, sew the ends of the ribbon together, then insert them into the casing, making sure to stretch it as you sew.
10. Make a Chain Belt
This is a more challenging option, but the results are unique and stunning. First, you will need a length of chain and a belt buckle. Next, cut a casing strip the width of the belt plus 1 inch. Sew the ends of the belt together, then insert them into the casing, making sure to stretch it as you sew.
You Can Check It Out to Thread a Riccar Sewing Machine
Some Tips and Suggestions
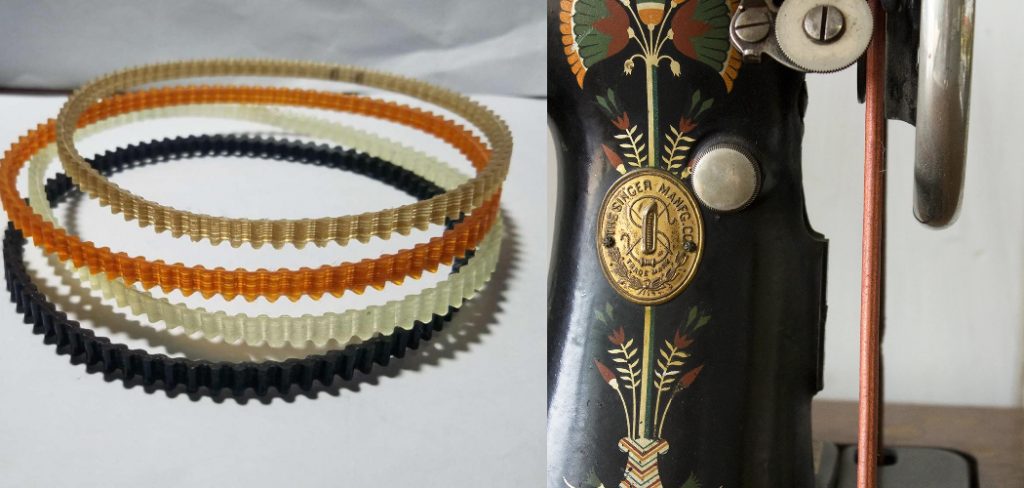
1. Look up your sewing machine manual to find out the correct belt number. Each sewing machine has a slightly different belt system, so you will need to match up a belt for a brand and model of a sewing machine.
2. Order the correct size from the list above, as belts for specific brands and models can vary in size.
3. If you’re unable to find the belt number, try removing the old belt and looking for any identifying marks or letters on the belt itself.
4. Double check the size of your sewing machine belt before you order to make sure that you are getting the right size.
5. Follow the manufacturer’s instructions for installation. In many cases, the belt can be installed without disassembling any machine parts.
6. Sewing Machine Belts should only be used for their specific purpose, as they are designed to conform to various shapes and angles. Using a belt that is not intended for your sewing machine will likely damage the sewing machine or belt.
7. Keep your sewing machine belt clean and free of lint and debris. This will help to ensure optimal performance from your sewing machine.
8. Store your sewing machine belt in a cool, dry place when not in use. Exposure to excessive heat or moisture can cause damage to the belt.
Why Should You Make Sewing Machine Belt?
There are a few reasons why you might want to make your sewing machine belt. The first reason is that it can be cheaper than buying a new one. If your sewing machine is still in good condition, but the belt has worn out, you can save yourself some money by making a new one. Another reason to make your sewing machine belt is to learn a new skill.
It can be a challenge, but it will teach you some things about the mechanics of your sewing machine. Finally, if you have a broken or worn-out belt for a vintage sewing machine that is no longer being manufactured, you might not be able to buy a replacement. In these cases, it’s often possible to make a new belt from scratch.
Conclusion
To make your sewing machine belt, you’ll need to know what size of the belt is required for the specific model. First, cut your fabric into strips 2 inches wide and then sew them together in one direction. Next, fold over two of these sewn pieces, so they overlap by half an inch with right sides facing each other and pin them down at both ends.
Finally, stitch along the pinned area on either side of where you overlapped the fabric until it is closed up completely. Repeat this process for all twelve strips until you have six long rows of pockets woven together (3 sets). After the weaving is complete, turn inside out through the opening left when starting the last row.
We hope this blog post on how to make sewing machine belt has been helpful. If you have questions about this topic or want to know more, then feel free to comment below!