
How to Thread Wind Chimes
Wind chimes are always suitable for decorating pieces for the household. Besides, it can also be sued as a notification bell in the shop door. They create a melodic sound that is soothing to our ears. The most important part of making a wind chime is threading the chime tubes. This work requires some steps and skills. For this reason, today, we will discuss an easy technique on how to thread wind chimes, this will be much beneficial for the beginners, and the steps that we have shortlisted for this process are much easier to perform. The process is simplified below.

Procedure
Threading wind chimes is an exciting thing because there are many intriguing steps that you have to perform while running the process.
For the entire process, the most crucial element you will require is a string. A wide variety of yarns are available in the market, but it is better to use an 80-pound gauge string for the chime tubes. If this is not available, you can go for the strings used for fishing. This will be much long-lasting and weight-bearing for the chime tubes. You will also need a staple gun for attaching the strings. Then you will need a wooden feather and a clapper for the chime. You can make them using regular wood, but it is better to buy them for better accuracy.
You will need some upholstery needles for sewing the string to the top of the chime, some nails for making the holes correctly, and a strong hook to hang the chime. Once you have managed all these, you can start the work. The first step of this process is to prepare the top of the chime. For this, you have to take a piece of wood, which is half an inch in thickness.
First, you need to use a pencil and compass to draw a circle on the wood. The circle’s diameter should be the same size as the chime you want to thread. Then, you need to use the table saw to cut out the complete circle from the wood.
After you have cut the circle, you have to use a sanding machine to smooth the edges. Then you have to drill holes in the top. For preparing the holes, you have to divide the circle into three equal parts. After the ring is divided into three equal parts, you have to mark two dots on either side of the division line. This will be used for the drilling machine. Now you have to take the drill machine and use the smallest drill bit. Because you will only need to pass the needle and the string through these holes. Now you have to make a total of six holes on the top.

You need to turn the circular piece of wood, and then, using a slightly bigger drill bit, increase the depth of any one pair of holes. This is much needed because the holes with a slightly bigger diameter will hold the strings’ knot after they are attached. Once the holes are drilled, you have to again divide the circle for connecting the chime tubes. But before that, you need to know the exact number of chime tubes that are being used. An even number of chime tubes will be better for marking the dimensions correctly.
As you have divided the circle into three parts, you have to take six chime tubes, and then you have to mark two dots equidistant on either side of the division lines. For keeping the dots, you can use a hammer and nail. After all the markings are done on the top wood, you have to start attaching the string. For this, you will need an upholstery needle and pass the needles through the string. Then you have to take the top wood and then start inserting the y from through the holes. You have to advance clockwise in this case and place the hook in the middle, and the holes with greater diameter will be used at last to tie the knot.
After the hook is attached to the center plate, you have to start stringing the chime tubes. For this, you have to spread the chime tubes on the table. Then you have to arrange the chime tubes at a descending order. This is much needed because the chime tubes should be attached to the center from big to small. This keeps the sound of the chimes uniform and does not create any harsh impact on the listeners’ ears. Once the chime tubes are arranged, you have to connect the strings through the chime tubes. There are circular holes in the chime tubes; you have to pass the yarn through those holes.
Then you have to tie those strings to the center plate. For this, you will need a staple gun, and you have to take the yarn of the longest chime and attach it with the markings of the center plate using a staple gun. Now you have to start rotating the chime tubes and then keep linking the stings to the center’s markings in a uniform passion. You have to connect on a chime tube at a time, and once you have reached the last chime tube, you have to staple both the top string and the bottom string using a staple gun. In this manner, the chime tubes will be properly connected to the circular plate. The next step is attaching the feather and the clapper.
Now you have to take the feather and using an upholstery needle, and you have to pass the string through the feather. Then you need to determine the place to attach the claps. If you have old chime tubes, then there will be a mark of the clapper, but for new chime tubes, you have to take the longest one and then tie a knot in the middle of the tube. This will be the place to hang the clapper. Now you have to tighten the string and then connect it with the circular plate using a staple gun.
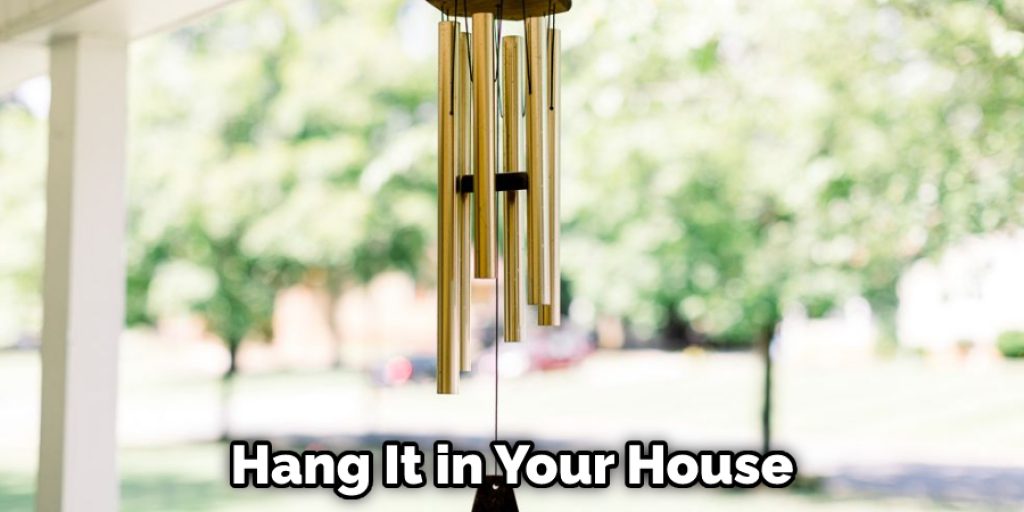
Now you have to pass the string through the clapper, and you will observe that there are holes in the clapper which differ in sizes. So you have to give the needle through the big diameter hole and then take it via the smaller one. The knot you have made will get stuck in the clapper, and then you have to finish the task by connecting the clapper holding string to the center circular plate using a staple gun. Now you have to keep the hook at the top of the chime and hang it in your house. In this manner, you can easily thread chime.
Final Thoughts
Lastly, we hope that the process we have stated here will help to thread a wind chime. The people who are interested in DIY activities will be much delighted by this process. The entire technique is based on simplified steps, which are relatively easy to access by the beginners. Thank you for your time. Have a nice day!
you may also read now


