
How to Make a Money Roll Gift Box
Square Tissue Case. My coloring pages design suits the mark Kleenex and the tissues of the company Great Value. The packages for Puffs Extra are just a little larger, and my plan won’t match the package anyway. I’ve found a Suitable present for holiday parties on deck-a tissue box cash ride! Several days ago, a cousin told me about such a concept, and I immediately fell in love with it, and then had to make my design.
You roll up notes (I usually get around 10) and paper arrowheads + notes into a tissue package. Part of the fun of this present of cash is pulling everything out of the box of tissues. It only appears to continue moving and moving! It’s effortless to install this present, so I want to bring up a few at the moment, so we can take them and go anytime there’s a birthday celebration to join.

Components
- Cash-every size, so you’re supposed to just want at minimum ten dollars.
- 1-2 sheets of paper crafted from the tissue.
- Press runner and double lateral paper.
- Decorating the exterior of the tissues package with a sheet. Using my optional template and be willing to print.
- Markers, paint pencils or colored pencils.
- Pencil.
- Scissors.
Instructions
- My customizable pad allows full-to-cut pieces on either hand, tissue box left and right sides, pulling Tab and quotations relevant to celebration.
- Split the boxes which are screen printed.
- Break every one of the customizable elements by cutting on each section only above the dashed line.
- Furnish the cash coming in the tissue package. If you wish, utilizing paints, coloring books, or colored pencils to beautify every one of the customizable elements. Making circles, twisted shapes, triangles, etc., will make it easy. I was only making dots in various colors in this case.
- Add the tissue holder to the edges and the bottom. Using a tape handler and double-sided tape to place the Kleenex package ends to either edge. You could put the tape on the box, then placed the sheet on the package.
- Use the tape runners or the double-adhesive pads to put the “Happy Birthday” rectangle on the base of the tissue package. Organize the box of tissues within this concept of giving cash gifts for graduation.
- Drop the label from the tissue box corner. Locate the name from the nicely formatted onto the empty rectangular sheet of paper and rip it off. I am utilizing glue to fasten the sheet to the surface of the tissue case.
- Remove the plastic, which is stuck to the top of the tissue case. Cut the packaged tissue. Pull out the tissue paper from the package. You would just like to pull out tiny parts at once. The packet of tissues may be pulled out so far at once. This can be packed in a plastic baggie and used to empty another package of tissues.
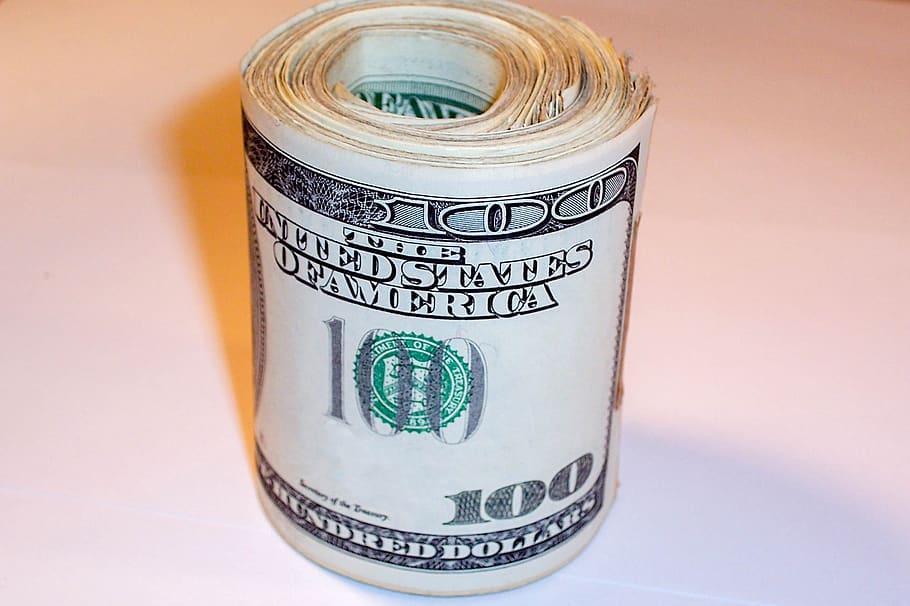
- I am creating a cash roll. They are utilizing clear tape to stick paper money next to one another. The bills would be flat, not running straight next to one another.
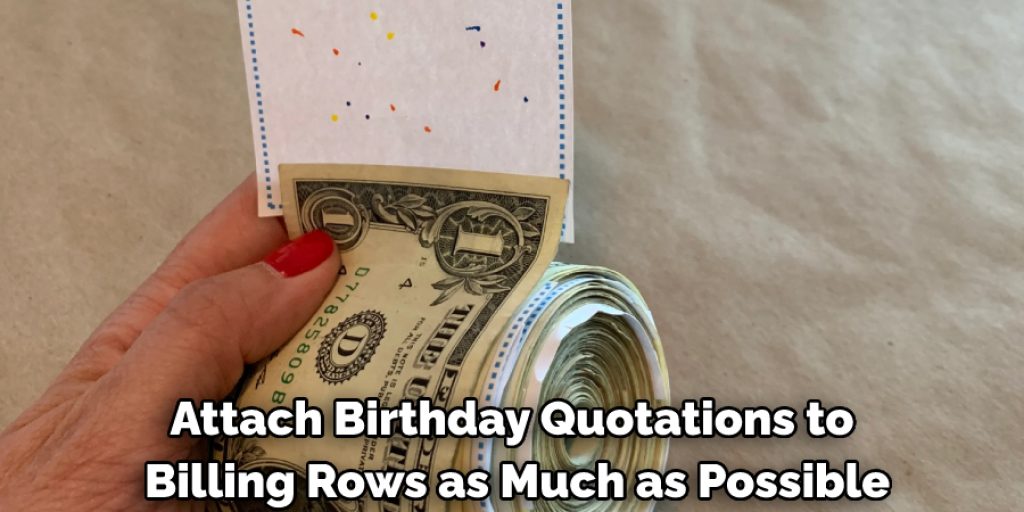
- Attach birthday quotations to billing rows as much as possible. I attached a paper towel to make the bottom of my package a little. Start putting the money bills that use the painter’s adhesive (on the rear portion of the cash). I attached a small gift and money, too.
- I created a “Pull Herewith a few of my remaining card collection! “Tab on tape on bill one. Start with your cash train loading your tissue bag, and leave the “Pull Here!” “Firstly it sticks out of the end.
- Ultimately, I attached several of my spare printer papers to the edge of the box to make it appear complete and to maintain the “Pull Here hopefully! “Refresh page.
You may read also – How to Pack a Gift Basket


