
How to Trace a Pattern on Fabric
Do you have a favorite clothing item that you would love to make yourself? Maybe it’s a pair of overalls, an A-line skirt, or a dress with bell sleeves. Whatever the item is, chances are you need to trace it onto fabric before you can begin cutting and sewing your garment. If tracing patterns on fabric seems daunting and intimidating – don’t worry! You are in the right place!
Tracing patterns onto fabric for a project can be no easy task, but with the right tips and tricks, it doesn’t have to be. Whether you are making curtains, simple cushion covers, or starting an intricate quilt project, this blog post will guide how to trace a pattern on fabric in the most accurate way possible.
Read further to get started – let’s ensure those sewing projects look seamless from beginning to end!
What Will You Need?
To trace a pattern onto fabric for your sewing project, you will need the following items:
- Pattern sheet/envelope
- A piece of lightweight paper (i.e., tracing paper)
- Pencil
- Fabric scissors or shears
- Pins or weights to hold the pattern and fabric in place
- Tape measure or ruler
- Iron (optional)
Once you have gathered all of the necessary items, you are ready to begin!
10 Easy Steps on How to Trace a Pattern on Fabric
Step 1. Preparing Your Fabric and Pattern Sheet
Before you trace the pattern onto your fabric, it is important to make sure that both items are ready for use. Make sure to prewash, dry, and press the fabric before cutting; this will help to ensure that your finished project doesn’t shrink or stretch. Once the fabric is ready, lay it out on a flat surface and use pins or weights to hold the pattern sheet in place.
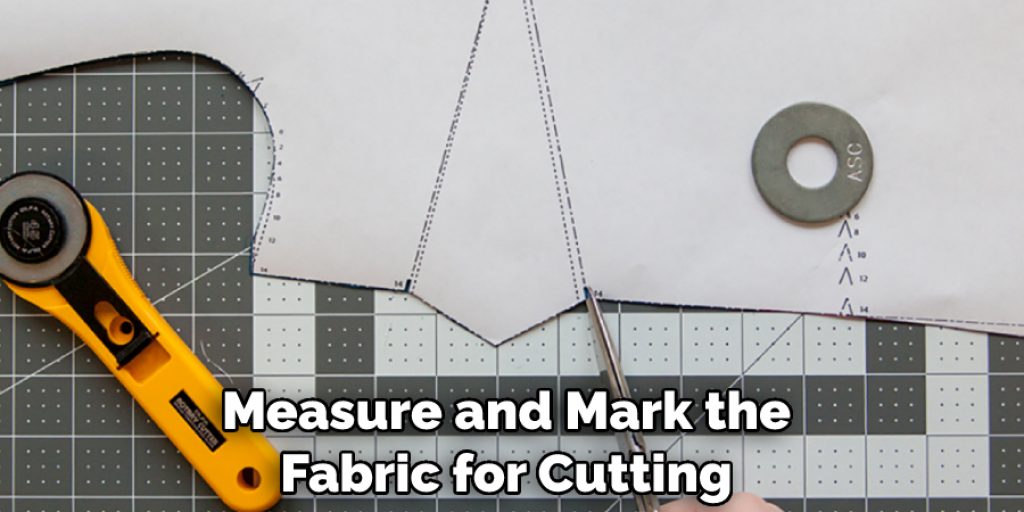
Step 2. Use a Tape Measure or Ruler to Mark the Fabric
Using a tape measure or ruler, measure and mark the fabric for cutting. This will help you ensure that your pattern is correctly sized and symmetrical when cut. If you are using a pattern with multiple pieces, mark each shape onto the fabric.
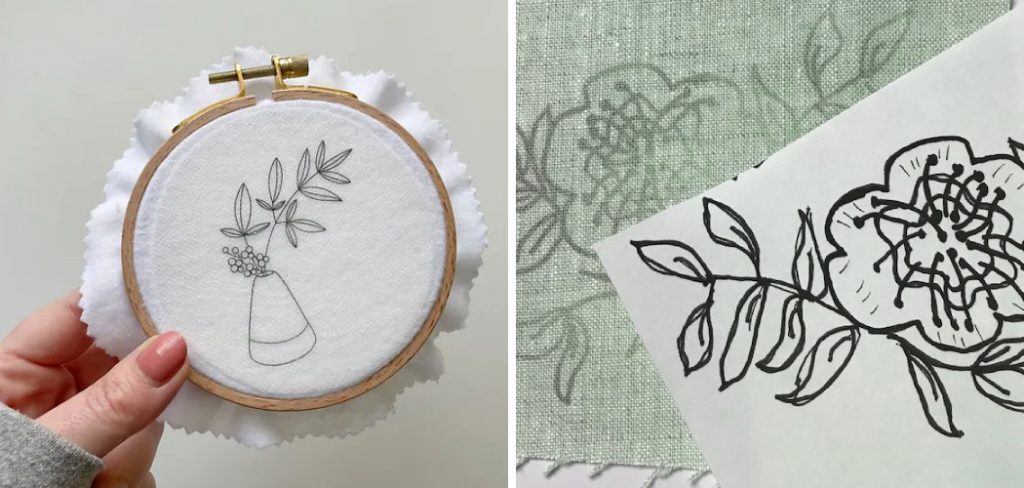
Step 3. Trace Your Pattern Onto the Fabric
Now it’s time to trace your pattern onto the fabric! Place your paper pattern on top of the fabric and use a pencil to trace around its edges. It is important to be as accurate as possible to ensure your project’s accuracy.
Step 4. Cut Out Your Pattern
Once you have traced around the pattern, it’s time to cut it out! Using fabric scissors or shears, carefully cut along your pencil lines to remove the excess fabric. Be sure to use sharp scissors and take your time; this will help to ensure a clean cut and an accurate final product.
Step 5. Use the Pattern Sheet for Additional Pieces
If your pattern requires multiple pieces, use the original pattern sheet as a template to trace additional pieces onto the fabric. This will help ensure that all pieces are accurately sized and symmetrical. Additionally, if you are using a printed fabric, make sure to trace the pattern pieces so that they all face the same direction.
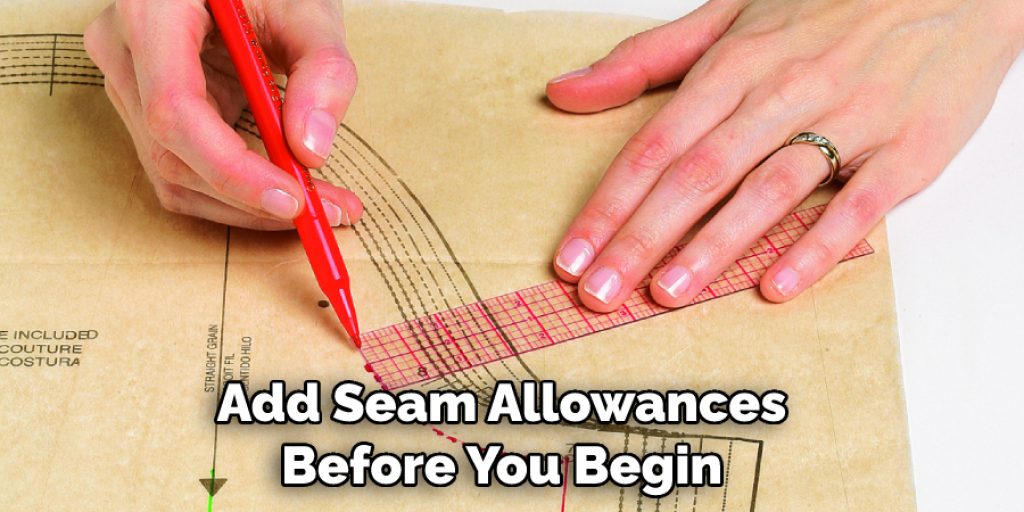
Step 6. Add Seam Allowances to Your Cut Pieces
Once you have cut out all of the pieces, adding seam allowances to them before sewing is important. For most clothing items, a 1/2 inch seam allowance is standard; however, this may vary depending on your pattern and fabric choice. Use a ruler to measure and mark the seam allowance around each piece so they are ready for sewing.
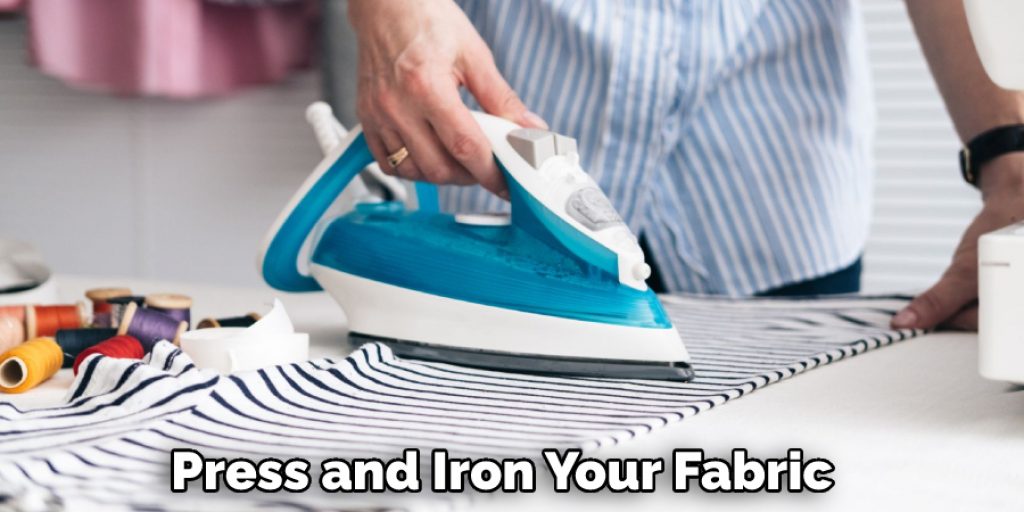
Step 7. Iron Your Pieces (Optional)
Ironing your pieces before sewing is an optional step; however, it will help to ensure that your project looks professional and put together. Be sure to use a low heat setting when ironing to avoid damaging the fabric. As always, make sure to follow the manufacturer’s instructions for your specific fabric type.
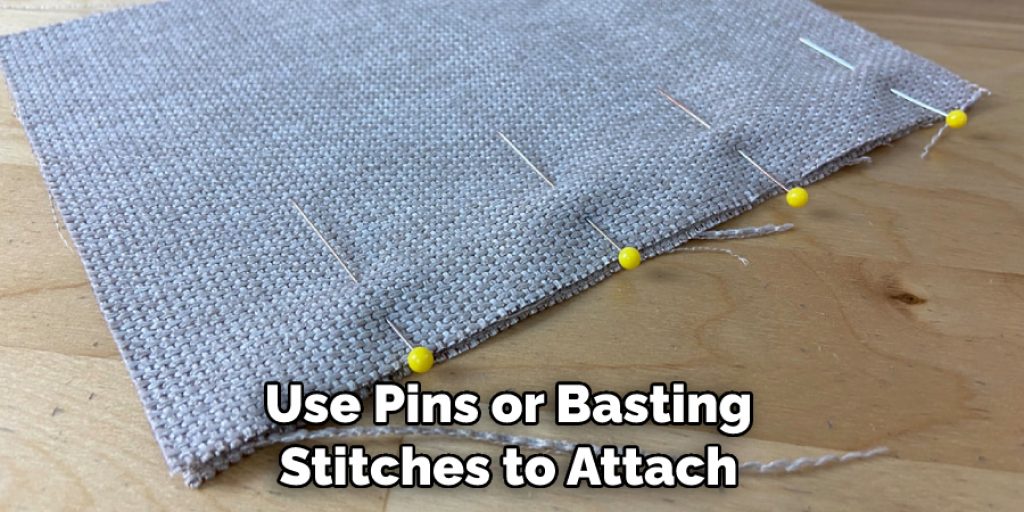
Step 8. Pin or Baste Your Pieces Together
Once your pieces are prepared, it is time to begin constructing your project! Use pins or basting stitches to attach each piece, and make sure that they are lined up correctly before sewing. It is important to take your time during this step to make sure that everything looks perfect.
Step 9. Sew Your Pieces
Once your pieces are pinned or basted together, it’s time to begin sewing! Following the manufacturer’s instructions for your fabric type and pattern, sew each piece together. Be sure to use a back stitch at the beginning and end of each seam to ensure that it is secure.
Step 10. Finish Your Project
Once all of the pieces are sewn together, it’s time to finish your project! Depending on the item you’ve made, this may include adding zippers, buttons, or other embellishments. Make sure to take your time and be accurate to ensure a finished product that looks professional.
By following these ten steps, you are now ready to begin tracing patterns onto fabric for your projects! With the right tips and tricks, it doesn’t have to be a daunting task. Now that you know how to do it, happy tracing and sewing!
5 Additional Tips and Tricks
- Be sure to use a light-colored pencil when tracing patterns onto fabric. This will make it easier to remove the lines should you need to.
- If you are working with patterned fabric, consider making a template out of cardstock or lightweight cardboard first, then trace that piece multiple times onto your fabric instead of using the original pattern piece. This will make it easier to ensure that all pieces face the same direction.
- use fabric scissors or shears instead of regular paper scissors. Fabric scissors are heavier and sharper, which makes them better suited for cutting through thicker materials like fabric.
- Add a few extra seam allowances when cutting out pieces to ensure that you have enough fabric for your project. This will help to avoid any major mistakes down the line.
- Make sure to press and iron your fabric before tracing or cutting; this will make it easier to maneuver around the patterns and ensure an accurate final product.
With these tips and tricks, you are now adequately prepared to begin tracing patterns onto fabric for your sewing projects. Whether it’s a pair of overalls or a dress with bell sleeves, take your time and be accurate to ensure the best possible result.
5 Things You Should Avoid
- Don’t use a regular pencil when tracing patterns onto fabric. Regular pencils can leave a residue and ink that can be hard to remove and might also stain the fabric.
- Avoid using pins or weights that are too heavy; this could cause the pattern pieces to shift or warp while you trace them onto the fabric.
- Don’t rush when cutting out your pattern pieces; take your time in order to ensure a clean and accurate cut.
- Avoid using fabric that is too thick or heavy for the project you are working on. This could cause problems with the finished product’s accuracy and make it difficult to sew.
- Don’t forget to add seam allowances before you begin sewing! This will help ensure that your project is the right size and shape when finished.
Now that you know how to trace patterns onto fabric and a few tips and tricks for a successful sewing project, you are ready to get started. Take your time and be patient with yourself- sewing is a skill that takes practice.
What Are the Four Types of Patterns?
When tracing a pattern on the fabric, there are four main types of patterns that you may encounter. These patterns include:
1. Solid Patterns: These types of patterns are made up of one solid color and do not have any type of design or pattern printed on them. They are the easiest type of pattern to trace since there are no lines or designs to follow.
2. Geometric Patterns: These patterns are made up of shapes and typically have a repeating pattern. Examples include checkered or striped fabrics. These patterns can be more difficult to trace as you need to ensure that the lines match up and are consistent throughout.
3. Floral Patterns: These patterns have a flowery design and can come in a variety of colors and sizes. Tracing these patterns can be challenging as you need to follow the curves and lines of the flowers and ensure that they are consistent throughout the fabric.
4. Abstract Patterns: These patterns are made up of irregular shapes and designs and do not have a clear pattern or repeating design. Tracing these patterns can be challenging as you must ensure that you follow the correct lines and shapes.
Regardless of the type of pattern you are tracing, it is important to have a steady hand and ensure that your lines are consistent throughout the fabric. You can successfully trace any pattern onto the fabric by following these tips and tricks.
Conclusion
With just a few simple steps on how to trace a pattern on fabric, tracing a pattern is easy to do and can help save fabric, time, and money. It can even be fun if you enjoy the creative aspect of clothing alterations. All it takes is the right materials and a little extra patience, as not all fabrics react to tracing paper in the same way. Those details must be taken into account if you want an accurate pattern with clean stitches.
Make sure that when tracing, lines are drawn thick enough for your needle to penetrate but thin enough that they will still show up post-stitching.
Tracing patterns on fabric is a great skill to have, whether you’re sewing clothes for yourself or embroidering patches for a bag. You can choose from multiple methods of transferring patterns depending on what you’re making and what works best for that particular type of fabric.
If done correctly, tracing a pattern can result in achievable garments that look professionally made and feel like luxury while still saving time in the process.
Nancy Behan
Nancy is an embroidery artist, fashion blogger and a full time editor at DIY quickly. Nancy edits the fashion section on DIY quickly, focusing on the embroidery and cross stitch articles, alongside with fabric and other costume design elements. She graduated from the University of Michigan with a Bachelor of Arts in Art History. She loves to work on her own projects, read books and watch romantic movies in her spare time.


