How to Use Heat and Bond
Heat and bond is a popular tool used in many crafting activities. It is great for making sure that fabrics, paper, and other materials stay securely together. With it, you can ensure the items you are working on will last a long time.
The primary advantage of using Heat and Bond is that it provides a strong bond between fabrics when used correctly, resulting in durable and long-lasting seam construction. It can also be used to attach trims, appliques, and other embellishments to fabric surfaces, making it an ideal choice for all your sewing projects.
Another great benefit is that it is easy to use and does not require any special tools or machines. Heat and Bond can be applied with a regular household iron, making it an ideal choice for beginners as well as more experienced sewers. In this blog post, You will learn how to use heat and bond in detail.
How Should You Prepare Different Fabrics Before Applying the Heat and Bond?
Before applying Heat and Bond to any fabric, it’s important to consider the kind of material you are working with. Some fabrics may require special pre-treatments before they can accept the adhesive, while others may require more delicate handling when using a hot iron.
For example, the cotton fabric should be treated with sizing or starch before applying Heat and Bond, as this will ensure that the adhesive sticks to the fabric better. Synthetic fabrics, such as nylon or polyester, should be treated with a special lint-free cloth to remove any dust particles before using a hot iron.
When in doubt about prepping different types of fabrics for Heat and Bond use, it’s best to refer to the application instructions included with the adhesive product. These instructions should include any special pre-treatments that need to be done before adhering the fabric and Heat and Bond together.
Step-by-step Instructions for How to Use Heat and Bond
Step 1: Inspect the Fabric
Before applying Heat and Bond, ensure the fabric is clean and free of excess dirt or oils. If necessary, pre-wash it before starting. Cut a piece of Heat and Bond to fit your project’s size requirements. Peel away the paper backing from the adhesive side of the Heat and Bond, then place its sticky side down onto the wrong side of the fabric.
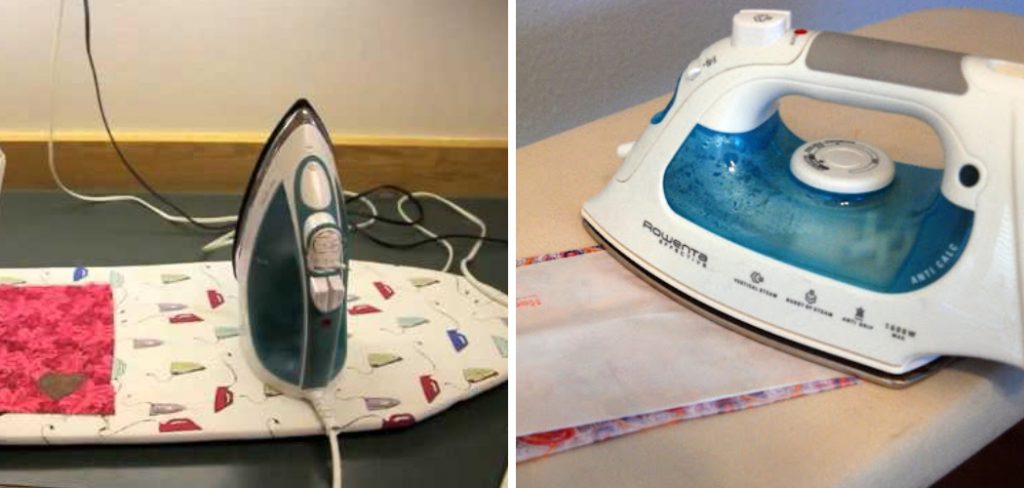
Step 2: Iron the Heat and Bond
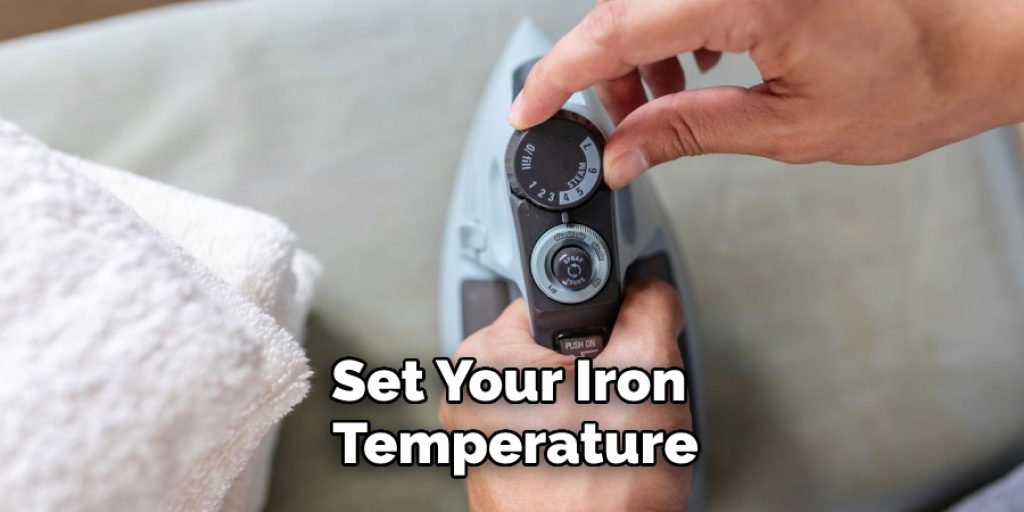
Set your iron temperature to the medium-high setting. Depending on the fabric, you may need to use a higher or lower temperature. Place the iron onto the Heat and Bond and press it down for 10–15 seconds. Make sure not to slide the iron across the material, as this could cause it to slide around and not bond properly. Repeat this step until the entire sheet of Heat and Bond has been ironed into place.
Step 3: Trim the Excess Fabric
Once you have completed ironing, use scissors or a rotary cutter to trim away any excess fabric that is beyond the edges of the Heat and Bond adhesive. After trimming away the excess fabric, lift a corner of the paper backing and slowly peel it away from the material. Make sure to keep a firm grip on the Heat and Bond so that it does not come off with the paper backing.
Step 4: Position Embellishments
Once the paper backing has been removed, place any embellishments onto the adhesive. You can use a variety of items such as buttons, ribbons, or fabric paint. Cut a piece of fusible webbing that is slightly larger than your project’s size. Peel away the paper backing and position it over the embellishments, making sure to cover all of them.
Step 5: Iron the Fusible Webbing
Once you have positioned the fusible webbing onto your project, set your iron temperature to medium-high again and press down for 10–15 seconds. Make sure to press over all of the embellishments and make sure they are securely attached.
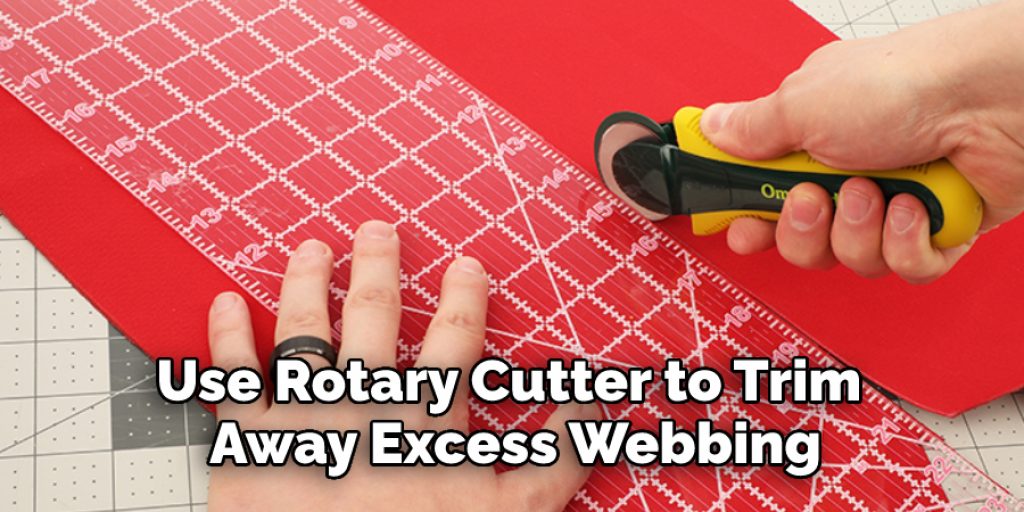
Step 6: Trim Away Excess Webbing
Once you have finished ironing, use scissors or a rotary cutter to trim away any excess webbing that is beyond the edges of the fabric. If you want to add more permanence to your project, use a sewing machine or hand-sew the embellishments into place. This will ensure that they do not come undone over time.
Once you have finished applying your Heat and Bond, fusible webbing, and embellishments, you can enjoy your finished project! Heat and Bond is a great way to add extra details to any fabric item. You can give your projects a professional look with just a few simple steps.
Tips for How to Use Heat and Bond
- Read and follow the instructions on your Heat and Bond product before beginning. Every product is slightly different, so be sure to read each one thoroughly.
- Make sure that you have proper ventilation while using Heat and Bond products since they contain strong fumes. Open a window or use a fan to keep air circulating in the room.
- Wear protective gear such as gloves and eye protection when using Heat and Bond products to protect yourself against fumes, strong odors, and excessive heat.
- Do not use Heat and Bond on fabrics that are made of synthetic materials or fabrics with a delicate texture, as the heat may damage them.
- Check your fabric, press cloth, and backing material often to make sure that it is not getting too hot.
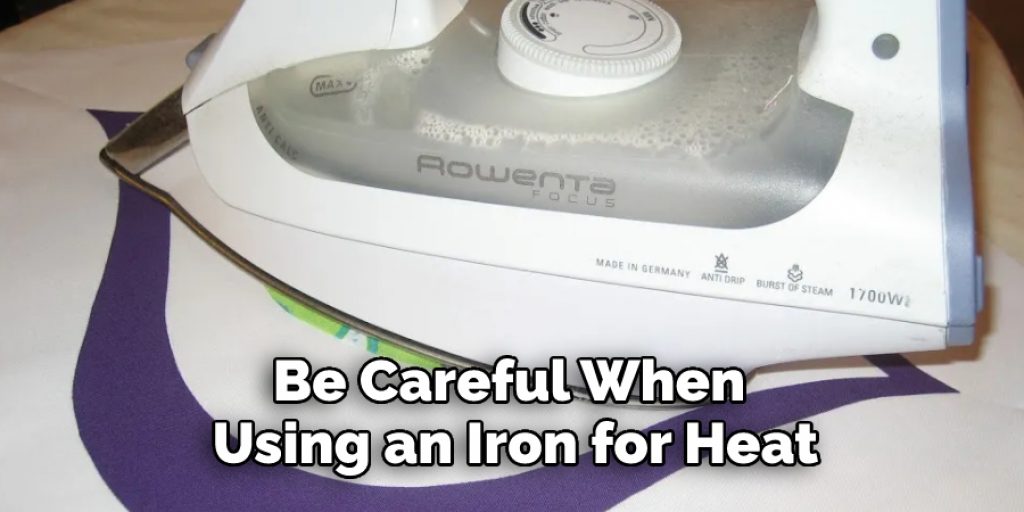
- Be careful when using an iron for Heat and Bond projects. The letters “HB” (for heat bond) are typically written on the dial of irons that can be used for this purpose.
- Work in a well-lit area to ensure that you can see clearly when using Heat and Bond. This will help you avoid mistakes or accidentally bonding two pieces of fabric together.
These safety tips are essential for using Heat and Bond products safely and effectively.
How Do You Properly Store Heat and Bond for Future Use?
It is important to properly store your Heat and Bond product if you plan to use it. To ensure that your product remains intact and free from moisture, dirt, and other contaminants, follow these storage tips:
- Store Heat and Bond in a cool, dry place away from direct sunlight or heat sources; an area that is not prone to temperature fluctuations or moisture is ideal.
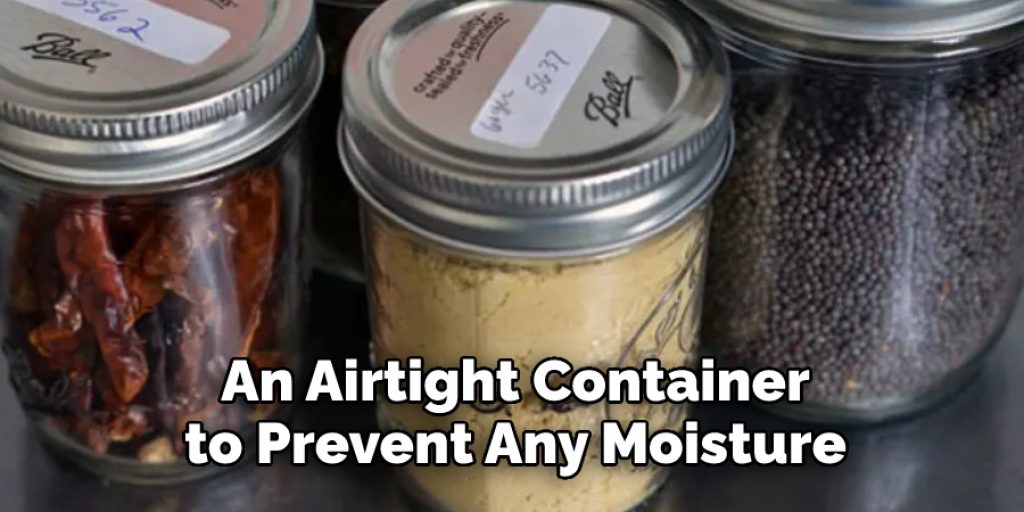
- Keep the product in an airtight container to prevent any moisture from getting inside. This will help to preserve the adhesive and keep it from drying out.
- Ensure that the lid of your Heat and Bond container is tightly closed after each use and that it is properly sealed. This will help to prevent the adhesive from drying out and becoming unusable.
- If you need to store your Heat and Bond for an extended period of time, place it in a freezer bag or vacuum-seal container to keep air and moisture out.
With proper storage, your Heat and Bond product will remain in usable condition for years to come. Keeping your adhesive free from dust, dirt, moisture, and other contaminants is essential to ensure it works properly when needed.
How Can You Test the Strength of Your Heat and Bond Seam Before Washing or Wearing It?
Testing your Heat and Bond seam before you wash or wear it is an important step in ensuring that the item will hold up over time. To test the strength of your Heat and Bond seam, press your iron onto the area for about 10 seconds at a medium-high setting. After 10 seconds, lift the iron off of the area and lightly tug on the seam in both directions.
If the seam does not come apart, then it is strong enough for washing or wearing. If it does come apart, you will need to re-iron the area and ensure there are no gaps or weak areas before testing again. It is important to remember that Heat and Bond seams can weaken over time, so re-testing every few months or when washing and drying the item will make sure that your seam is still strong.
How Do You Clean Up Excess Heat and Bond From Your Fabrics?
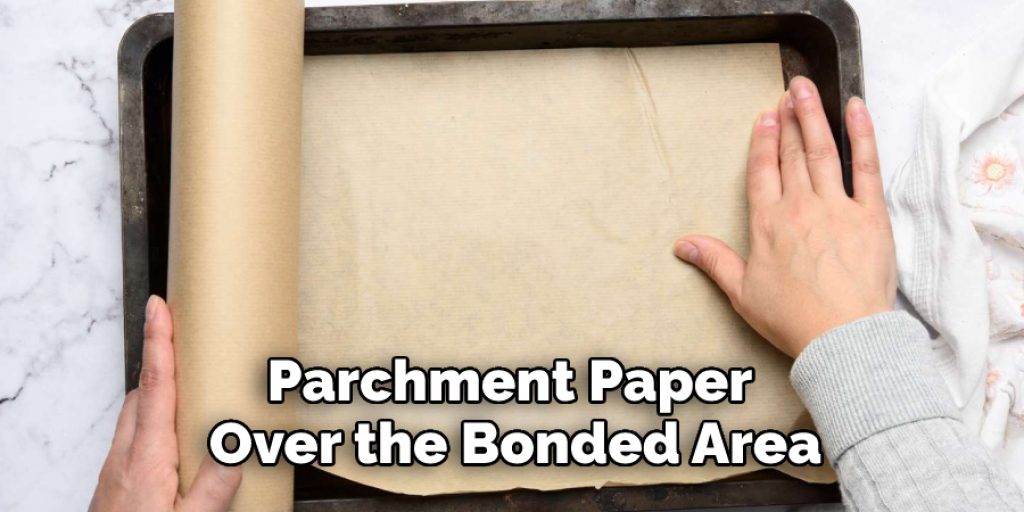
If you have used Heat and Bond for a project, chances are there is some excess left on your fabrics. How do you go about removing this? The easiest way to get rid of residual Heat and Bond from fabric is to use a hot iron set at a low-temperature setting. Place a piece of parchment paper over the bonded area and press down with a warm iron. This will help fuse the adhesive and make removing it easier without damaging your fabrics.
If the Heat and Bond are still sticking after trying this method, you can use a lint roller or tape to pick up any additional bits of adhesive. You can also try using a fabric eraser on delicate materials or a cloth with rubbing alcohol to help break down the adhesive.
Once you have removed all the excess Heat and Bond, it’s important to remember that some fabrics respond differently when exposed to high temperatures. Test an inconspicuous area of the fabric before applying a hot iron directly onto your project. This will help ensure no damage to your fabrics during the cleaning process.
Conclusion
One of the main disadvantages of using heat and bonds is that they can be difficult to remove. Once applied, it forms a permanent bond and cannot usually be unstuck without damaging or weakening the fabric or material. It is also unsuitable for machine washing as it may lose its adhesive properties over time. Heat and Bond must be applied with iron to activate the adhesive, which can be difficult and time-consuming if you are working on a large project.
In conclusion, using heat and bond is an easy and effective way to finish off any fabric project. It provides a strong hold that won’t easily fray or come undone. As long as you use the correct temperature setting for your project, it’s simple to apply and can save you time and effort in completing projects. I hope reading this post has helped you learn how to use heat and bond. Make sure the safety precautions are carried out in the order listed.
Angela Ervin
Angela is the executive editor of DIY quickly. She began her career as an interior designer before applying her strategic and creative passion to lifestyle and home. She has close to 15 years of experience in creative writing and online content strategy for housekeeping, home decorations as well as other niche efforts. She loves her job and has the privilege of working with an extraordinary team. She lives with her husband, two sons, and daughter in Petersburg. When she's not busy working she spent time with her family.