
How to Use Luster Dust on Buttercream
Luster dust is a powdered sugar that adds shimmer to the buttercream. Luster dust can be used in many different ways, from adding a single color for a subtle effect to layering colors and creating a more vibrant look. In addition, luster Dust is a food-grade paint that can be applied with a dry brush for an iridescent finish.
It’s one of the first things people ask about when they start baking cakes because it adds so much dimension and shines to your baked goods without being too heavy or greasy feeling. Even some lusters have a pearlescent finish, which makes them perfect for simulating the glow of the moon on top of frosting! With all these options, it’s easy to find one that will make your cake truly shine. This blog post will show you how to use luster dust on buttercream.
10 Ways on How to Use Luster Dust on Buttercream
1. Make a Basketweave Pattern
To make a basketweave pattern, you must use a pastry bag fitted with a star tip. Starting in the center of the cake, pipe two lines intersect in the middle. Pipe another line perpendicular to these lines. Pipe one more line between the first two and the last two lines you piped.
2. Add Texture
Using a flat-edged spatula, scrape some luster dust into a pile. Sprinkle this over the cake to add Texture. You can do this directly on buttercream or fondant, but we wouldn’t recommend luster dusting over chocolate.
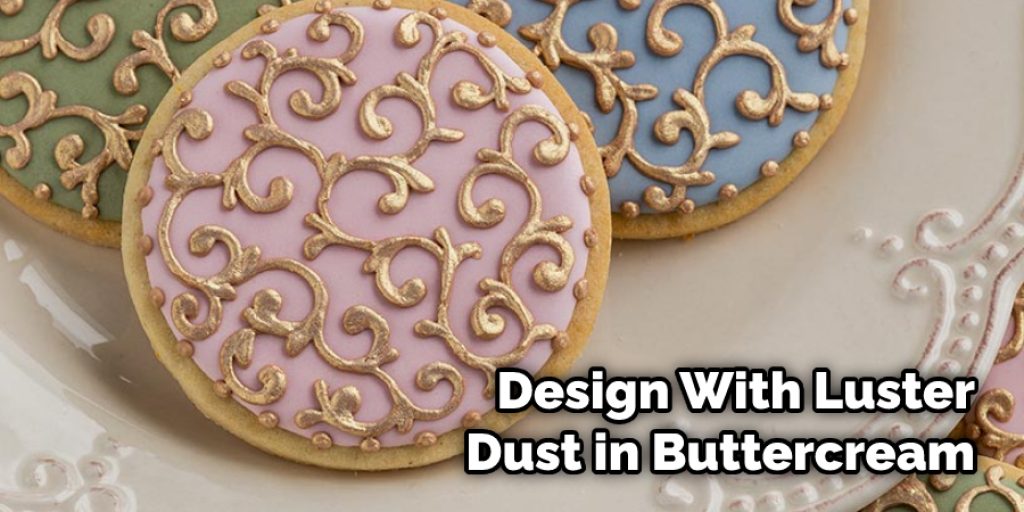
3. Make an Ornate Design
Start by piping a circle around the base of your cake to act as a guide for your design. Using the same tip you used to pipe your circle, continue working from the center of the cake to create the design. You will want to work quickly while piping, as luster dust, can dry pretty fast.
4. Make a Free Form Design
This is probably the simplest way to utilize luster dust on buttercream. Using a flat-edged spatula or spoon, sprinkle some luster dust over the top of your cake. Be sure to work in a well-ventilated area, as the dust can be a bit overwhelming.
5. Make a Faux Shimmery Glaze
Add luster dust to a glue mixture and apply with a paintbrush or pastry brush. This works best on chocolate cakes as it adds both shine and Texture. Let this dry to avoid smearing the cake’s icing before slicing into it. Alternatively, you can use luster dust mixed with clear alcohol like vodka or Everclear.
6. Color Your Icing
You can add color to your buttercream using luster dust. Mix a desired amount into the frosting and beat until completely incorporated and smooth. You may also want to add more powdered sugar if you find that your icing is too runny.
7. Add shimmer
Mix some luster dust into the water and use a paintbrush to add shimmer to your cake. A little goes a long way, so be sure not to add too many layers of the water mixture. If you want more of an effect, try using it in place of simple syrup when making rolled fondant or gum paste flowers.
8. Make Glittering Lines
Pour out a small amount of luster dust onto your work surface. Use a paintbrush to wipe some vodka or clear alcohol over the dust. Press fondant into the luster dust/vodka mixture and lift it to create lines that sparkle.
9. Add Sparkle Around Edges
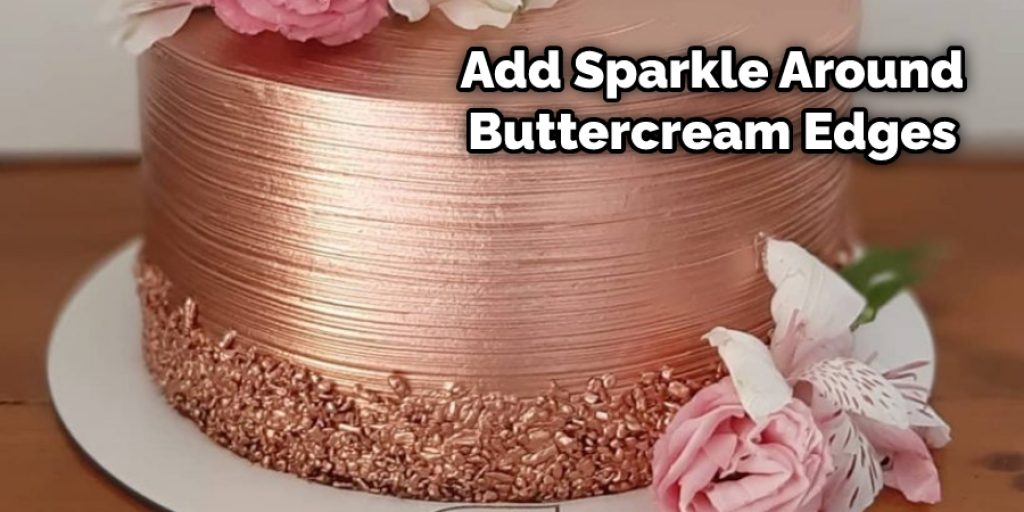
Pour out a small amount of luster dust onto a plate or baking sheet. Use a toothpick to swirl the dust around until it’s thick enough that it won’t spread when you touch it. Gently press the edges of your cake into the luster dust to give it a pretty sparkly border.
10. Create a Lustrous Finish
If you’re looking for an elegant and genuinely dazzling finish, use a luster dust mix made from 2 parts gold and 1 part silver luster dust. Apply with a paintbrush or pastry brush and dry for several hours before serving your cake. This only works on white buttercream cakes as the colors don’t show up well against chocolate or fondant.
You Can Check It Out To Get Weed Smell Out of Leather
Some Tips and Suggestions
1. Start by dusting your work surface with a light layer of cornstarch or confectioners’ sugar to prevent the luster dust from sticking.
2. If you are using a dusting brush, hold it at a slight angle and tap it gently against your hand to release some of the luster dust before brushing it on the buttercream.
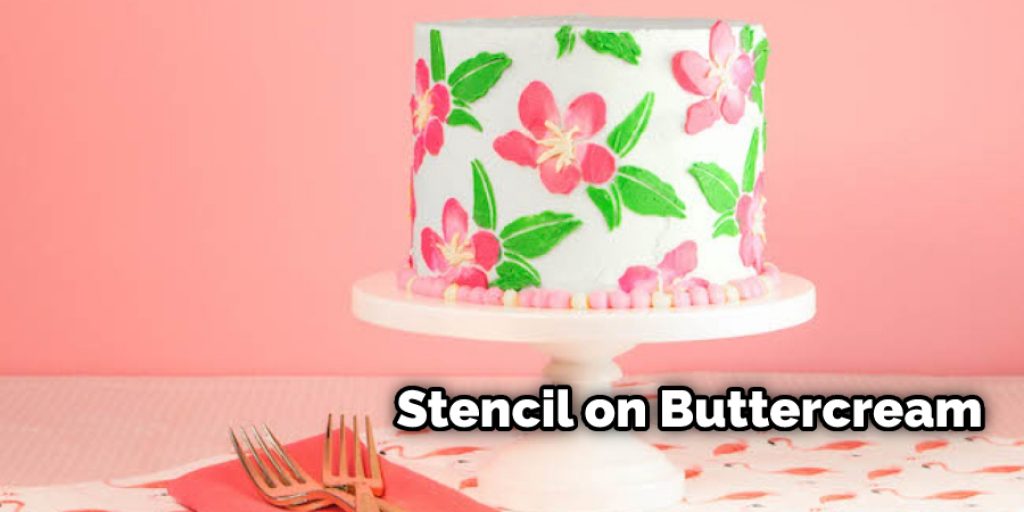
3. If you are using a stencil, dust the stencil area that will touch the buttercream first with cornstarch to prevent it from sticking. Then place your stencil on top of your cake and brush the luster dust over it so that it sticks to the buttercream underneath.
4. It is best to apply the luster dust while it’s still “wet” or fresh out of the bottle. However, be aware that the luster dust may slide off if your buttercream has already started to crust.
5. If you plan on applying sprinkles over your finished cake, add the sprinkles before adding the last layer of luster dust, as it will help the sprinkles stick to the buttercream and look more vibrant.
6. Once you have applied your final layer of luster dust, be sure to gently brush off any excess from the sides of your cake using either a clean paintbrush or an icing smoother. This will help to create a nice, even finish.
7. If you are storing your cake in the fridge, be sure to let it come back to room temperature before serving so that the luster dust doesn’t frost over and lose its shine.
Conclusion
Luster dust is a food-safe powder that can be applied to buttercream frosting. This final touch will make your cake stand out and look professional. All you need to do is apply the luster dust with either a brush or a small dry paintbrush, wait for it to set then serve! This blog post has given you the basics of how to use luster dust on buttercream.
You now have a general understanding of what it is, why you would want to use it, and what tools are needed for the application. If any other questions arise during your project, feel free to leave them in the comments below or send us an email! We’d be happy to help out as much as possible with this new food trend.


