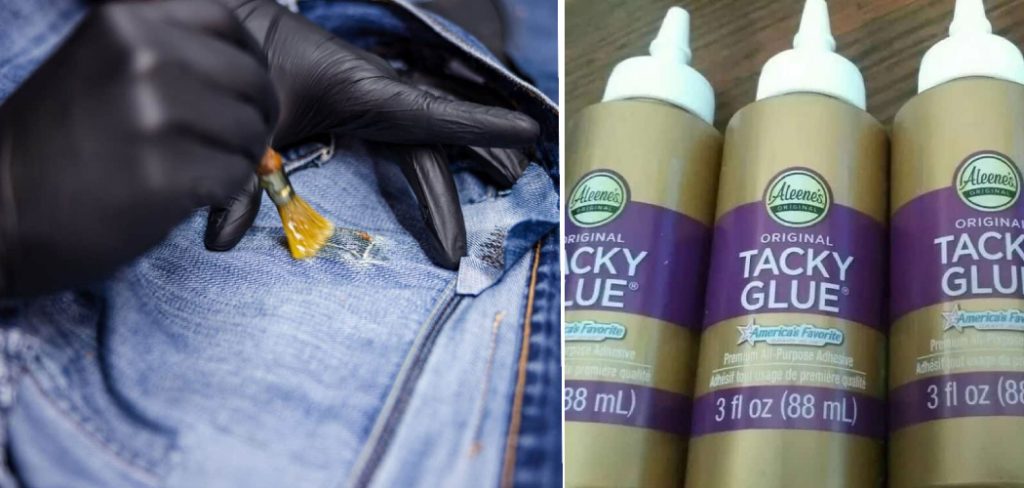
How to Use Tacky Glue on Fabric
Crafting with fabric can be so much fun! You can make clothes, stuffed animals, quilts, and so much more. But if you’re going to use fabric in your crafts, you need to know how to attach it properly.
That’s where tacky glue comes in. In this blog post, we’ll teach you the best way to use tacky glue on fabric. Keep reading to learn more about how to use tacky glue on fabric.
Can You Use Tacky Glue on The Fabric?
Tacky glue is one of the most versatile adhesives on the market, ideal for everything from paper crafts to woodworking. But can you use it on fabric? The short answer is yes, you can use tacky glue on fabric, but there are a few things you need to keep in mind.
First, always test the adhesive on a scrap piece of fabric before applying it to your project. This will help you determine if the glue is compatible with the fabric and if it will leave any stains. Second, be sure to apply a thin layer of glue to avoid saturating the fabric.
And finally, allow plenty of time for the glue to dry before handling the fabric. With these tips in mind, you can confidently use tacky glue on your next fabric craft project.
Why Should You Use Tacky Glue on Fabric?
Tacky glue is a popular adhesive for various craft projects, and for a good reason. It’s strong enough to hold heavy materials like wood together, yet it’s still flexible enough to be used on delicate fabrics. Best of all, it dries clear, so you don’t have to worry about unsightly residue.
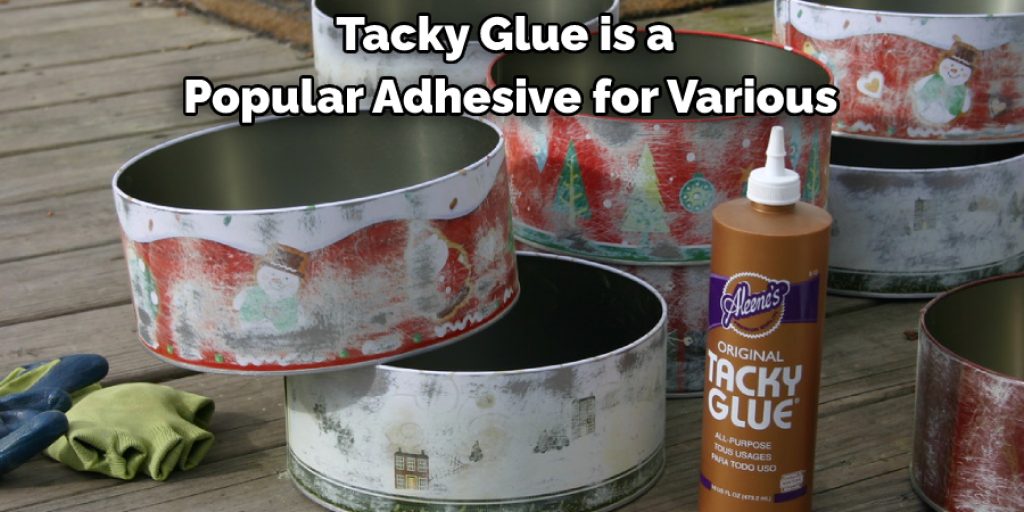
Fabric is just one of the many surfaces that tacky glue can adhere to. In addition to paper, cardboard, and wood, it can also be used on glass, metal, and ceramic. So tacky glue is up to the task, whether you’re making a collage or repairing a vase.
And because it’s non-toxic and washable, it’s safe for both adults and kids to use. So next time you’re planning a craft project, reach for the tacky glue; it just might be the perfect solution.
7 Steps to Follow on How to Use Tacky Glue on Fabric
Step 1: Choose the Right Type of Glue
The first step in using tacky glue on fabric is choosing the right type. Not all glues are created equal, and some are better suited for fabric than others. We recommend using a permanent adhesive for most fabric projects.
This will ensure that your fabric stays put even after washing. If you’re working with delicate fabrics like silk, you may want to use lighter-weight glue to avoid damaging the fabric.
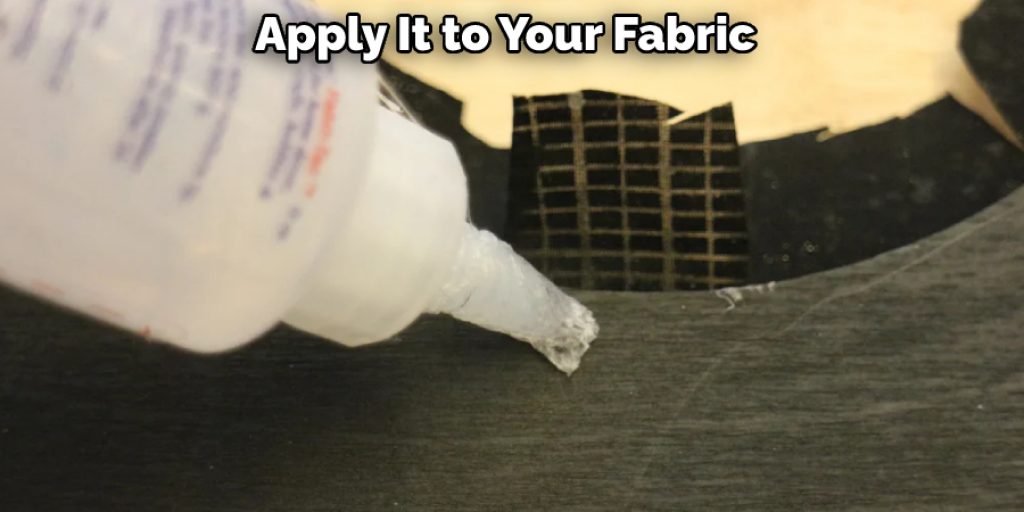
Step 2: Apply the Glue Evenly
Once you’ve chosen the right type of glue, it’s time to apply it to your fabric. Be sure to apply the glue evenly over the entire surface that you want to attach. If you’re working with a large piece of fabric, we recommend using a glue brush to ensure even coverage.
Step 3: Let the Glue Dry Completely
After you’ve applied the glue, it’s important to let it dry completely before moving on to the next step in your project. Depending on the type of glue you’re using, this could take anywhere from a few minutes to a few hours. Once the glue is dry, your fabric will be securely attached and ready to be used in your project!
Step 4: Cut and Shape the Fabric
Once the glue is dry, you can begin cutting and shaping your fabric to fit your project’s needs. If you’re using scissors, take care not to cut too close to the edges of the fabric where the glue is located, as this could cause it to come loose.
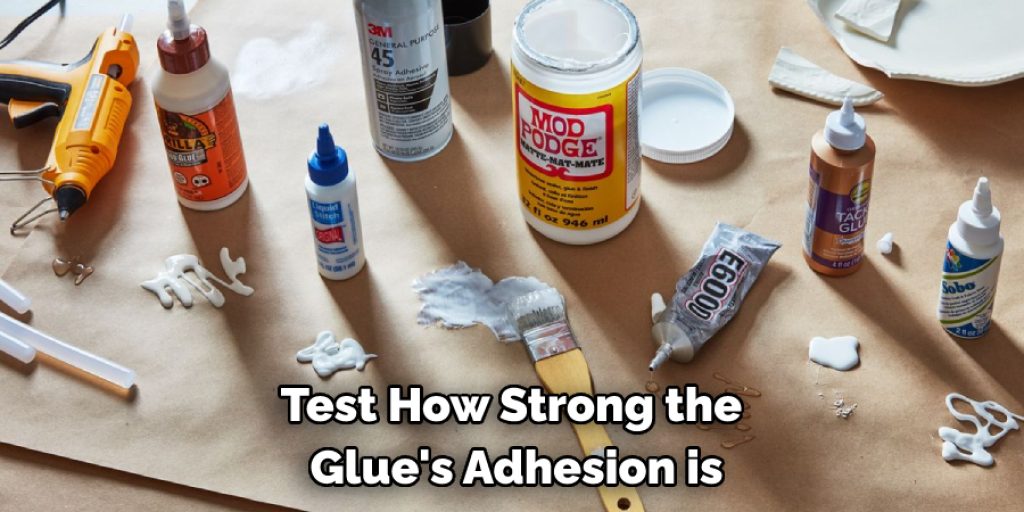
Step 5: Test the Strength of the Adhesion
Before you begin your project, it’s a good idea to test how strong the glue’s adhesion is. To do this, take two pieces of fabric and apply tacky glue on one side. Then press them together and see how much force it takes to separate them.
If they come apart easily, you may need to apply more glue or use a different type of adhesive.
Step 6: Trim Any Excess Glue
Before using your fabric in a project, take the time to trim any excess glue that may have seeped out from the edges. This can help ensure that you get a neat and professional-looking result.
Step 7: Enjoy Your Handiwork!
Once you’ve followed all the steps, it’s time to enjoy your handiwork! With tacky glue, you can easily attach the fabric to any project and create beautiful results. Have fun and get creative with using this adhesive in your projects!
That’s it! You’ve now learned how to use tacky glue on fabric. With these seven easy steps, you’ll be able to attach fabric to any project quickly and easily. So get out there and start crafting!
Things You Need to Know Before Using Tacky Glue on The Fabric
Tacky glue is a popular adhesive for crafting, as it is inexpensive and easy to use. However, there are a few things you should keep in mind before using tacky glue on fabric. First, make sure to test the glue on a scrap piece of fabric first to see how it reacts.
You may need to experiment with different brands to find one that works well with your fabric. In addition, be sure to apply the glue sparingly, as too much can cause the fabric to wrinkle. Finally, allow ample time for the glue to dry before handling the fabric, as it will be very fragile until the glue is fully set.
With these tips in mind, you can use tacky glue to create beautiful projects with fabric.
Benefits of Using Tacky Glue on The Fabric
Quilters, sewers, and crafters have used tacky glue for years to attach the fabric to other fabrics, paper, wood, and more. It’s a product that can be found in most craft stores, and it’s relatively inexpensive. You can even find it in some hardware stores. While other adhesives on the market will work for fabric, tacky glue has some advantages.
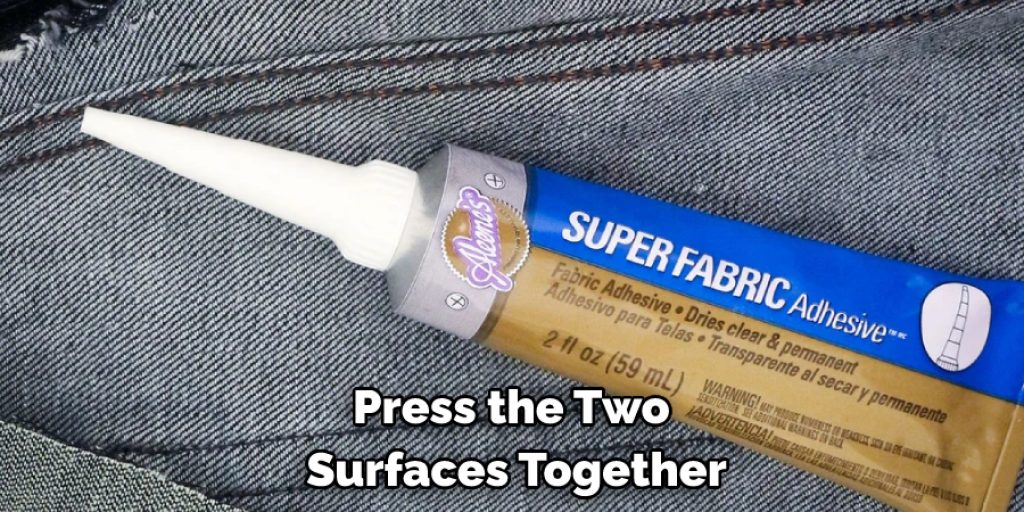
First, it’s easy to use. Just apply a generous amount of glue to one surface, press the two surfaces together, and let it dry. Second, tacky glue is flexible when dry, so it won’t crack or peel if the fabric is stretched or pulled. Third, it’s washable, so you don’t have to worry about it damaging your fabrics if they get wet.
Finally, it’s available in both permanent and temporary formulations, so you can choose the one that best suits your project. Whether you’re a quilter, sewer, or crafter, consider using tacky glue the next time you need to attach the fabric to another surface.
Some Common Mistakes People Make When Trying to Use Tacky Glue on The Fabric
Tacky glue is an important tool in any crafter’s arsenal, but it can be tricky to use on fabric. Here are a few common mistakes people make when using tacky glue on fabric and how to avoid them.
One common mistake is using too much glue. A little bit of tacky glue goes a long way, so it’s important to use it sparingly. Otherwise, the fabric will be stiff and difficult to work with. Another mistake is not allowing the glue to dry completely before moving on to the next step. This can cause the fabric to shift and wrinkle, ruining your project.
Finally, make sure you test the glue on a scrap piece of fabric before using it on your final project. This will help you gauge how much glue to use and how long you need to wait for it to dry. With a little practice, you’ll be able to use tacky glue like a pro!
What Are Some Creative Ways to Use Tacky Glue on Fabric?
Tacky glue is one of the most versatile adhesives available, and it can be used for various craft projects. Here are just a few ideas:
- Use tacky glue to create custom appliques for clothing or home decor. Simply trace the desired shape onto the fabric, then cut it out and glue it in place.
- Make your own fabric-covered buttons by gluing fabric to the back of pre-made buttons.
- Turn an ordinary pair of shoes into something special by gluing on sequins, beads, or other embellishments.
- Add a personal touch to a gift by decorating the wrapping paper with tacky glue and glitter.
Whatever your project may be, tacky glue is sure to add a touch of fun and creativity. So get creative and let your imagination run wild!
Conclusion
If you’re going to use tacky glue in your next crafting project, follow these three simple steps for the best results. First, choose the right type of glue depending on the weight and durability of your fabric. Second, apply the glue evenly over the entire surface area that you want to attach.
And third, let the glue dry completely before continuing with your project. By following these steps, you’ll be sure to have success when using tacky glue on fabric! Thanks for reading our post about how to use tacky glue on fabric.
Nancy Behan
Nancy is an embroidery artist, fashion blogger and a full time editor at DIY quickly. Nancy edits the fashion section on DIY quickly, focusing on the embroidery and cross stitch articles, alongside with fabric and other costume design elements. She graduated from the University of Michigan with a Bachelor of Arts in Art History. She loves to work on her own projects, read books and watch romantic movies in her spare time.