
How to Wall Tile Around a Door Frame
Tile installation is a popular home improvement project that can add value to your property and improve the look of your home. This is a challenging project, but you can complete it successfully with our step-by-step instructions.
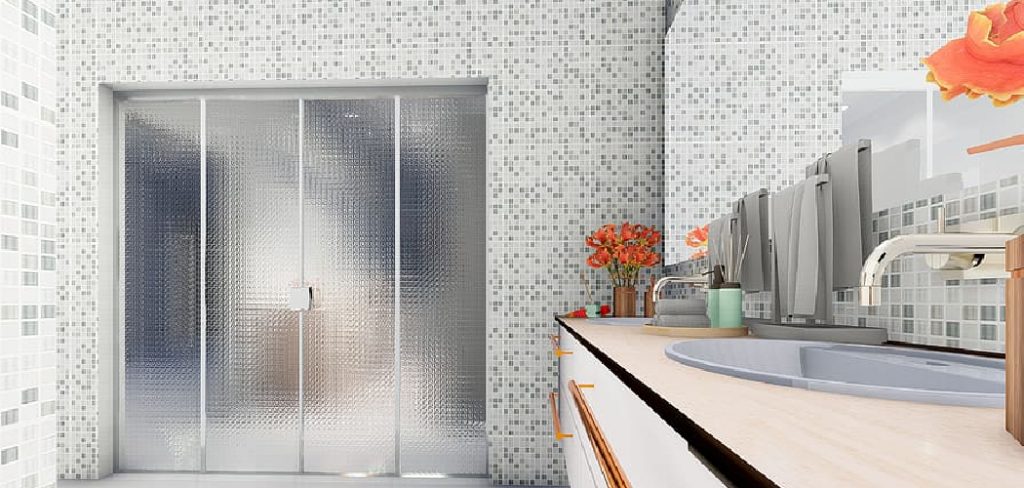
Tile installation can be a daunting task, but it can be a breeze with the right tools and instructions. This blog post will show you how to wall tile around a door frame like a pro. You will need some basic tools and materials for this project, which we will list below. But, with just a few simple steps you can have a beautifully tiled doorway in no time! Read on to know more!
What Tool and Materials You’ll Need
To tile around a door frame, you’ll need a few basic tools and materials.
- Flat Trowel
- Notched Trowel
- Hammer
- Nail Gun or Drill
- Chisel
- Level
- Square
- Tape Measure
Step by Step Guide: How to Wall Tile Around a Door Frame
Step 1: Plan Your Layout
Before you start tiling, it’s important to plan your layout. Decide where you want the tile to go and mark out the boundaries with a tape measure. You may also want to plan out your pattern ahead of time.
Step 2: Remove the Door
If the door is in the way, you’ll need to remove it. First, pry the door off its hinges with a screwdriver. If the screws are rusty, you may need a drill or a hacksaw to remove them.
Step 3: Measure and Mark the Tile Placement
Measure the width of the door opening and divide that number by the width of a tile. This will give you the number of tiles you need to cover the opening. Mark the center of each tile on the door frame.
Step 4: Apply Adhesive and Set the Tiles
Smear adhesive on the back of each tile. Place the tiles against the door frame, lining them up with the marks you made earlier. Use a tile scraper to press the tiles firmly against the frame. Let the adhesive dry for 24 hours before moving on to the next step.
Step 5: Measure the Opening
Measure the width and height of the opening. Be sure to measure from the outside of the door frame, not the inside. Add 1/4 inch to the width and height for the chosen tile size. This will give you enough space to grout and tile around the frame.

Step 6: Cut Tile Spacer
If your door frame is not a perfect square, you’ll need to use spacers between the tiles and the frame. Cut a piece of cardboard or foam board to the same size as the door opening. Place the spacers between the tiles and the cardboard and press them against the frame.
This will create a space for the grout to go. Tile spacers come in different sizes, so make sure you get the right size for your project. If you can’t find tile spacers, you can use washers or coins instead. Just make sure they are the same size as your tiles.
Step 7: Caulk Around the Tiles
Once the adhesive has dried, use a tube of caulk to fill in the gaps between the tiles and the door frame. Make sure to use a color that matches the tiles. Smooth the caulk with a finger or a damp cloth. Let the caulk dry for 24 hours.
Step 8: Grout the Tiles
Once the caulk has dried, use a grout float to apply the grout to the tiles. Work in small sections and get into all the cracks and crevices. Use a damp cloth to wipe away any excess grout. Let the grout dry for 24 hours before walking on it or using the shower.
Step 9: Seal the Grout
Once the grout has dried, use a sealant to protect it from stains and moisture. There are many different sealants on the market, so read the directions carefully. Apply the sealant with a brush and let it dry according to the manufacturer’s instructions.
Step 10: Reinstall the Door
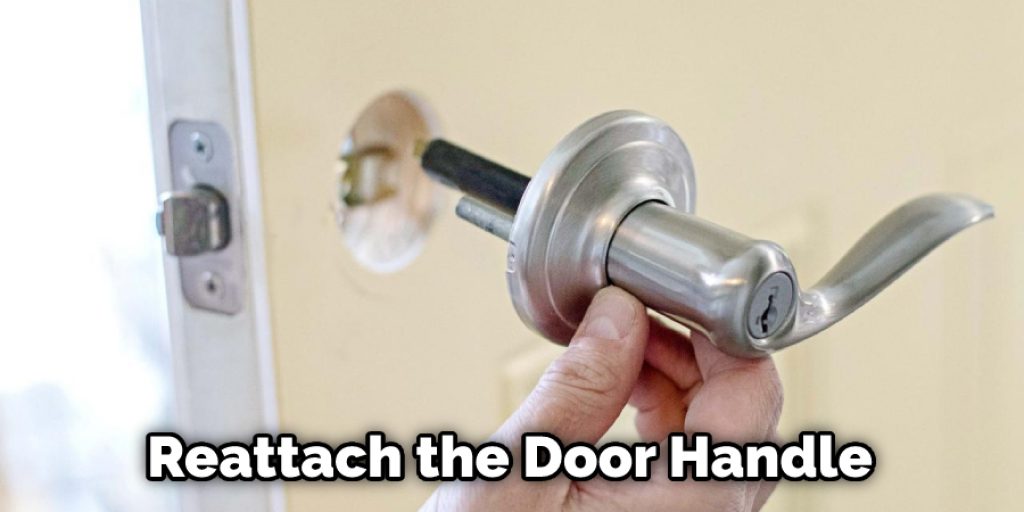
Now that the tile is finished, it’s time to reinstall the door. If you removed the door handle, now is the time to replace it. First, make sure the hinges are in good condition and lubricated, then install the door.
Finally, reattach the door handle. Now that you know how to wall tile around a door frame, you can give your bathroom a new look. Follow these easy steps, and you’ll have a beautifully tiled doorway in no time!
Some Helpful Tips and Suggestions
1. When measuring the width of the door opening, make sure to measure from the outside of the door frame, not the inside. This will ensure that your tiles will fit correctly.
2. If you’re having trouble getting your tiles to stay in place, use a tile scraper to press them firmly against the door frame.
3. When applying the grout, use a damp cloth to wipe away any excess grout. This will help keep your tiles looking clean and polished.
4. Let the adhesive, caulking, and grout dry for 24 hours before walking on them or using the shower.
5. Use a sealant to protect your tile job from stains and moisture. There are many different sealants on the market, so read the directions carefully before using them.
6. If you have any questions or problems while tiling, ask a professional for help. Wall tiling can be a tricky process, but you should be able to do it yourself with these tips!
Why You Should Wall Tile Around a Door Frame
There are a few reasons you should wall tile around a door frame. The first is that it looks great. When you have a tiled wall surrounding your door, it finishes the room’s look. It also makes the door itself look more impressive. Another reason to tile around a door frame is for practical purposes.
If you have a tiled floor and you don’t tile around the door frame, water can get underneath the tiles and cause them to lift. Tiling around the door frame will help to prevent this from happening. Finally, if you have children or pets, tiling around the door frame is a good way to protect your walls from being scratched or damaged.
Can You Tile Up to Door Frame
Tile installation is a popular do-it-yourself project. It can be a bit daunting, but if you take your time and follow the steps, you can create beautiful tile work that will last for years. One of the most common questions we hear from our readers is whether or not they can tile up to a door frame. The answer is, it depends.
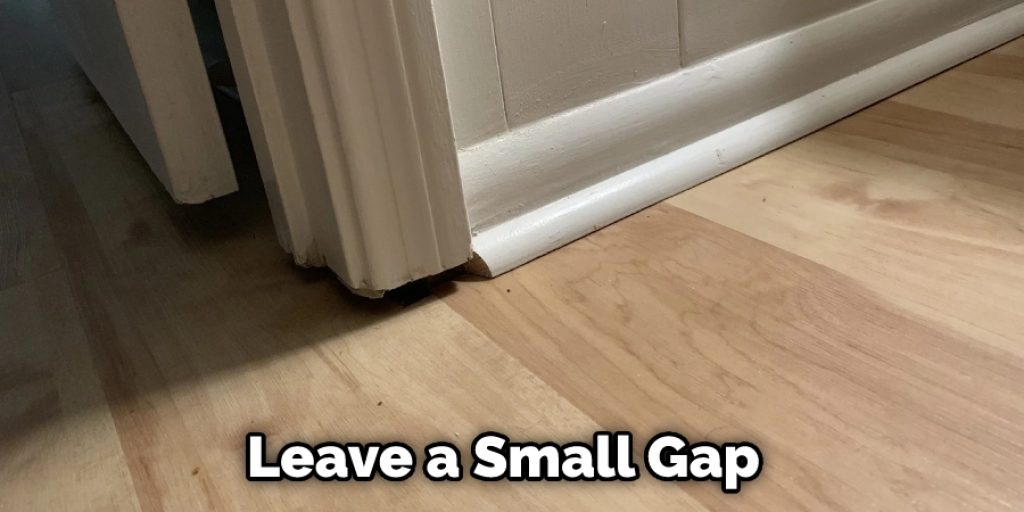
If the door frame is made of wood, you can tile right up to it. However, if the door frame is metal or another type of material, you need to take extra precautions. It is best to leave a small gap between the tile and the door frame to allow for expansion and contraction in most cases.
If you are unsure how to proceed, it is always best to consult with a professional tiler. They will be able to advise you on the best way to tile around your specific door frame and give you some tips and tricks for creating beautiful, long-lasting tile work.
Final Words
Tile installation is a popular do-it-yourself project. You can successfully tile around a door frame by following some simple steps. The first step is to remove the old trim and casing from the door frame. You will also need to remove the existing tile or flooring surrounding the door opening. Next, you will need to install new trim and casing around the door frame.
Make sure that it is level and plumb before securing it with nails or screws. Once the trim is in place, you can install the tiles around the door frame. Start by marking out where each tile will go on the floor using a chalk line or pencil mark.
We hope this blog post has helped give you some information about how to wall tile around a door frame. If you have any questions or want to know more, then feel free to comment below!


