How to Widen Jacket Sleeves
The tight upper arms of jacket sleeves are a really annoying problem, especially for the people who workout using weights. They usually have a bulk upper body, and that’s why they can’t just be comfortable with the regular measurement. Maybe you are also one of them, or you need to widen someone’s jacket sleeves. That’s why I am going to show you some methods that can help you widen the jacket sleeves. You can use any of these methods, depending on the type of fabric. Let’s learn about how to widen jacket sleeves.
In both cases, you have to first learn the exact process. So, do you know how to do that? Even if you don’t have any idea about stitching, you will be able to widen the jacket sleeves with a breeze. I am going to show you how to widen jacket sleeves like a pro. Firstly, you have to cut the existing seam. I would suggest that you use a pair of scissors so that you can make a clean cut.
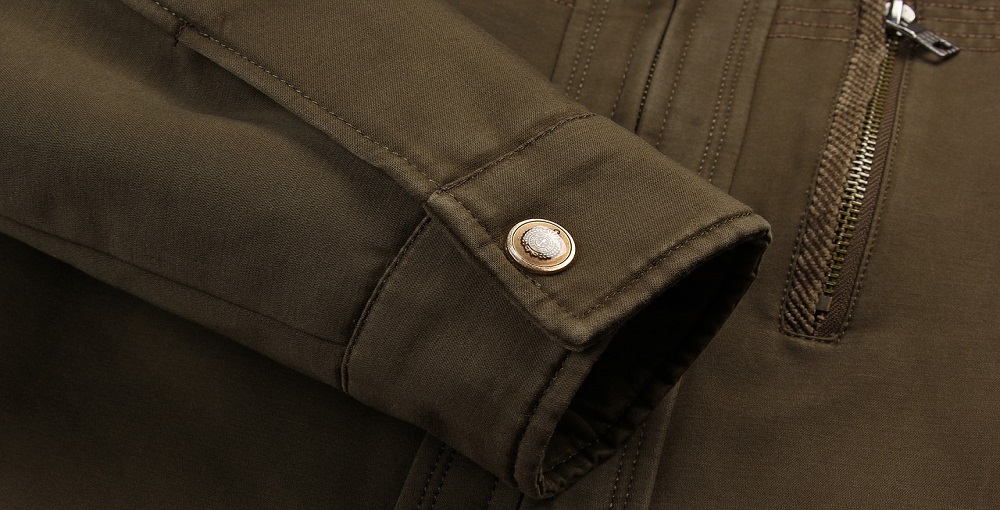
I have got a jacket from my closet. I like the color of it, and it fits me very well from most of the parts, but the sleeves are needed to widen a bit. So, I am going to show you guys how to take them in and widen them to fit my body appropriately. This jacket was easy to fix because it didn’t have a lining. So, if you happen to stumble upon a jacket with no lining where you can clearly see the seam down the arm and the side seams, then that’s how you know that it is going to be simpler to fix.
How to Widen Jacket Sleeves
I decided on how much I needed to widen and just started it from the bottom of the sleeves and blended the new seam into the original instead of undoing the hem. If you do need to take in more at the bottom of the sleeves, I recommend seam ripping the hem open first and rehabbing it whenever you are done for a cleaner look instead of just sewing over the hem. Overall, it’s up to you, and that’s why it’s called DIY, so feel free to do whatever you feel most comfortable with.
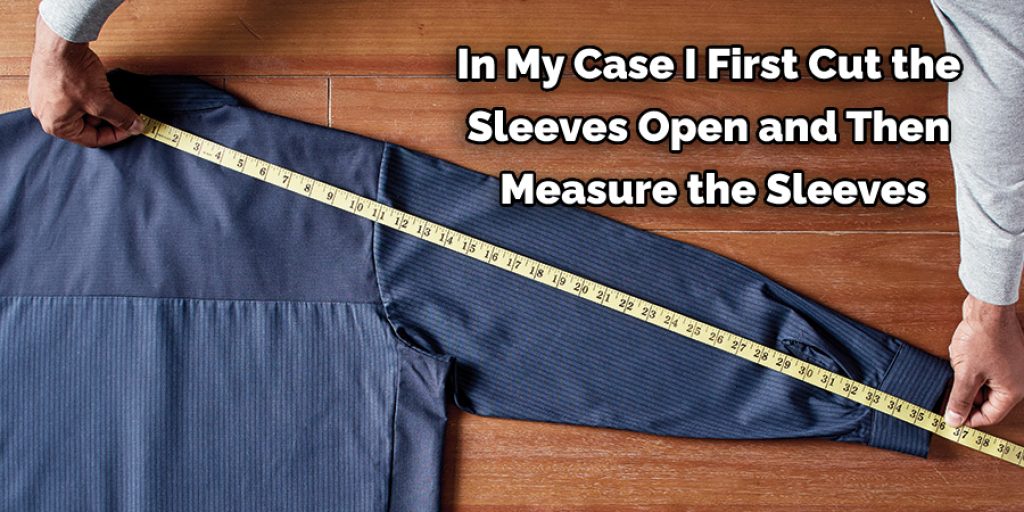
In my case, I first cut the sleeves open and then measure the sleeves. Then cut the inserts to fit. After doing that, I turn the jacket inside out. Now, I pin the right sides together. Once both sleeves are pinned, you’ll want to sew the sleeves together. I use a simple straight stitch with the deepest seam allowance I can get on my machine. Then I serge all around the sleeve.
Once I figured out the place from where the stitching should go on, I put hands in the sewing machine and started sewing on it. After making the adjustment, I trimmed the extra fabric and cleaned up the raw edges with my scissor. Then I press the seams opening with my Iron. That’s it; my jacket sleeves are now ready. It is now wider than before, and I won’t have to worry about the unfit problem anymore.
Conclusion
Hopefully, this simple DIY technique is going to help you with your projects too. If you need further support, don’t hesitate to use the comment section below. Also, you can check our collection of materials for DIY crafts and find your favorite!
You may read also –
Nancy Behan
Nancy is an embroidery artist, fashion blogger and a full time editor at DIY quickly. Nancy edits the fashion section on DIY quickly, focusing on the embroidery and cross stitch articles, alongside with fabric and other costume design elements. She graduated from the University of Michigan with a Bachelor of Arts in Art History. She loves to work on her own projects, read books and watch romantic movies in her spare time.