How to Thread a White Rotary Sewing Machine
The stitching of the tool may appear overwhelming to novice sewing machine owners or even throw it to you off the stitching challenge entirely. Yet after you’ve mastered how to string your machine, you’ll consider this to be a practice and even more accessible.
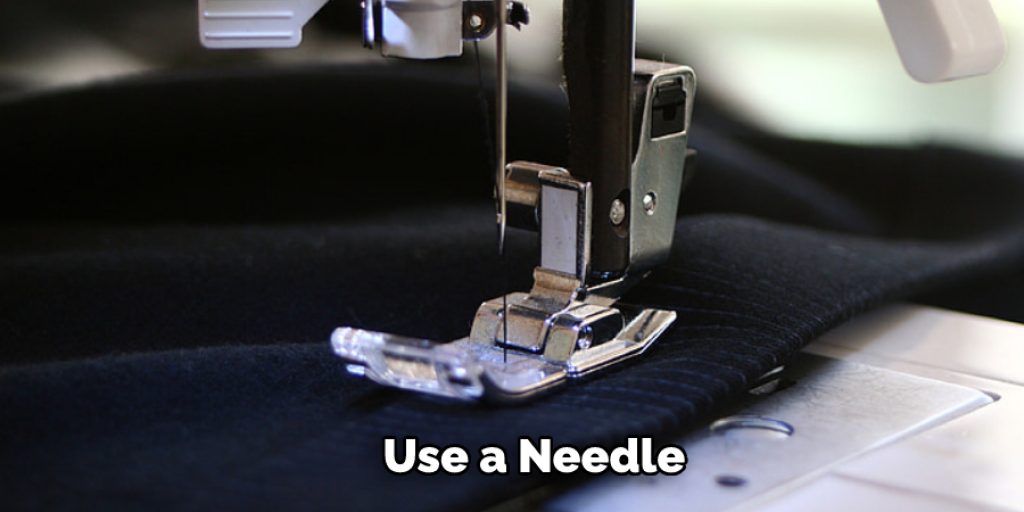
To thread a needle on a sewing machine, first lift the needle-bar to the top. Then release the thumbscrew and force it to the left, which will allow the needle to move as far as it can to the right. Next, hold the needle so that it is balanced on one hand and position it correctly. Finally, firmly attach the needle by locking the screw.
To stop needle loosening, utilize a screw tool to attach the same, with the needle bolt becoming slotted. While moving, the needle will move Center from The Front to the Backside in the needle gap but near the right end of the tube, because it stops the needle from looking into the path and getting hit by the shuttle. Prevent the shuttle from getting loose, by screwing it inside the direction of a clockwise and tighten it up with a screw tool. The needle cannot be loosened from its proper place, but still, if you notice any looseness, do not hesitate to tighten the same.
Instructions
• Position the spool of thread into the spindle ring. Place the string spindle on the edge of the tool, on the pin in the spindle. The spindle would be rotated to detach the thread in a counterclockwise direction.
• Most systems have a little picture on board, indicating where the spindle of the thread will pass.
• Peek out the string. Snag the thread to take it free, then loop it at the machine’s peak across the spinning bobbin pressure ring. The portion is over the needle, on the contrary direction of the device. Also, the disk can have a short wire connected to it, which may help to retain the string. Adjust the tension. To do this, rotate the dial or take a finger off the end of the machine to raise or lower the spring or pressure knob. The right amount of tension will give you a single strand on your thread that isn’t too loose or too tight.
• Bobbin line. Next, taking the thread edge and put it into the bobbin into one of the openings. Instead, a couple of times, loop the thread across the bobbin to protect it.
• Please remember that before the-threaded bobbins are often accessible in fabric shops when you do not want your bobbins fixed.
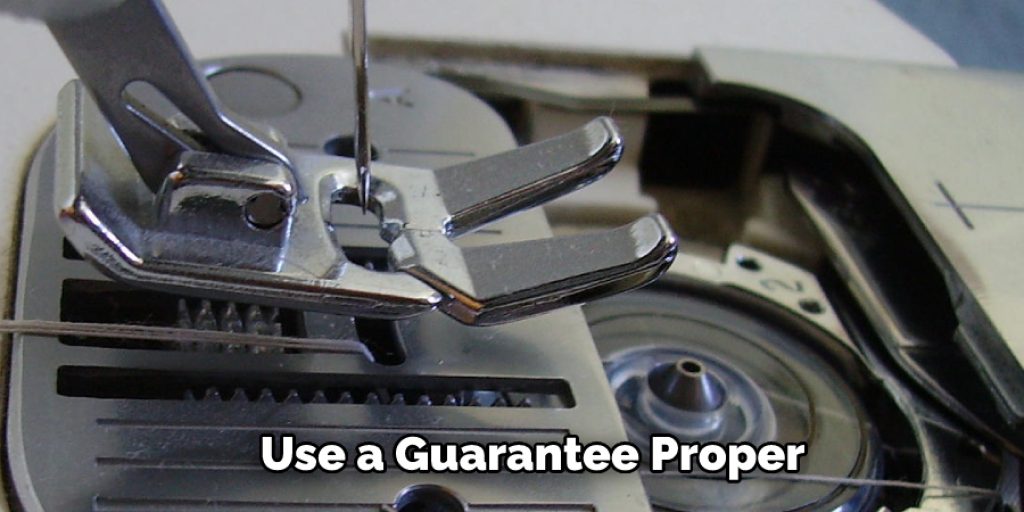
• Begin the winder to the bobbin. Gently pull the bobbin for several moments by either putting the feet pedal to the floor or tapping the winding bobbin key (when your device has one). Using so should guarantee proper wrapping of the thread across the bobbin. It would help if you paused for a moment after several rotations to break off the extra yarn, which sticks out of the gap in the bobbin. If you have a lint tray, be sure to clean it regularly. Doing so will help ensure optimal sewing machine performance and extend the life of your device.
• Wrap up bobbin spinning. Once more, add steady pressure to the ground lever or flipping the winder back on to encourage the thread to cover the bobbin entirely. Whenever the bobbin is loaded, the winder can end by itself, and if it doesn’t prevent it until the thread is nearly even with the side of the bobbin spindle.
• Uncover thread to the bobbin. The yarn of the bobbin also lies beneath the surface behind the needle. To pull out the bottom of this, grip the circular dial/wheel on your stitching machine’s right hand. Switch it a couple of times against you, and the thread edge will come out. Take it and tug so that the thread is visible to few other inches.
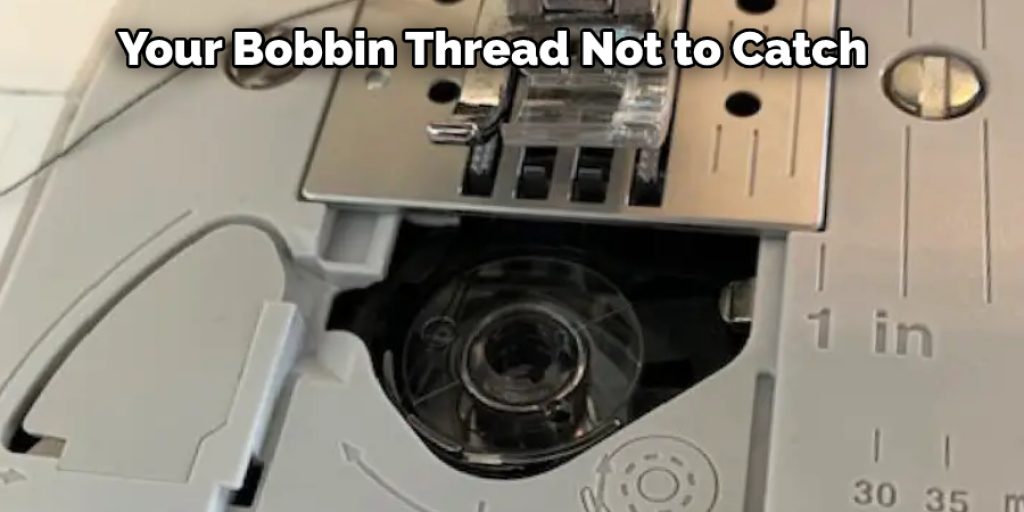
• Whenever the thread fails to catch, inspect the compact to see if it is moving correctly and ensure the thread passes quickly as you put it on. If that does not, otherwise, it could be too complete, and even some of the thread will have to wind down. With the majority of those problems, it is always a great idea to perform a thorough cleaning of your sewing machine. You can clean it yourself, or you may hire a professional machine servicing. It’s worth investing in a service that will ensure the condition of your device.
How to Thread the Bobbin Case Tension on a White Rotary Sewing Machine?
Installing the tension on your White Rotary sewing machine ensures even and consistent stitches. To do this, you must first unscrew the screw at the top of the bobbin case and remove it from its housing. You should then check that the tension is properly adjusted using a small screwdriver; it should turn with moderate resistance but not too much that it’s difficult to turn.
Once this is done, insert your bobbin into the shuttle race and pull it out until its tail touches the tension regulator spring to ensure there is enough tension when stitching. Make sure that the slot at the end of the bobbin lines up with both ends of a bobbin case needle groove for securest fit during stitching – but don’t over-tighten either side as this can disrupt your tension settings!
Frequently Asked Questions
What is a white rotary sewing machine?
A white rotary sewing machine is a type of Sewing Machine that uses a round needle to sew fabrics together. It has many advantages over other types of Sewing Machines, such as the fact that it is easy to thread and does not require a lot of pressure to sew.
White rotary sewing machines are perfect for people who are new to sewing because they are simple to use and do not require a lot of practice to get good at. They also have a wide range of stitches, which means that you can create many different types of seams.
Are white rotary sewing machines good?
There is no one-size-fits-all answer to this question, as the quality of a white rotary sewing machine will vary depending on the type of fabric being sewn and the specific needs of the user. However, some general benefits that are often associated with white rotary sewing machines include: they are very accurate, easy to use, and have a wide range of stitches.
Why is my bobbin thread not catching?
There are a few things that can cause your bobbin thread not to catch.
The first thing to check is if the thread is too thick or too thin. Thicker threads will require more tension to be applied in order to catch, while thinner threads will require less tension. If the thread is the correct thickness, make sure that the spool is properly aligned and that the bobbin is correctly installed. If the bobbin is not installed correctly, it can cause skipped stitches.
If all of these checks out and you still experience problems with your bobbin thread catching, it may be time for a new spool of thread or a new sewing machine.
Where does the bottom thread go on a sewing machine?
There is no definitive answer to this question since sewing machines come in different shapes and sizes. However, it is generally assumed that the bottom thread goes through the bobbin case and then exits the machine on the right side.
Should presser foot be up or down when threading machine?
When threading a fabric through the presser foot, it is important to keep the presser foot up so that the fabric does not get caught in the machine. This will prevent damage to the machine and possible loss of time.
You may read our another article –
Nancy Behan
Nancy is an embroidery artist, fashion blogger and a full time editor at DIY quickly. Nancy edits the fashion section on DIY quickly, focusing on the embroidery and cross stitch articles, alongside with fabric and other costume design elements. She graduated from the University of Michigan with a Bachelor of Arts in Art History. She loves to work on her own projects, read books and watch romantic movies in her spare time.