How to Remove Water Drip Marks From Painted Walls
Introduction:
Drip marks can ruin a paint job. A drip mark refers to wet brushes, spray bottles, or sprinklers onto painted walls. Water penetrates the still-wet paint and leaves noticeable marks on the wall in the form of streaks that stop just short of running tracks. Today I will be discussing how to remove water drip marks from painted walls.
What Causes Drip Marks?
Drip marks appear when excess paint runs off the side of a brush or roller while you’re painting. There are several reasons this happens, usually related to technique:
A Load of Paint on Your Brush or Roller
When you load up your brush with more than it can hold, it will naturally drip down the sides onto your walls. The same is true for paint rollers, where painters often overload them leading to paint dripping off the edges onto the wall behind them as they work.
If any stray drips land on an area already painted, they’ll leave a quick-drying, hard-to-remove mark that looks like a drip mark. You’ll know in advance if you’ve overloaded paint by how heavy your roller or brush feels. If it feels light, you haven’t loaded enough paint; if it feels like someone hit you with a stick, you’ve overloaded it.
Using a Vertical Brush for Horizontal Strokes
Using a natural-bristle brush in the wrong direction will leave you with loads of drip marks. This is why we always prefer synthetic brushes, which work well either way. To make matters worse, using a vertical brush for horizontal strokes often leaves fairly wide and pronounced mark lines in their wake. Horizontal brushstrokes are generally used for horizontal surfaces and vertical brushstrokes are usually reserved for vertical surfaces.
Using the Wrong Brush
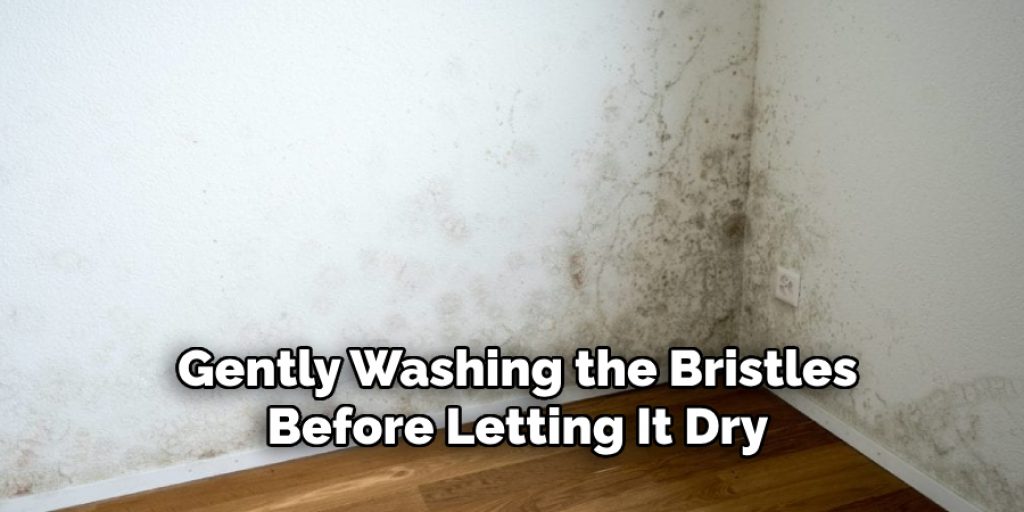
If your paintbrush has uneven outer bristles, it won’t spread the paint properly on your wall, leaving you with drips where the thinner strands are falling off and landing on your newly painted surface below. When you’re finished with your paintbrush, make sure to wash it out in a bucket of soapy water, gently washing the bristles before letting it dry. You can also have your paintbrush professionally cleaned.
Making Too Many Small Passes Over Your Wall
The more times you go over an area, the more times paint builds up on your brush from the previous pass and is then dropped off onto your fresh paint below. This leads to big drip lines appearing on your wall. To keep this from happening, try doing fewer strokes when painting next time, especially near borders where you’re making multiple, small crosses.
Step-wise Guide on How to Remove Water Drip Marks From Painted Walls
The good news is that most drip marks are easy to fix using only products you already have in your home or office. In the old days, it took a lot more elbow grease than it does today but even so, you’ll probably tire out long before the mark disappears completely! That being said, there’s more than one way to do each step described below… pick the one(s) that work best for you: 1. Get a damp cloth or sponge and wipe away the drips as best you can. If you have a steamer, it will help to loosen the crayon wax before scrubbing.
Step 1: Wipe the Drip Mark
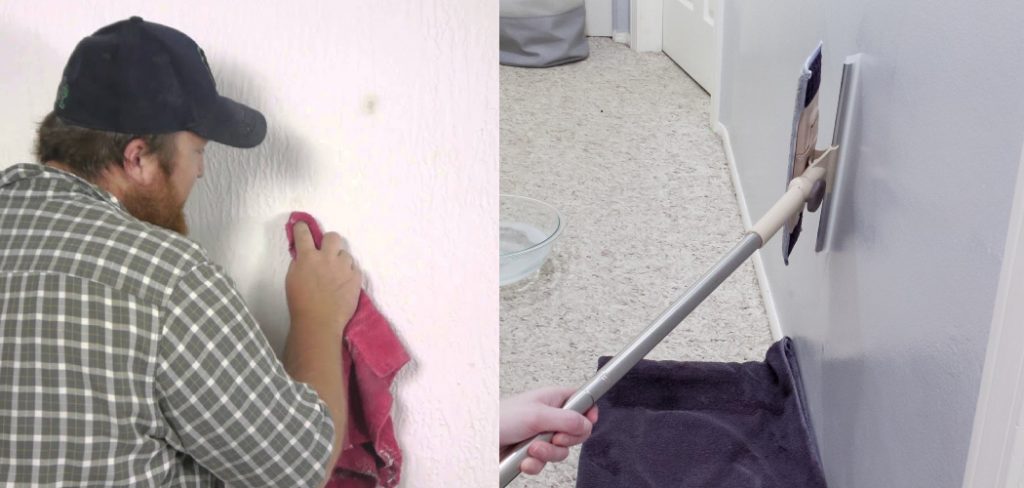
Immediately after discovering the drip mark, wipe it down with a clean, damp cloth. If you can’t get to it within about two hours, this step won’t help much, if at all, so try the other steps then. If the drop mark is already dry when you find it, use a soft, damp cloth to wipe the stain away.
Step 2: Mix Up Some Household Adhesive
Once the surface is dry again, mix up some household adhesive (such as Elmer’s Glue) and spread a thin layer over the entire area of the drip mark. Let stand for several minutes and then wipe off with a clean, lint-free clot. This will not only give you an even application but act like a stain block underneath whatever topcoat you put on top of it later.
Step 3: Mix Up Some Low Sheen or Flat Paint
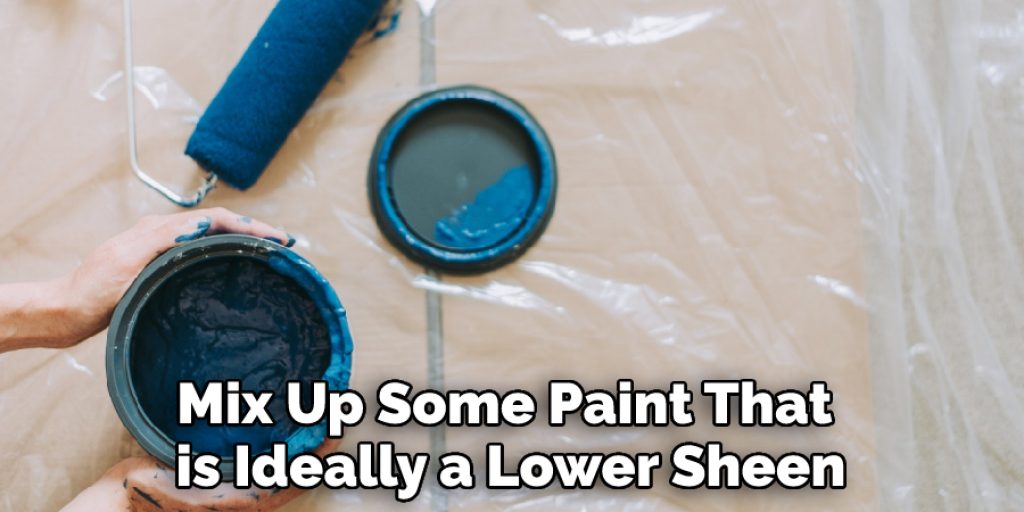
Mix up some paint that is ideally a lower sheen or flat to match the current color of your wall. If you have an old can of paint, use that for this step. Otherwise, choose a matching color from any hardware store’s selection of paints.
Step 4: Apply Another Layer of Adhesive
Apply another thin layer of adhesive and leave it dry or cure for 24 hours. This will give the paint a tacky surface to which to adhere so that it won’t chip and flake when you paint over it.
Step 5: Apply Two Coats of Paint
Once the adhesive has cured, apply two coats of your chosen color to cover the damage. If necessary, touch-up any areas that need it with more paint and a fine brush before painting over them. If you’re doing this on your walls, cover the entire area with a coat of primer first, and then do the two coats of paint.
Step 6: Preparing for Touch-ups
When you’re getting ready to touch up your freshened-up wall, spread a layer of adhesive over it, let dry for about 15 minutes, and then wipe it off again. This will remove any dirt and grease from the surface, allowing you to get a good bond for your touch-up paint. Once the adhesive is dry, you can touch up your wall.
Step 7: Protect the New Paint Finish
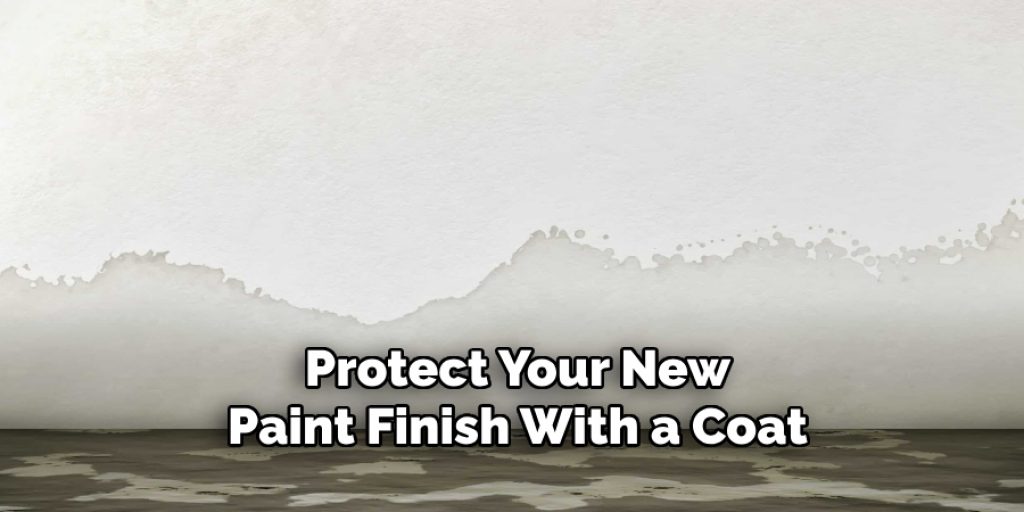
After touching up, protect your new paint finish with a coat or two of polyurethane to prevent it from being stained again by any future spills. If you have latex paint on your walls, try using a clear coat of polyurethane on top to add a bit of extra protection. This will also help if you’re going for a glossier finish, while matte paint can handle oils and water more efficiently.
Step 8: Protect your Floor too!
Protect the rest of the room from spills by putting down a sheet of paper. Newspaper is fine, as long as it’s clean and not too wet, but an old towel or other pieces of cloth can work better for this purpose. If you’re doing this on your floor, put down some paper first, and then place an old towel underneath the area, you’ll be working in. This will help to absorb any drips that fall while you work.
Step 9: Clean Up any Spills
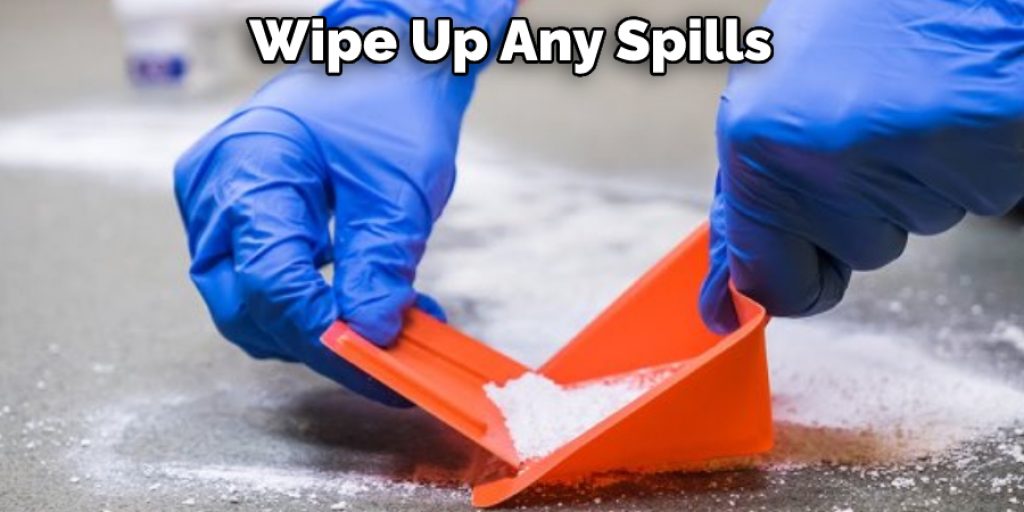
Before you start, make sure you have a piece of cloth or other absorbent material handy to catch any drips that might fall. If possible, lay your flooring down the way you normally walk to create an additional layer between drip spots and your heels. And finally, wipe up any spills as quickly as you can, and make sure they’re dry before you paint over them.
Step 10: Prime the Wall First
Before you paint over your new wall, make sure it’s clean and free of dust or grease marks. Also, please give it a light sanding to roughen up the surface so that your paint will adhere well. Follow this with primer before painting over the top of any smooth surfaces.
Step 11: Mix up your Paint
The next step is to mix up your paint. This might be easier if you use a roller tray, but any sturdy work surface will do. It should be about the size of your project area or larger so that you can lay down enough paint for both coats.
Step 12: Apply your Paint
Start with a dry roller and load up the bristles. If you can, dampen them slightly first to apply a smoother coat of paint. Then hold it at an angle and start rolling towards one end of your painted area to avoid drips or buildups. Take these base coats lightly, though, making for more effortless touch-ups.
Tips When Removing Water Drip Marks From Painted Walls
Here are some additional tips that can help you remove water drip marks from painted walls:
- Use a Magic Eraser: Magic erasers are great for removing tough stains from walls without damaging them. Wet the magic eraser and gently rub the water drip mark until it disappears.
- Apply baking soda: Mix baking soda with water to create a paste. Apply the paste to the water drip mark and let it sit for a few minutes. Then, gently rub the mark with a soft-bristled brush until it disappears.
- Use vinegar: Vinegar is a natural cleaning agent that can help remove water drip marks from painted walls. Mix equal parts vinegar and water in a spray bottle and spray the affected area. Let it sit for a few minutes, then wipe the mark away with a clean cloth.
- Use rubbing alcohol: Rubbing alcohol can help remove water drip marks from painted walls. Dab rubbing alcohol onto a clean cloth and gently rub the mark until it disappears.
Remember to test any cleaning solution on an inconspicuous area first to ensure it doesn’t damage the paint on your walls.
Precautions While Removing Water Drip Marks From Painted Walls:
- You should clean the area of drip marks with a wet cloth regularly to not dry up and lead to the formation of discoloration.
- Use only warm water for cleaning purposes. Do not use strong chemicals like bleach, as they can undo the paint’s quality and durability.
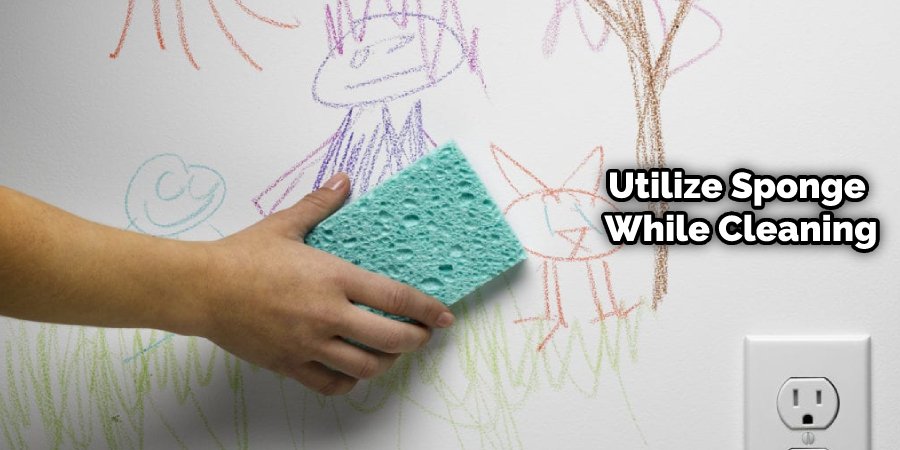
- Utilize a soft cloth or sponge while cleaning the area so that you do not scratch off the paint layer completely from your walls or furniture as it would add to further damage in the future itself.
- As soon as you notice the water stains are sure to remove them at an early stage because hardening or ossification of stain over time period causes difficulty in removing the spot, thus causing great distress.
Does Water Drips Damage Walls?
Yes, water dripping from the roof of your house will certainly damage the walls over time. However, often this is not a direct effect of water but can have an indirect cause. This is because when water drips onto walls, it usually just falls to the ground and stays there. However, in damp areas, mold develops quickly, eventually leading to degrading effects on the wall surface itself.
Conclusion
Water dripping on the wall can cause a lot of problems. Not only is it just unsightly, but you’ll eventually have to take action and replace that damaged portion of the wall. Fortunately, with some time and effort, most water stains on walls can be removed using household products. I hope this article has been beneficial for learning how to remove water drip marks from painted walls. Thank you and have a nice day!


