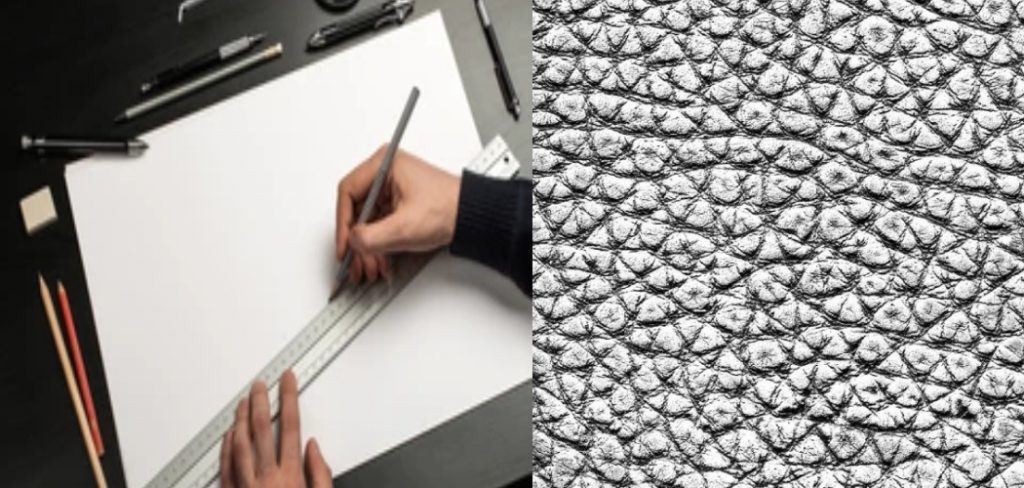
How to Draw Leather Texture
Leather is a popular material for fashion and furniture, and learning to draw the texture of leather accurately can help you create more realistic designs. A few key steps to drawing leather texture can help you get started.
In this blog post, we’ll discuss how to draw leather texture using pencil and paper, as well as some common tips and tricks. So whether you’re looking to create a cozy armchair or a chic bag, read on for all you need to know about drawing leather texture!
What You Will Need
- Tape
- Pencil
- Eraser
- Permanent Markers (or Colored Pencils)
- Cardboard
- Paper
- Image of Realistic Leather Texture (Optional)
Step by Step Process: How to Draw Leather Texture
Step 1: Preparation
Begin by drawing a basic outline of the area you want to fill with any leather texture marks. This includes the contours and boundaries of the design, as well as where there are none. For example, if you’re designing a set of chairs, plan out how wide the seats should be, where the back supports will go, and how long the legs should be. Include any detail or features you want to be part of the design.
Keep in mind that when drawing leather texture, you will want to leave some areas blank (such as the seat of a chair) for the contrast between textures; alternatively, you can make your entire design out of leather for an interesting effect! Here are some more tutorials that you might find helpful in creating your own leather textures:
Step 2: Drawing the Texture
In order to add detail to your design, you need to first determine where certain parts should be raised or lowered. Once you have done this, you can begin drawing small lines across the entire outline that correspond with the elevation changes. If your design does not have any raised or lowered areas, you only need to draw lines along the contours of the objects. When you are adding detail, you should vary between thick and thin lines so that it looks natural.
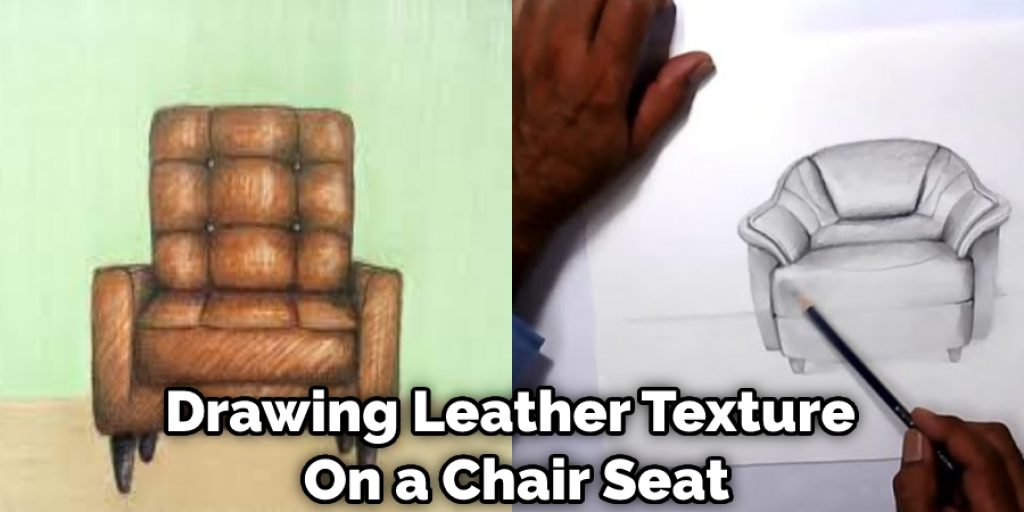
After you have finished the outlines of your design, begin drawing lines within each area to define how thick or thin they are. This will help create the illusion of texture. For example, if you’re drawing leather texture on a chair seat, draw very thin lines where the individual stitches are located and then thick ones that follow their contours.
Step 3: Making the Template
You will need a piece of cardboard and a pencil. First, trace your hand onto the cardboard. This will be your template. Next, use the template to draw the texture onto the cardboard. If you want to use a realistic image as a reference, print it out onto a piece of paper and use it as your template.
Step 4: Transferring the Texture
Use an X-ACTO knife or other sharp object to cut holes in your cardboard, following your pencil lines carefully. Then, transfer the shape of each hole over to your design using sketching paper. Be sure to mark which area you will be transferring next, as you will want to avoid accidentally drawing over the same area twice.

Step 5: Intensifying the Texture
Once all of your designs have been transferred onto your design, begin “stitching” and outlining each shape and line with a permanent marker or colored pencils to further define the texture. Continue until every part of your design has been completed and you are satisfied with the look.
Step 6: Fine-tune Highlights, Shadows, and Reflected Light
Once your leather texture looks about finished, fine-tune the shading and highlights to make it look like real leather. For example, if that design is meant to be on a pair of shoes, highlight some areas with brighter markers or colored pencils, so they stand out more than other parts you’ve drawn texture on.
You can also use the technique of “reflected light” to further enhance your design. This is when you draw a light source in one area of the design and suggest that the rest of the texture gets lighter/darker throughout it. For example, if you are drawing leather texture on a pair of shoes, you would suggest this by adding darker lines along the shoe’s bottom and lighter ones on top.
Step 7: Add Detailing.
Once you’ve finished the outline of your design, go back and add any small details that can enhance it. For example, if your leather texture is designed to be on a purse, draw some small dots or lines around the strap to represent stitching. You can also use this time to make color adjustments if necessary.
Step 8: Finalize Your Design
When you’re done adding detailing and changing colors, erase your original pencil lines and admire your finished design! You can use this same technique to draw an enormous array of different textures, such as bricks, fur, scales, clouds, grass, and wallpaper.
When transferring the texture onto your design, be sure to use a template that grants you full control over which areas get drawn on and which do not. If you don’t have a template with this ability, you can use a pencil or pen to outline each design area on a separate sheet of paper and then transfer it back to your final product.

You Can Check It Out to: Paint Fur Texture
Some Tips and Suggestions
1. Use a light pencil to lightly sketch over your existing design before transferring it so that the marker won’t bleed through or smudge what you have already done.
2. If your final product includes multiple leather textures within one area, plan out which areas should be raised and lowered to give each texture its distinctiveness.
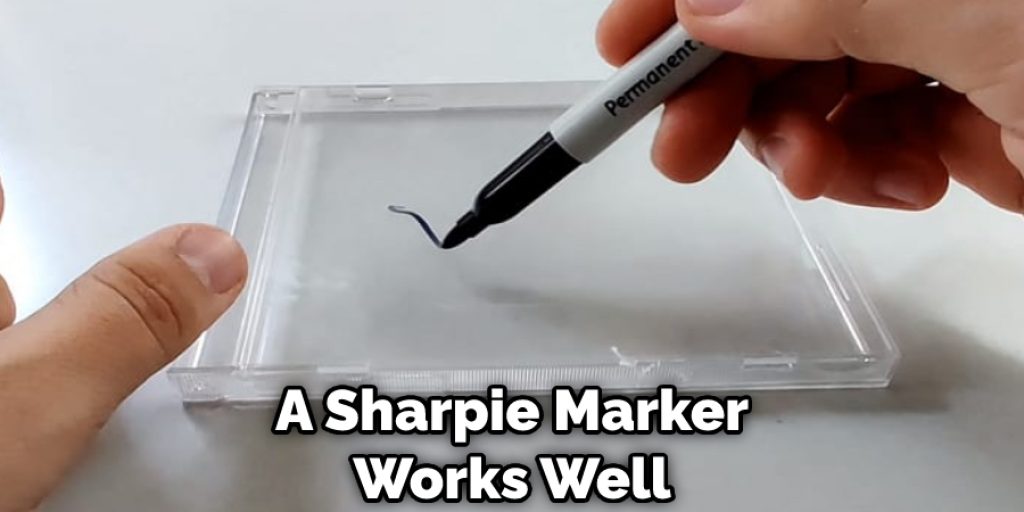
3. A sharpie marker works well for this kind of art.
4. You can add a wash of brown or black to give your drawing some depth and make the leather look more realistic.
5. If you’re going to apply a color marker on top of your finished design, it’s best to start with a darker tone at first until the color builds up enough.
6. The tip of a ballpoint pen can also help make tiny lines and dots, but take care not to make those dots too large, or they will lose their shape and become circles.
7. The side of your marker may leave streaks if you don’t hold it at an angle as you draw. For best results, experiment with different angles to find the one that works.
You Can Check It Out to: Save a Texture in Blender
Conclusion
As you can see, it is easy to create a realistic leather texture. You may not get the same effect with paint or other drawing materials; however, these tips will help guide you in your DIY projects.
If this article has been helpful and you want more information on how to draw leather texture onto fabric for clothing design purposes, please do not hesitate to contact us. We are always happy to offer advice about any type of home project! Let us know your thoughts in the comments below!
Elizabeth Davis
Elizabeth is a creative writer and digital editor based in the United States. She has a passion for the arts and crafts, which she developed from a young age. Elizabeth has always loved experimenting with new mediums and sharing her work with others. When she started blogging, she knew that DIYquickly would be the perfect platform to share her tutorials and tips. She's been writing for the blog from the beginning, and her readers love her helpful advice and easy-to-follow instructions. When she's not writing or editing, Elizabeth enjoys spending time with her family and friends.