How to Repair Loose Nails in Wood Siding
Siding is the skin of your home. It is usually attached to the wall’s exterior to protect it. Wood siding is now available in numerous forms and styles based on the requirements of several users. You might have installed your favorite wood siding for securing your house walls by maintaining the styles.

But after years of its installation, now you have noticed some of the nails have got loosen, hampering the overall design of your house. Well, that’s an annoying part of the wood siding but stay relaxed. You are not the only one suffering from this problem. Many users face these loose nail problems, but with some tactics, they solve them by their own effort. Wanna learn how to repair loose nails in wood siding?
Honestly, if you have got a little amount of woodworking skill, you can handle this type of small repairing work on your own. Although large repairs usually require more tools and hands, you can tackle this loose nail problem with some simple tools and conveniently. You won’t require any additional support for accomplishing the entire process if you only follow these tactics step-by-step. So, let’s dive in!
Wood Board Siding Repairs
As you have started to repair the damaged parts, you should inspect your wooden siding properly. I mean, don’t just stick with the loosen nails, find out the damaged area, and causes of damage. Once you identify the problems, you should start solving them one by one.
It’s not just about your home’s design; sooner or later, you’ll have to deal with these problems. If you put them off, the damage could spread. But don’t worry; this article will provide you with the perfect guide to solving all possible problems with your wood siding. First, let’s see how to repair loose nails in wood siding.
Tools You Will Need
- Screwdrivers
- Galvanized nails
- Galvanized screws
- Drill
- Wood chisel
- Wood adhesive
- A caulking gun and weatherproofing caulk
- Wood stain
- Sandpaper
- Metal primer
- Hammer
- Nail set
- Automotive body filler
- Sheet metal screws
- Exterior paint
- Paintbrush or pad
- Mini-hacksaw blade
- Pry bar
- Zip tool
- Metal snips
- Utility knife
- Wedges
- Safety goggles
- Work gloves
Ow! That’s a lot of tools. But as I have said, I will provide you with a complete guide, so these are going to be needed. If you want to work for a particular point (only repair the loose nails), you can only work with a few tools. If you have got the required tools, let’s start the process.
How to Repair Loose Nails in Wood Siding

Step 1 – First of all, you have to inspect the surface closely and identify which nails are playing the main role behind this problem. Ensure the exact cause of it. If the problem is with your siding, and if it needs to be repaired or replaced, then you have to shift to that process instead of just replacing the nails. Yes, you can change the nails and install newer ones in all cases, but honestly, that won’t going to stay for long if there is a problem with the surface.
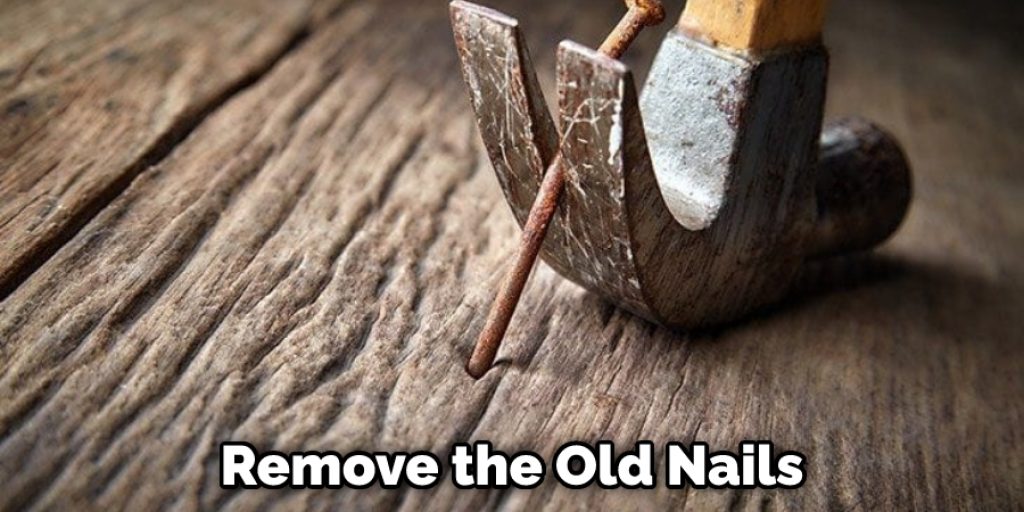
Step 2 – If there isn’t any problem with the surface, you have to focus on prying out the nails. Start the process by using a pry bar and remove the popped nails.
Step 3 – After removing the old nails, you have to replace them with new galvanized nails. You can also use screws that fit accurately with the shanks. The screws are still going to be useful even if they are slightly wider than the shanks.
Step 4 – Next, recess the screw heads properly and then cover the heads with a high-quality weatherproofing caulk. That’s all; you loosen nails are repaired now.
How to Repair Bowed Wood Siding?
Step 1 – In this case, there are chances of the wood splitting increases. So, you have first to take accurate steps to avoid this. So, start the process by drilling pilot holes through that goes through the siding and into the underlying studs. It will prevent the woods from splitting during the process.
Step 2 – Next, take long galvanized screws and install them through the sidings. You should also install them into the studs.
Step 3 – Once installing all the screws, recess the screw heads properly. After that, cover the heads with weatherproofing caulk like before.
How to Replace Damaged Wood Siding?
Step 1 – If you have identified the damaged part, you have to start the process by inserting wedges under the course directly. Make sure to insert it under the damaged shingle only.
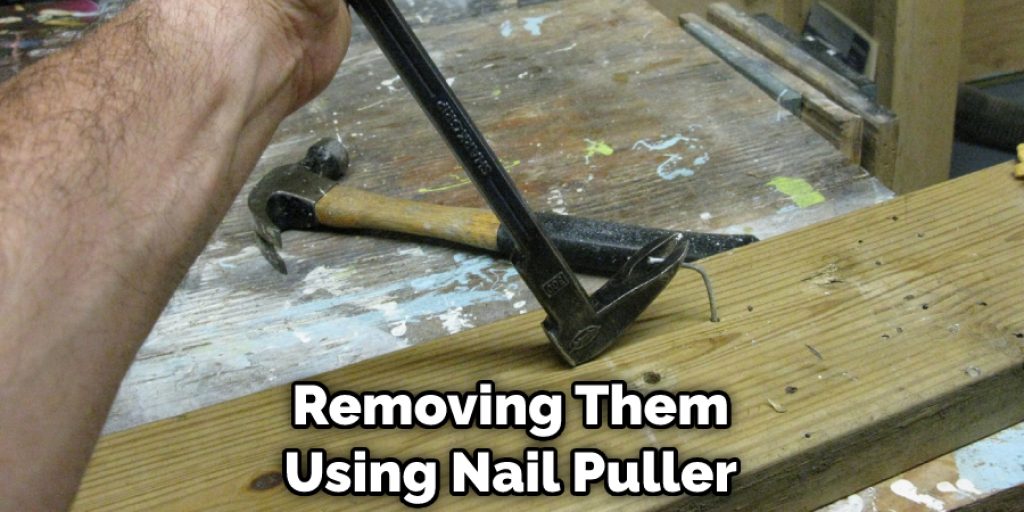
Step 2 – Next, start removing the damaged shingles. You will need a nail puller, or you can use other tools similar to this. Sometimes, you can also use a chisel to cut the damaged parts into small pieces.
Step 3 – Now use a screwdriver to drive the nail heads out of their holes. You can use different other tools for this purpose. But make sure to remove the nail head without damaging the siding. Remove every nail head that will act as an obstacle while installing a new siding.
Step 4 – After that, take a new shingle and cut it according to the measurement of the place. Ensure the accurate measurement is maintained, allowing it to fit snugly into that place.
Step 5 – Once you have prepared the shingle, position it appropriately, and then secure it with galvanized nails or screws. Make sure to fasten the new shingle into that place firmly. W
Step 6 – The final step is to recess the screw heads and cover them with weatherproof caulk.
How to Repair Clapboard Siding?
Step 1 – You may also find cracked clapboard while working with your sidings. If you have found one, then use your putty knife and insert it into that clapboard. You can also use the putty knife to pry the bar into the crack and widen it.
Step 2 – Once you have to pry the bar out, apply a high-quality wood adhesive to that place. You can easily get one of them from your nearest shop, or you can get them from online markets places like Amazon, e Bay, etc. There are several types of adhesive in the market, but make sure to choose one that is premium in quality and waterproof. They are good to use.
Step 3 – After that, nail properly from each side. It will help the sides to attach properly with the adhesive. The cracked mark will disappear by doing when the adhesive will dry completely.
Step 4 – As always, patch the nail heads and cover them with a high-quality weatherproofing caulk.
Step 5 – To give the place a finishing touch up, you have to paint the area with matching color or paint. Your cracked clapboard will now become good as new.
How to Repair Vinyl Siding?
Step 1 – For this approach, you have to take an installer zip to and use it to unlock the siding right above the damaged pieces. You can easily get these tools at your nearest hardware or at the stores where you can find different building materials.
Step 2 – Make the space completely free from the attachment by prying it down or sliding it.
Step 3 – Now mark the loose siding course and insert a temporary siding course into it.
Step 4 – There will be numerous nails at the damaged section, which can create a great obstacle at work. So, start removing them by using a nail puller or a claw hammer.
Step 5 – Next, you have to remove the damaged area. For this, you can use a utility knife or snips. No matter which one you use, make sure to take appropriate safety measures during the process. You are going to use sharp objects with additional force. So, an unwanted situation can take place if the knife slips somehow.
Step 6 – Now, cut a new section for the replacement. In this case, make sure to increase the measurement for two inches compared to the measurement of the previous block.
Step 7 – Then, take this newly made section and install it through the top flange.
Step 8 – Once you have installed it properly, re-lock the sidings with the zip tool. That’s it; your vinyl siding will become good as new.
Conclusion
How to repair loose nails in wood siding? Have you got your answer? Hopefully, you have, maybe more than just repairing the loose nails. If you have further questions about the siding, you could ask me through the comment section.
Check it out to learn to use a ball peen hammer.