How to Use a Ball Peen Hammer
Ball peen hammers are unique devices typically used for automotive parts function as they have exceptionally tough points perfect for material usage. They also get a unique shaped head that is extremely conducive to metal forming. Besides, there are two sides to the base of the ball-peen hammer: one which is, predictably, ball-formed, perfect for tapped out scratches and divest in a car’s body, and then another hand which is angled and perfect for chopping or rupturing.

It is a beautiful device without needing to go to a professional to have dents out of the car by yourself, and it requires some experience and expertise-how to be willing to do a good job. For daily fixes and installs, any house requires a minimum hammer on board, bolting a poster on the wall or actually-nailing a wooden floor or sculpting section.
That was a claw hammer measuring around 16 – 20 ounces for many of these DIYers and households doing all the exceptional work across the building. We’ll look more into why the more common tool to inventory is a claw hammer, and what every form of the hammer is equipped for doing better.
All forms of hammers available in a multitude of weights, including 8 ounces to 42 ounces. The mass related to is those of the base of the hammer instead of the total unit. For specific hints about how to use ball peen hammers in auto parts function, continue reading.

Instructions:
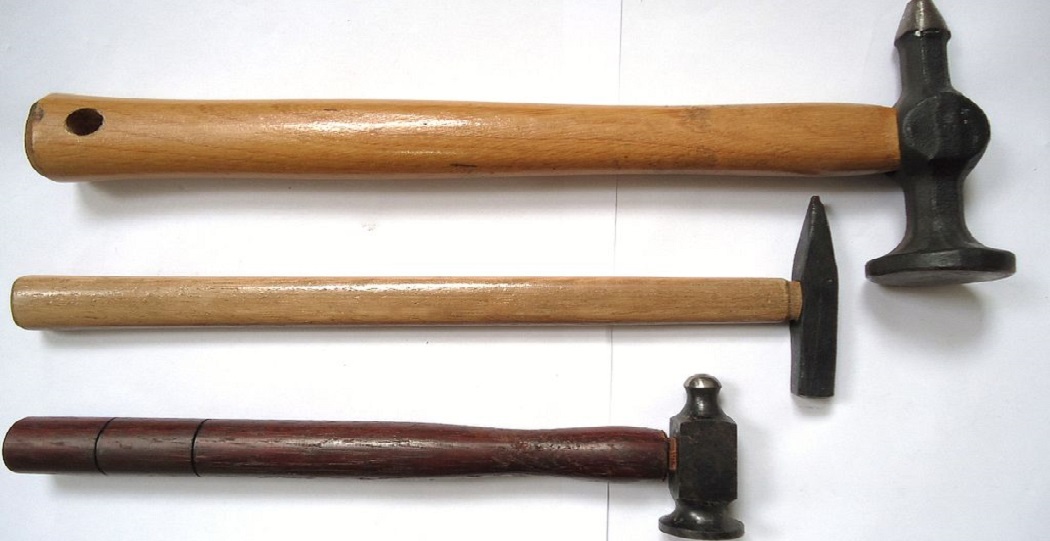
The ball-peen hammer is often considered an engineer’s tool and is used for several kinds of wood and metal activities. It has a smooth hitting area on one end and a triangular one, instead of making a claw. The steel ball’s peen point is strengthened and far less prone to break than just a claw hammer, providing the potential for moving hooks and freezing chisels, setting drill bits, and shaping metal.
This is usually produced from hickory, except claw hammers, that arrive with several grips. Popular head sizes are 4, 8, 12, and up to 32 ounces for ball peen hammers. A ball-peen hammer of sufficient mass to move the instrument is needed while throwing a cold chisel or hit. A claw hammer is primarily used for pulling nails from walls and other construction materials.
You have to get used to utilizing the hammer until you can talk regarding operating on the automobile. And besides, you would not like to cause the harm any worse! Specialists advise that learners check at some car parts they may locate that would have any dents and scuffs in it: to get any decent instances, take a ride to the scrap yard. In the workspace, begin tinkering there to find out the taps and gestures you have to add.
Using Various Types
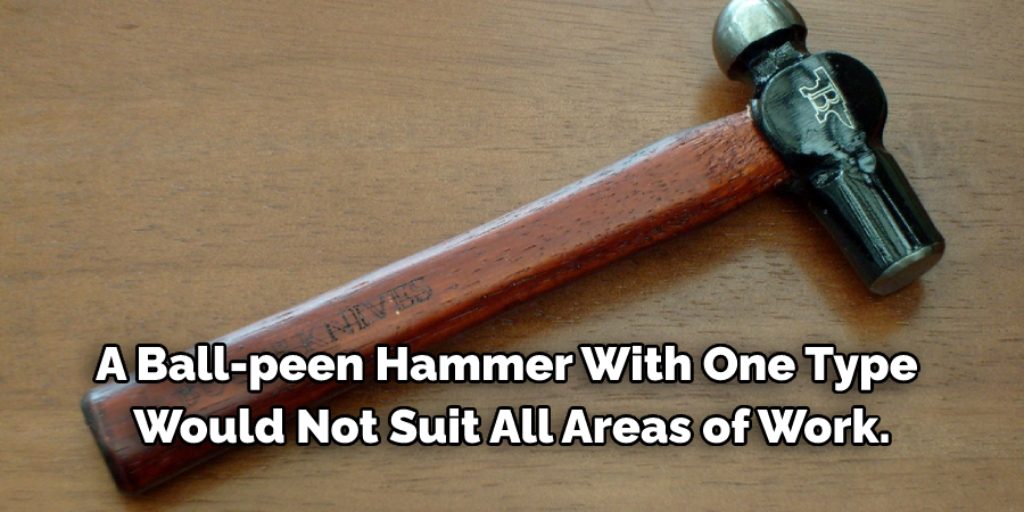
A ball-peen hammer with one type would not suit all areas of work. They arrive in various weights, from the lightweight scale of 1/2 lbs. to the most massive scale of 2 1/2 lbs. When you plan to get several automobile jobs, you would like several instruments in the collection to be prepared to cope with any circumstance. Some may disagree with me, but I believe that you must be in a position to strike the nail with all your body weight on it. This is not a necessity, but it will make it much easier for you to use the hammer.
When training the hammer function on the scrap metal, even consider the varying kinds of hammers so that you might begin to have an understanding about which model hammer is best in which task type. While it might be helpful to use a 4-pound hammer on larger projects, you might find that it takes more force than necessary to get the desired results. The modern hammer can vary in size from 1 pound all the way up to 16 pounds.
Differ the Process
You may start to realize that a particular form of destruction may involve a specific use of its hammer as you are learning. For such a work, note to use just the round, ball-formed component of a hammer, or you will finish up with specific gaps chewed out from the vehicle’s structure! Claws and axes may be used to pull up nails. An axe may be a good way to get the nails up out of a vehicle’s floorboards, for example. In general, use the smallest tool you can work with to avoid damage from its use.
A soft pressing across it’s behind the strapped would usually involve minor dents and scratches and scuffs to come back off, whereas a more significant mark can consume much more energy. The point where you implement a force with the hammer seems to affect how well the construction project will be substantial. A screwdriver handle may be used to help start the process of removing the dent. After that, simply apply pressure on it with your finger until it pops off. The Phillips head screws will then need to be removed from the side of the grill for proper access.
On the side, while this can initially sound inconsistent, it is essential to use a hammer that doesn’t get heavy that much whenever forming material. The metal (particularly brass) will be disfigured or twisted by a hammer, too heavy, whereas a tiny one will try to start it much more accurately.
For the journeyman carpenter’s toolbox, the ball-peen hammer isn’t critical. But the claw hammer is not the best weapon whenever it comes to moving frozen chisels, so this is a safe choice to use a ball-peen hammer or a club hammer. It is possible to use the ball peen to lift large screws and other activities whereby the size and stiffness are advantageous.
How to break stone using a hammer:
Any purposes for cracking a stone are cutting a rock down to the size for a tumbling device, splitting a gemstone free, smashing a stone into tiny chunks for complete disposal, or looking for fossils within such rock layers. A famous hammer and chisel can do the work irrespective of the purpose; however, maliciously tailored devices are required from numerous online stores.
To extract every dust or debris, clean the stone with wet, water, and soap. Using an older toothbrush, clean some holes or gaps. Although this move is not mandatory, having flaws form when the stone is destroyed can render it much more straightforward.
- Clean the stone up with an older rag.
- Put it on a smooth, stable area if the stone is tiny size.
- Place the plain-tipped hammer on the stone in which the cracking would be formed. Until starting a practice, get a concept in mind. Learn that a stone is meant to break.
- To mark the stone, gently hit the upper of the chisel with the key. Shift the chisel’s base edge down the perfect split path, gently pressing as you go for the hammer. Continue to score the stone before you move back.
- Repeat move. Just press the hammer a little harder than usual. Keep the hammer 2 to 3 inches well above the chisel base, for example, and then let gravity force the hammer downwards. Regarding this made specific score line, make your way across the stone.
- We are using the tool to begin hitting deeper until a break appears in the scoreline. Put the chisel at the other side of the split during that stage and press to widen the division with a hammer.
- Continue to stretch the split from all sides across the stone till it splits down the final score entirely. The middle of the division could be similar in the form of the stone is not porous.
- At a 20-degree inclination to the stone, place the chisel’s edge then smash with the nail to break tiny particles lose. You may mold those forms of rock into the required shapes using this tool.
- After breakage, clean off some solid particles, choose a cleaner or hand-held broom, and mop the floor.
Some Helpful Tips and Suggestions:
1. Hold the handle of the ball-peen hammer with one hand.
2. Be sure to wear safety goggles that are made specifically for protecting your eyes from metal or other objects that could fly into your eyes because of the force of this tool.
3. Use a sturdy pillar, stump, or anvil as the base of your work.
4. Take aim and hold steady with this tool, so that you can drive nails or do other tasks without missing or causing unnecessary damage to the material you are working on.
5. Be sure not to over-hammer any one spot because it can cause permanent damage to whatever is under assault by your ball-peen hammer.
6. When you are finished, wipe your ball-peen hammer clean and put it away until the next time that you need to use it.
7. Use a sliding T-bar to attach your various hammers and other tools so they can be easily transported from one place to another as needed for work.
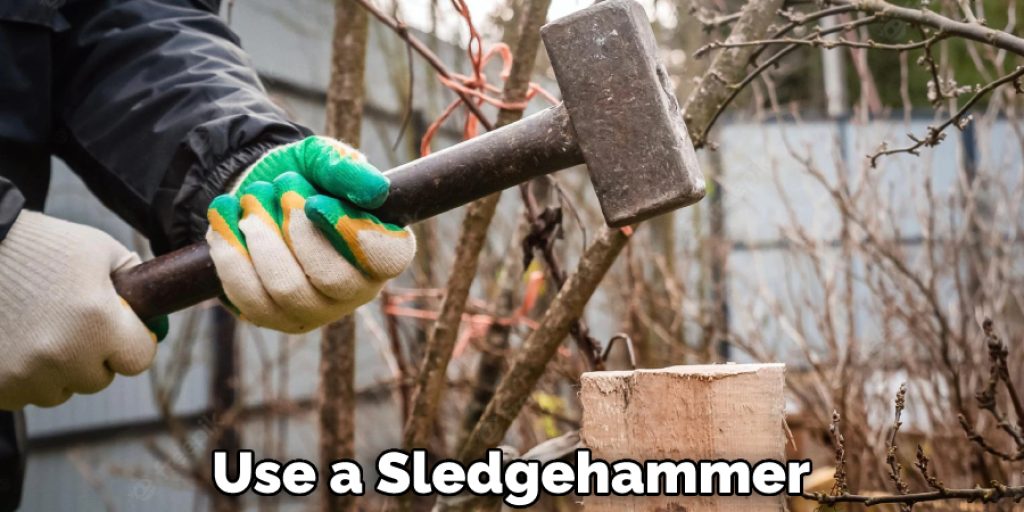
8. When you need a hammer that is large enough to cause serious damage, use a sledgehammer instead of the ball-peen hammer.
Things to Consider When Using a Ball Peen Hammer:
1. Ball peen hammers are not made to drive nails into hard surfaces, such as concrete or steel.
2. The faces of the hammer should never contact an object directly; always strike with the side ‘faces’ of the ball-peen head and aim for a glancing blow to prevent unnecessary damage and/or risk of personnel injury.
3. The ball-peen hammer is not to be used as a ‘blunt object’ with the intention of delivering impact to an area other than its striking face unless it strikes another surface first.
4. Keep eye protection on at all times when using any type of hammer, power tool, or hand/power saw. Always wear appropriate clothing for the task at hand that can protect you from flying debris and other hazards. Always use proper hearing protection when using power tools.
5. Handle with care. Always place the hammerhead directly on a flat surface, removing it from its holster/wrap only for use before placing back into its protective wrap. Never place the head of the hammer under any sort of pressure or place it into a vise for any reason.
6. Never use a ball-peen hammer as a tool to install/remove screws, nuts, bolts, etc.
7. Always remember that you must learn how to properly use each tool you use before operating said tools in the presence of others.
Frequently Asked Questions
What causes a bent crankshaft on a lawn mower?
A bent crankshaft is a common problem on lawnmowers. It is caused by improper maintenance or by wear and tears from use.
The most common cause of a bent crankshaft is improper maintenance. This can include not tightening the bolts that hold the crankcase to the engine, not oiling the crankcase, or overloading the engine.
Wear and tear from use can also cause a bent crankshaft. This includes using the lawnmower in an excessively wet or muddy environment, overloading the machine, or using the wrong type of grass.
Why is my lawn mower vibrating really bad?
A few things can cause your lawnmower to vibrate really bad. The most common one is a worn-out belt. If the belt is too thin or too wide, it will not be able to grip the grass tightly enough and will vibrate as a result.
Another common issue is an engine that is not running properly. If the engine is not running at its full potential, it will cause the blades to spin faster than they should, creating vibrations.
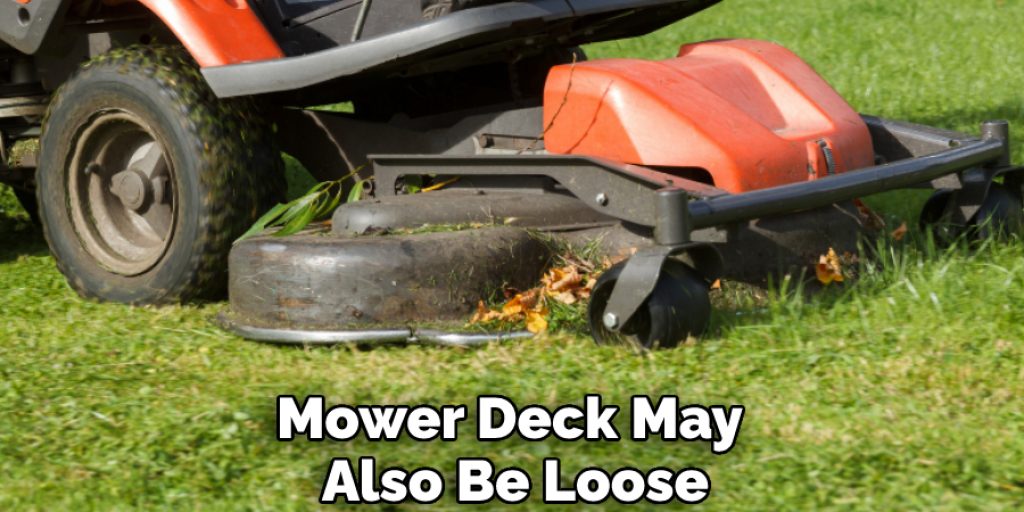
In some cases, the mower deck may also be loose, and this will cause the blades to spin around randomly. To fix these issues, you will need to take them to a mechanic and have them fixed.
Conclusion:
A ball-peen hammer is a versatile tool that can be used for many purposes. It has a blunt end and a pointed end, which makes it perfect for both light and heavy-duty work. In this blog post we have given tips on how to use a ball peen hammer. First, hold the hammer in your dominant hand with the blunt end facing out. Make sure your grip is firm but not too tight.
You should be able to wiggle your fingers slightly. Next, find the center of gravity on the hammer by balancing it on your finger. This will help you control it better as you strike the object you’re working on. We hope this blog post has been helpful. If you have any questions or want to know more then feel free to comment below!
you may also read now