How to Wire Ignition Switch
Do you need to wire up your vehicle’s ignition switch? If so, you’ve come to the right place! Installing an ignition switch can seem like a daunting task, but with these helpful steps and precautions outlined below, you will be on your way in no time. Throughout this post, we’ll discuss how to wire ignition switch and the importance of safety when it comes to wiring the ignition switch, as well as cover some of the basics so even beginners can complete this job effectively. Keep reading for all the information that you need!
What Wire Goes from Ignition to Starter?
The wire that runs from the ignition to the starter is known as the starter relay or solenoid wire. This wire will supply power to the starter when it is activated by the key in the ignition switch. The wire should be a heavy gauge (at least ten gauges) and run directly from the positive terminal of the battery to the starter solenoid. This wire should be insulated and fastened securely to protect it from wear and tear.
It is important that the wire carries enough current to activate the starter quickly and efficiently, so it is recommended that a professional installer check the power requirements before installation. If the wiring is not up to code or properly installed, serious damage to the vehicle’s electrical system can occur. For more information about how to wire an ignition switch, please refer to your vehicle owner’s manual or consult a certified automotive technician.
It is also important that all safety features are in place and working properly when installing the wiring for an ignition switch. If you are unsure of any aspect of the installation procedure, please refer to a professional technician for assistance. Safety is paramount when dealing with electrical systems in your vehicle and should never be taken lightly.
10 Methods How to Wire Ignition Switch
1. Use a Screwdriver to Remove the Screws:
Use a screwdriver to unscrew the screws that hold the ignition switch in place. It is important to note that you must use a flathead screwdriver for this purpose. Once the screws are removed, carefully pry off the panel and set it aside. If you do not have a screwdriver, you can also use a pair of pliers.

2. Take Out the Ignition Switch:
Take out the ignition switch from its housing and remove the wiring that is connected to it. If it is a push-type switch, use a flat-head screwdriver to pop out the switch from its housing. If it is a rotary-type switch, you will have to unscrew the screws located at its base. Once the screws are removed, slide out the switch from its housing. Although the wiring configuration of the switch may differ from vehicle to vehicle, the general procedure for removing it remains more or less the same.
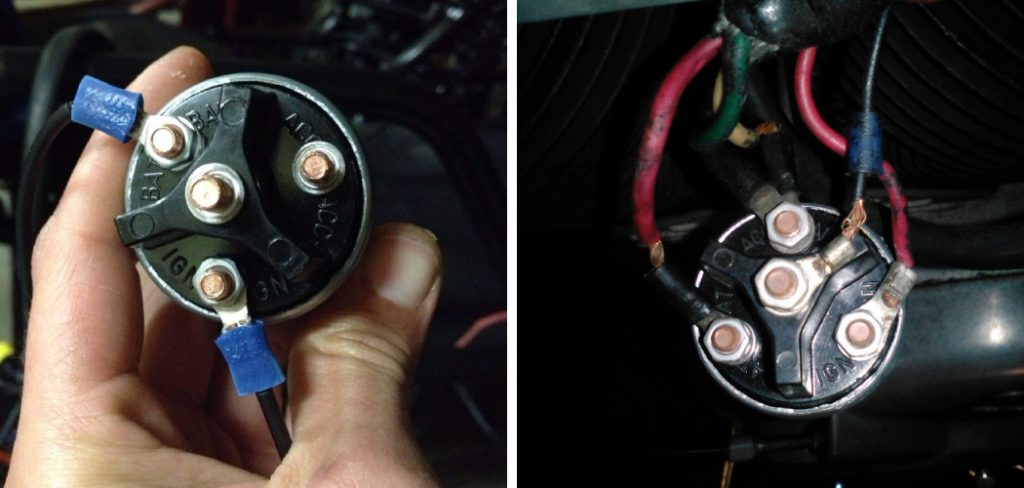
3. Identify the Wires:
Carefully identify the wires that are connected to the ignition switch. There will usually be three wires – two black ones, one red, and one yellow or white wire. Make sure that you label each of them so you can easily recognize them when connecting them back up later. Now that you have identified the wires, you can start wiring them up.
4. Connecting the Ignition Switch:
Now, connect all of the wires to their respective terminals on the ignition switch using a soldering iron or crimp connectors. Make sure the connections are secure by using heat shrink, electrical tape, or other insulation. Once the wires are connected securely, you can install the switch back into the car. Make sure that the switch is firmly in place and cannot move around easily. Test the switch by turning it on and off a few times to make sure it is working properly. If all goes well, you can enjoy the reliable starting of your car!
5. Attaching Ground Wires:
Then attach a ground wire from one terminal on the ignition switch to a nearby metal chassis part of your vehicles, such as an engine bolt or frame. Be sure to use a crimping device with two different sizes of wires (large and small) and then slide the ground wire over the larger crimp, which should fit the terminal snugly. Secure with a hex nut or screw and repeat if necessary for each switch terminal.
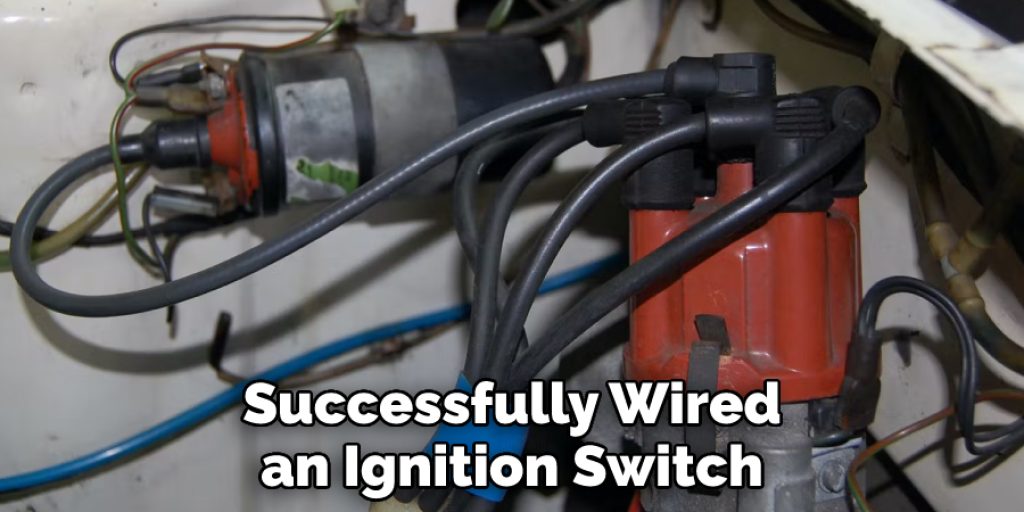
Finally, test your work by turning the key to the “on” position, and you should hear a click as the contacts inside the switch close. Once everything is in place, your car should now be ready to start. Congratulations! You have successfully wired an ignition switch – a great accomplishment for any DIYer.
6. Taping Wires:
After connecting all the wires to their respective terminals, be sure to tape them up with electrical tape or heat shrink tubing so that they are neatly secured and will not come loose over time. This helps to create a safe and reliable connection, therefore minimizing the risk of a short circuit. You may also want to use zip ties or other wire-bundling arrangements to keep the wires organized.
7. Mounting Ignition Switch Back In Place:
Now, you can mount the newly wired ignition switch back in its housing. Make sure it is properly mounted and screwed in place before moving on to the next step. Once it is secured and in place, you can begin routing the electrical wiring back to the battery, starter, and other components. Make sure that all connections are secure and insulated properly before moving to the final step.
8. Replacing The Panel Cover:
Replace the panel cover and use your screwdriver to tighten the screws firmly into place. Be careful not to overtighten them as this could cause damage to the plastic cover or even strip the screws themselves. Once the panel cover is in place, your ignition switch should be fully wired and ready to use. Make sure that all connections are secure before starting up your vehicle. If any of the wires are loose, you will want to re-check every connection to ensure safety and functionality.
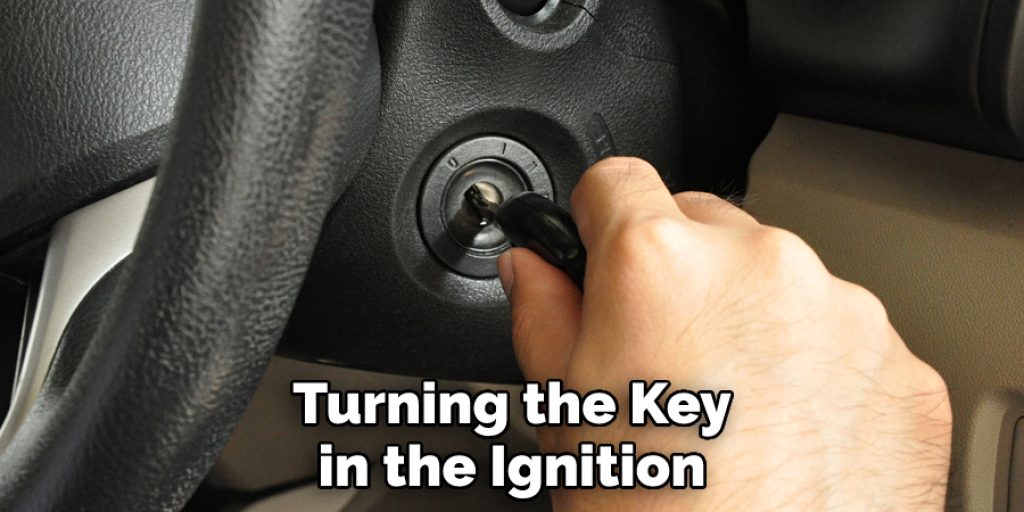
9. Testing the Ignition Switch:
Finally, test out your newly wired ignition switch by turning the key in the ignition and making sure it starts up correctly. If everything goes well, you should be good to go. If the engine does not start, ensure that all connections are tight and check for any loose wires. If everything is still not working properly, you may need to replace the switch. Be sure to double-check all wiring and connections before attempting this. Having a friend help, you test out the ignition switch can also be beneficial.
10. Final Tips:
When wiring an ignition switch, always make sure that all connections are tight and secure and that no wires are exposed or prone to coming loose over time. Also, make sure to use heat shrink tubing or electrical tape when connecting wires together so they stay neatly connected at all times. Lastly, never overtighten screws as this could damage the plastic cover or strip the screws themselves.
By following these steps, you can easily wire an ignition switch by yourself and have your car running in no time! With the right tools and knowledge, it’s not a difficult undertaking at all. So get out there and give it a try! Good luck.
Things to Consider when Wiring Ignition Switch
1. Safety:
It is important to ensure that you are wiring the ignition switch in a safe manner, as any short circuits or electricity. Shock can be hazardous and cause serious injury or even death. Therefore, it is essential to take appropriate safety precautions, such as wearing insulated gloves and goggles while working with the electrical wiring.
2. Type of Switch:
It is important to use the correct type of switch when wiring an ignition switch, as there are a variety of different types available, such as push buttons, toggles, and rotary switches. Depending on your vehicle and its specific needs, you should choose the most suitable type for your requirements.
3. Wiring Diagram:
Prior to beginning any work involving electrical wiring, it is essential to familiarize yourself with the appropriate wiring diagrams for your car’s make and model. This will ensure that all wires are connected in the proper order and reduce the risk of short circuits or other problems that can occur from incorrect connections.
Conclusion
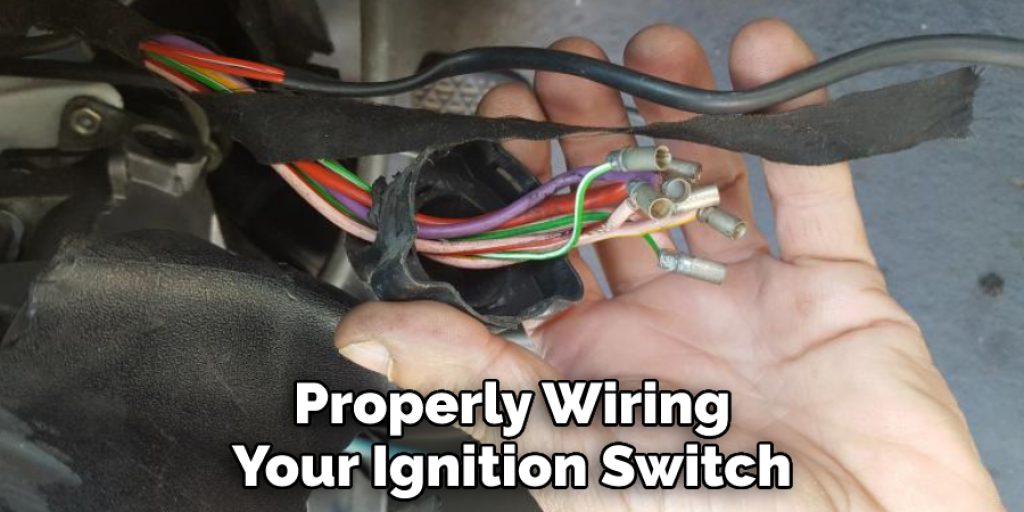
Properly wiring your ignition switch will ensure that your car starts every time you turn the key. This process is relatively simple, but it is important to take your time and follow the instructions carefully. With a little patience and attention to detail, you can wire your ignition switch. Now you know how to wire ignition switch.
This is a simple task that anyone can do with a little time and patience. Just be sure to follow the instructions carefully and take your time. With a little bit of effort, you can have your ignition switch wired and working correctly in no time.
You Can Check It Out to Wire Fuel Pump to Ignition Switch
Louis Wein
Louis has always been fascinated by cars. He loves the way they look, the sound of the engine, and how they make him feel when he's driving. He is always keen to learn more about different mechanics of cars and how the engine contributes to other aspects of the car. As an automotive technician with over 10 years of experience, he knew how they worked and loved taking them apart to see how they went back together. He was especially interested in the mechanics of combustion engines and loved finding ways to make them more efficient. He loves to work on cars and help people keep their vehicles running smoothly. As a senior editor, he enjoys contributing to Diy quickly because it allows him to share his knowledge and expertise with others.