How to Change the Brake Light Switch
Are you having problems with your brake lights? Does it seem like they’re not coming on when you press the brakes or staying on even after you release them? If so, the first thing to do is to check your brake light switch. Let’s face it. Brake lights are an important safety feature on any vehicle. This little component plays a crucial part in making sure that both headlights and taillights illuminate whenever needed – yet its importance is often overlooked.
Whether you’re new to tinkering with automobile parts or just want a refresher course on the process, our guide will provide step-by-step instructions on how to change the brake light switch so you can check off this crucial maintenance task as quickly and easily as possible. So if it’s time for an upgrade or repair on your ride’s lighting system, keep reading! Today we’ll show you how to tell if it needs replacing and how this can be done efficiently without needing any specialist tools. Let’s get started!
Is It Difficult to Change the Brake Light Switch
Changing your brake light switch is not as difficult as it may sound. In fact, with just a few basic tools and some know-how, you can easily tackle this task yourself in a short amount of time. The job will involve removing the old switch and replacing it with a new one which should only take about half an hour or so.
Things to Remember Before Changing the Brake Light Switch
1. Gather Tools
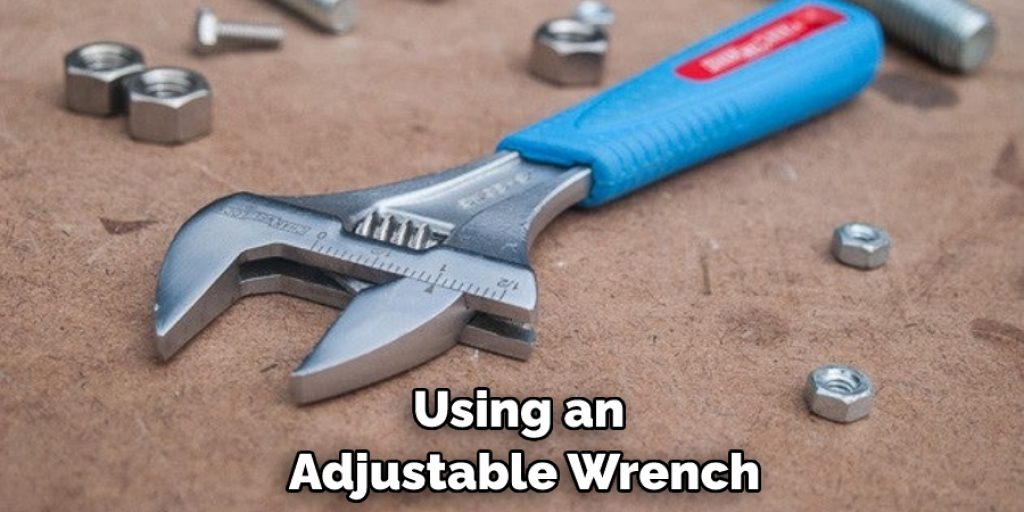
Before attempting this project, there are a few important reminders to keep in mind. First and foremost, make sure all the necessary tools are on hand before starting. Depending on your vehicle model and year, you might need a flathead screwdriver or an adjustable wrench. Additionally, as with any work involving electricity, ensure that the battery is disconnected beforehand to avoid the risk of shock.
2. Release Pressure from System
Next, take note that some cars have a brake system pressure switch installed in the hydraulic circuit. If this is the case with your vehicle, then it’s important to make sure that any residual air pressure is released first before opening any lines or connectors. Refer to your owner’s manual for further instructions.
3. Check the Wiring Harness
Once all these preparations are complete, inspect the wiring harness to make sure there’s no visible damage and that all connections are intact. If everything looks good, then it’s time to move on to the next step of replacing the switch itself.
Required Items
- Adjustable wrench or flathead screwdriver
- New brake light switch
- Owner’s manual (if applicable)
10 Ways How to Change the Brake Light Switch
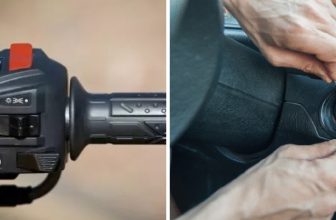
1. Locate the Brake Light Switch
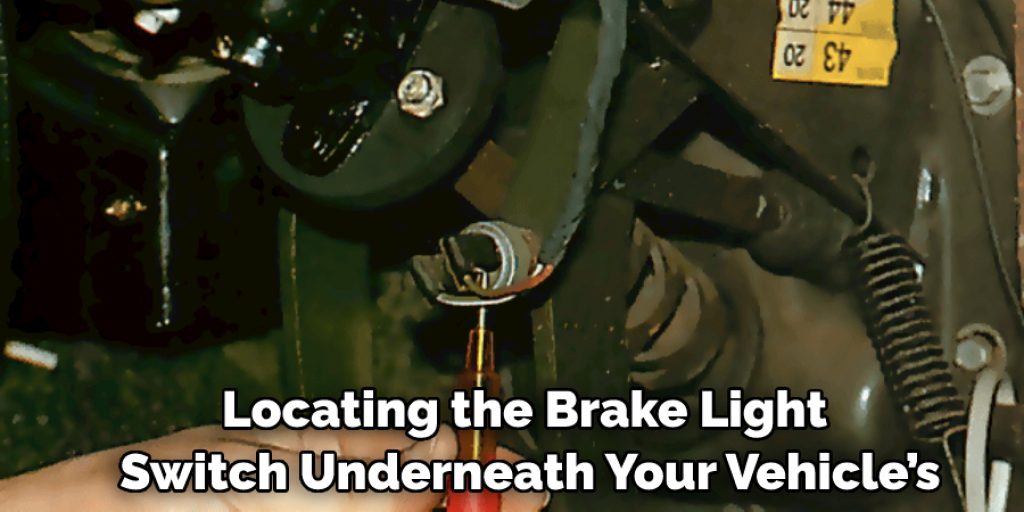
Begin by locating the brake light switch underneath your vehicle’s dashboard or near its brake pedal. This component is usually easy to spot as it’s a rectangular shaped box with wires connected to it. If you’re having difficulty finding it, consult your manual for more information and diagrams.
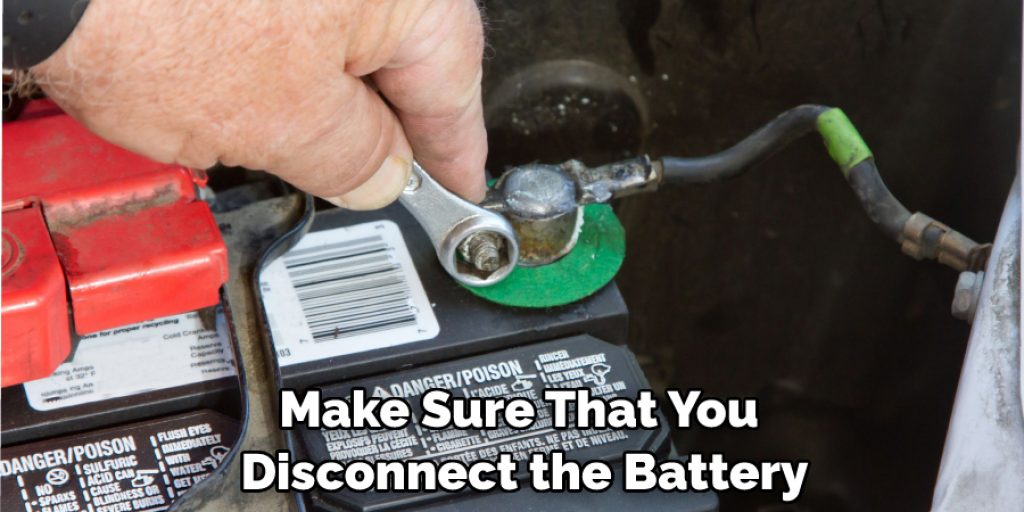
2. Disconnect the Battery
As previously mentioned, make sure that you disconnect the battery before getting started. To do this, simply remove the negative cable from its terminal and set it aside in a safe place where it won’t accidentally short out.
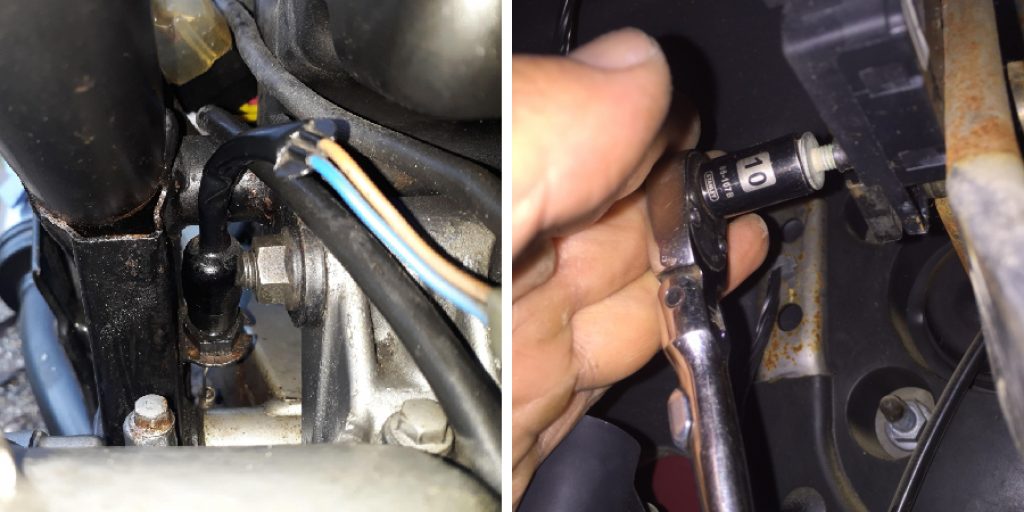
3. Remove the Old Switch
Using an adjustable wrench or flathead screwdriver, loosen and remove the screws that hold the old switch in place. Pull it out carefully and set it aside for now.
4. Install New Switch
Take the new brake light switch and connect its wiring harness to the corresponding wires on the vehicle’s harness. Securely fasten it into place with the same screws that were removed earlier.
5. Connect the Battery
Once everything is in place, reconnect the battery and check that all connections are secure. If there’s any visible damage or frayed wires, replace them immediately before continuing. While connecting the battery, make sure you don’t touch any of the metal contacts as it could cause a short circuit.
6. Test the Switch
Now that all components are connected test the switch by stepping on the brake pedal and observing its reaction. It should light up when pressure is applied and then go out again once released. If it doesn’t work correctly, double-check all the wiring connections and ensure that nothing is loose or damaged.
7. Secure Wiring Harness
To protect the wiring harness from future damage, carefully tuck any extra wires and cables out of the way and secure them with zip ties or tape as necessary. This will help to keep your vehicle’s internal components safe and organized in the event of any future repairs.
8. Reconnect Brake System Pressure Switch (if applicable)
If applicable, make sure that all air pressure is released from the brake system before reconnecting its pressure switch. Consult your owner’s manual for instructions on how to do this correctly, as it may vary depending on the make and model of your car.
9. Clean Up
Once everything is reconnected and functioning properly, clean up any mess you may have made while working on the switch. This will help prevent dirt or debris from interfering with its performance in the future.
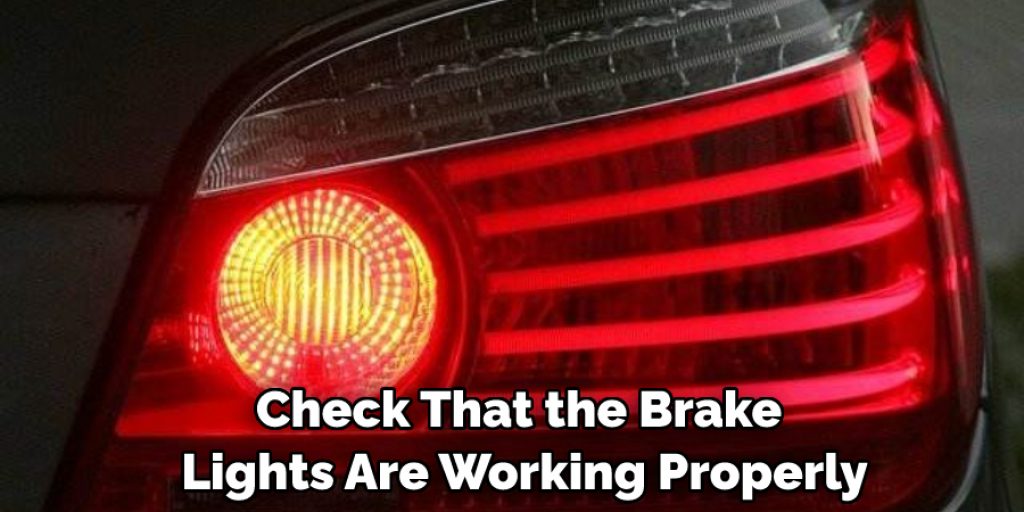
10. Check Brake Lights
Finally, before driving your vehicle again, check that the brake lights are working properly and that they turn off when not in use. This is an especially important step to ensure the safety of yourself and other drivers on the road.
Congratulations! You have now learned how to change a brake light switch safely and effectively. Be sure to always follow the instructions provided in your owner’s manual and take extra caution when working with electrical components. If you ever feel uncertain or need help, consult a professional mechanic for advice.
8 safety precautions to follow
1. Make sure to park your car on a flat, stable surface and turn off the engine. If you don’t have access to a garage or other enclosed space, make sure you are parking your car in an area with no foot traffic.
2. Wear safety gloves and glasses while changing the brake light switch to protect yourself from any debris that may come loose during the process. It is important to also wear clothes that cover your body and avoid loose or baggy items.
3. Remove the keys from the ignition and make sure all accessories are turned off in the car to prevent electrical shocks. Removing the car battery is also recommended.
4. Locate the brake light switch at the back of the dashboard and disconnect it from its connection point. Unscrew all screws that are holding it in place using a screwdriver or other appropriate tool.
5. Disconnect all electrical wiring connected to the existing switch and set it aside. Carefully inspect the switch and its components to make sure it is not damaged before replacing it with a new one.
6. Connect all wiring for the replacement brake light switch and ensure they are firmly attached. Reattach the switch to its connection point, making sure all screws are tight and secure. Connecting the battery and testing the new switch is recommended.
7. When reassembling, make sure all screws are tightened properly, and no wires are loose or disconnected. Test out the brake light switch to ensure it is functioning correctly before taking your vehicle for a ride.
8. Lastly, remember to dispose of any replaced electrical components safely and responsibly. Remember to recycle or repurpose parts that can still be used and dispose of toxic components in accordance with your local environmental laws.
By following these safety precautions, you can ensure a safe and successful brake light switch replacement process. It is important to remember not to rush the job and take the time to be thorough when disconnecting.
Following these safety precautions will help make sure the process of changing your brake light switch is successful and safe. It is always better to be safe than sorry when it comes to car maintenance!
Frequently Asked Questions
How Long Will It Take to Finish the Project?
Changing the brake light switch is a relatively simple job that should not take more than an hour. However, depending on the make and model of your car, it may take longer to access the switch. Be sure to have all necessary tools ready beforehand.
What Special Tools Are Needed?
You will need a few basic hand tools, such as a screwdriver, a ratchet and socket set, and pliers. Depending on the make and model of your car, you may need additional items such as an adjustable wrench or torque wrench.
Conclusion
Congratulations! Now that you’ve completed the process of changing your brake light switch, you can drive with added assurance and reliability. Fitted brakes are an essential safety component, and it’s likely easier than you anticipated to get them fixed. The key is to approach any task with confidence, taking all necessary precautions, such as checking fuses and disconnecting the battery before making changes.
The extensive information in this blog post on how to change the brake light switch has surely provided you with a better understanding of what’s involved in servicing your vehicle. Just by carefully following the step-by-step directions outlined here, you will know exactly what to do should you need to replace the brake light switch again in the future. One last reminder – always make sure that your car is kept in optimum operating condition to keep it running smoothly and at its best performance!
Louis Wein
Louis has always been fascinated by cars. He loves the way they look, the sound of the engine, and how they make him feel when he's driving. He is always keen to learn more about different mechanics of cars and how the engine contributes to other aspects of the car. As an automotive technician with over 10 years of experience, he knew how they worked and loved taking them apart to see how they went back together. He was especially interested in the mechanics of combustion engines and loved finding ways to make them more efficient. He loves to work on cars and help people keep their vehicles running smoothly. As a senior editor, he enjoys contributing to Diy quickly because it allows him to share his knowledge and expertise with others.