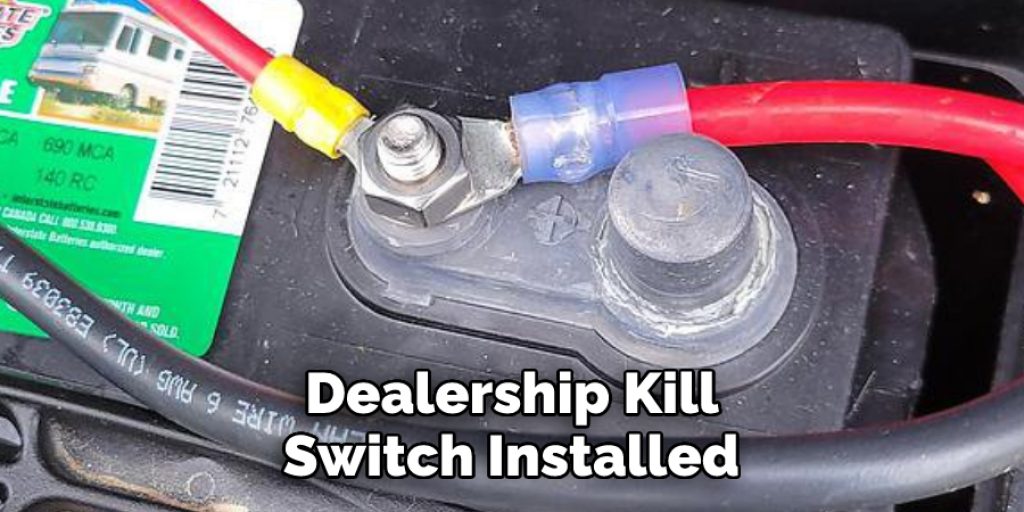
How to Remove Dealership Kill Switch
Are you tired of figuring out how to remove a pesky dealership kill switch without making things worse? Don’t worry – there’s an easier way. It is important to know how to remove dealership kill switch. In this blog post, we’ll cover the basics of why these devices exist, the steps involved in removing them, and what tools are necessary to achieve your goal.
Whether you’re a veteran car owner or a first-timer who needs some guidance on understanding dealership kill switches and how to eventually get rid of them for good, this blog post is here to help. Read on for all the tips you need!
What is a Dealership Kill Switch?
A dealership kill switch is an anti-theft device installed by car dealerships to prevent vehicle theft. It is usually mounted in an inconspicuous location and connected to the vehicle’s ignition system. The purpose of the kill switch is to interrupt the flow of electricity to the engine, making it impossible for a thief to start and drive away with the car.
The dealership kill switch is typically activated by a hidden button or key that only the dealership knows about. This adds an extra layer of security to your vehicle, especially during transport from the dealership to your home.
Why Remove a Dealership Kill Switch?
While dealership kill switches serve the purpose of preventing theft, they can also be a nuisance for car owners. For example, if you accidentally trigger the kill switch, your car won’t start until you reset it with the dealership’s button or key. In some cases, the kill switch may malfunction and prevent your car from starting at all.
For these reasons, many car owners choose to remove the dealership kill switch altogether. This allows for easier access to their vehicle without having to rely on a specific button or key. Additionally, removing the kill switch can also improve the overall functionality of your car’s ignition system.
Tools You Will Need:
1. Wrench:
A basic adjustable wrench will do the trick.
2. Screwdriver:
A flathead screwdriver or a Phillips head screwdriver, depending on the type of screws used in your vehicle.
3. Pliers:
In case you need to remove any wires or cables connected to the kill switch, pliers will come in handy.
4. Wire Cutters:
If the kill switch is wired into your vehicle’s electrical system, you may need to use wire cutters to disconnect it.
5. Electrical Tape:
To secure any loose wires or to cover up any exposed connections, electrical tape will be necessary.
Safety Materials:
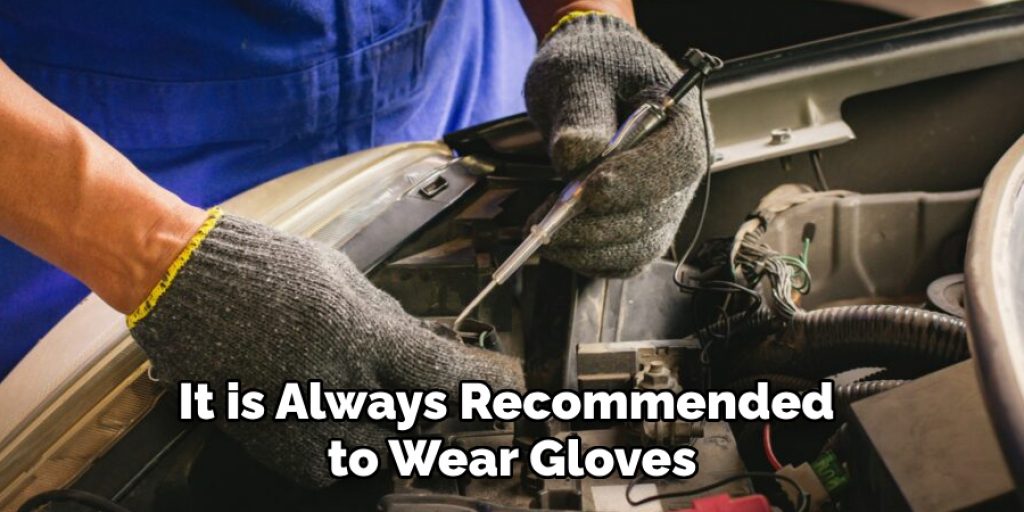
1. Gloves:
It is always recommended to wear gloves while working under the hood of a car, especially when dealing with electrical components.
2. Eye Protection:
To protect your eyes from any debris or sparks, wearing safety glasses is essential.
3. Fire Extinguisher:
In case of any electrical fires, it is crucial to have a fire extinguisher on hand.
4. First Aid Kit:
Accidents can happen while working on a car, so it’s important to have a first aid kit nearby in case of any injuries.
9 Steps Guide on How to Remove Dealership Kill Switch:
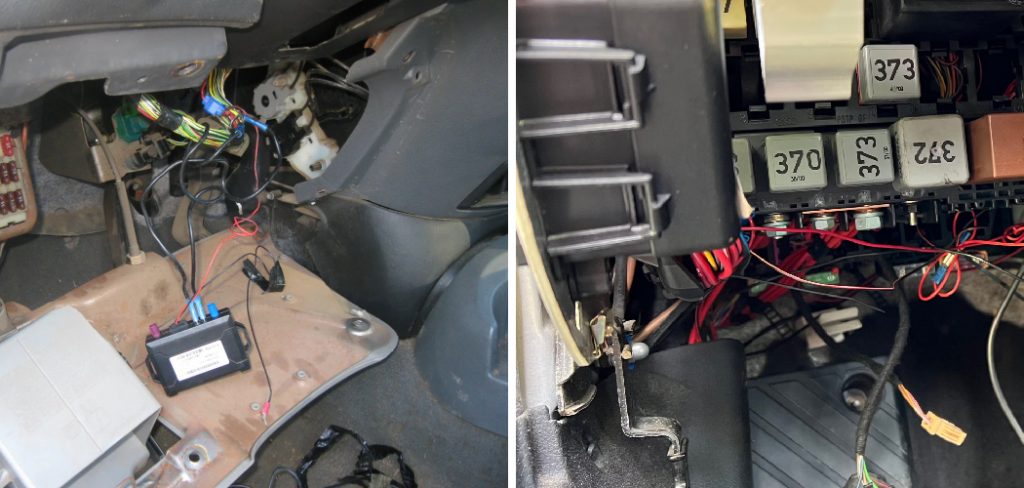
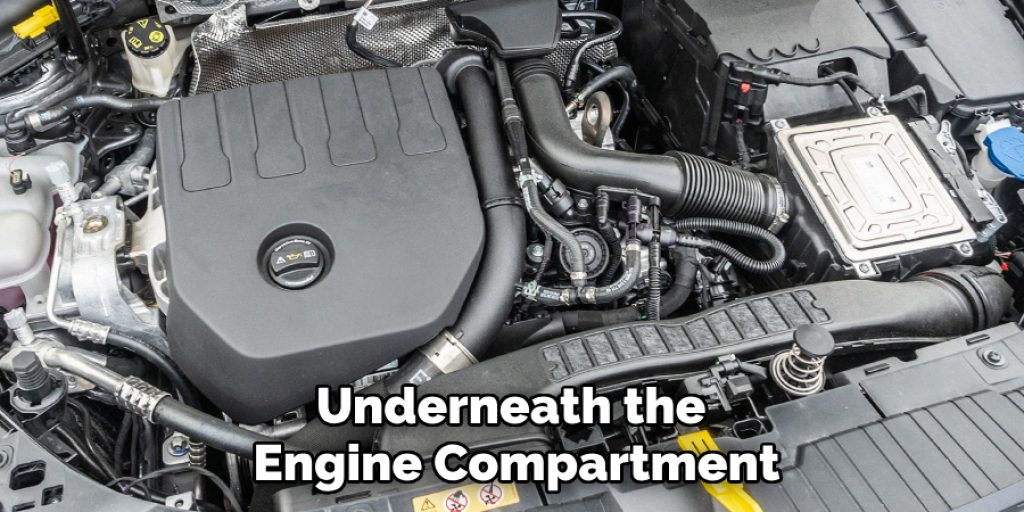
1. Find the Kill Switch
You may have noticed a mysterious switch beneath your dashboard or underneath the engine compartment of your car. This strange switch is known as the ‘kill switch’, and it is usually placed there by dealerships as an extra security measure when selling vehicles. Removing this switch can be tricky.
But with a good flashlight and a steady hand, you should be able to find the kill switch in no time. Once you have located it, you will be able to remove it from the car, eliminating any worries of someone sabotaging your car’s performance. With this simple step completed, you can now drive around safely, knowing that you are well protected from unwanted dealership intrusions. The kill switch is not always obvious, so get ready to do some thorough searching.
2. Unscrew the Two Bolts
If you’ve noticed that your vehicle hasn’t been as reliable as it used to be, it might be time to remove the dealership kill switch. This simple process takes only a few minutes and can save you from a lot of frustration down the line. To begin, unscrew the two bolts that hold the kill switch in place and carefully take it out of the casing.
Doing so will invalidate any dealer-installed security measures, allowing you to retain full control over your vehicle’s functions. After removing and disposing of the kill switch, you should be free to enjoy all of your automobile’s features as intended. You can also store the kill switch in a safe place, just in case you need it in the future.
3. Label Each of the Wires
Unlabeled wires can create many complications when it comes to removing the dealership kill switch from your vehicle. Carrying out this process without labeling each wire puts you at risk of having difficulties when re-installing your vehicle. It is important to take the time to make sure each wire is labeled with an identifier such as numbers or letters so that when you arrive at the point of reinstalling the device,

Matching up the wires will be a much smoother and quicker process. Providing yourself with a helpful representation to reference during this process offers peace of mind and alleviates any confusion on where to place the separated wires. This simple task of labeling saves time and effort in the long run for this precise situation.
4. Disconnect Each of These Wires
Removing a dealer-installed kill switch can be done relatively quickly and easily with a few basic tools. First, identify all the wires and their locations connected to the switch. Once you have identified them, you must use a pair of wire cutters to carefully sever each one away from the switch.
Make sure not to leave any excess material after disconnecting each wire, as this may cause additional hindrances or malfunctions later down the line. Finally, all loose items can be gently pulled away from the vehicle to be discarded or reused where necessary – thus completing your removal of the dealership kill switch.
5. Wrap the End of Each Wire
Electrical tape is a must when it comes to protecting your wiring. Not only does it help prevent shorting, but it also safeguards against damage caused by any kind of exposure. Wrapping the ends of exposed wires with electrical tape is a simple way to ensure that all of your wiring remains firmly intact.
The added layer of insulation can also be beneficial in terms of preventing the dealership kill switch from being triggered. So if you’re considering removing this feature, be sure to wrap each wire with electrical tape for maximum protection and to keep your wires properly insulated for years to come.
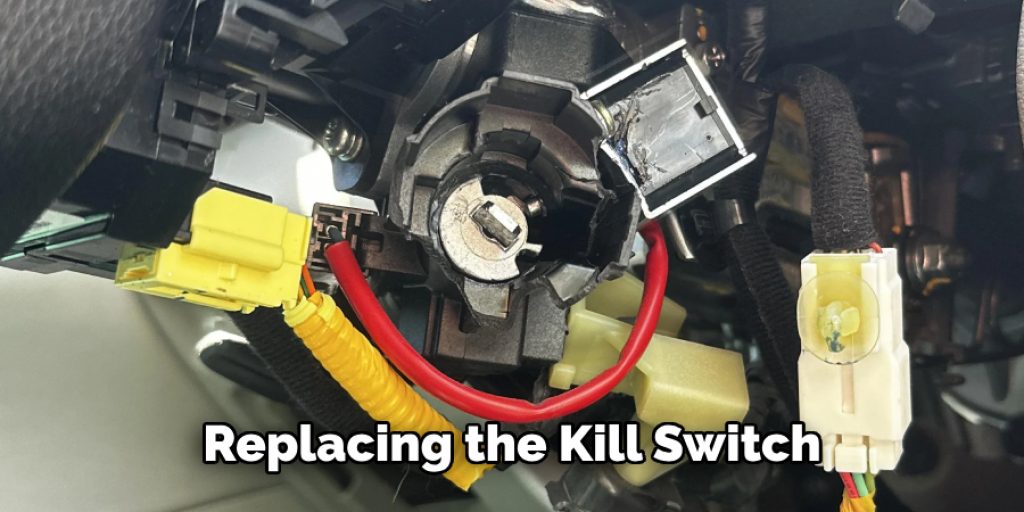
6. Reinstall the Kill Switch
Replacing the kill switch in your car may seem like a difficult task, but with the right tools and a bit of knowledge, it can be quite simple. To begin, you’ll need to use a screwdriver, wrench, or socket set to remove the kill switch from its casing. Once the switch is out of the casing, you’ll need to locate and detach all of the wires connected to it according to their labels.
Once everything is disassembled, it’s time to reinstall the kill switch in its casing before finally reattaching all of the wires to their original assignment. Following these steps should guarantee that your dealership kill switch replacement is completed correctly and efficiently.
7. Test the Kill Switch
Testing the kill switch is an important step you must take to make sure that the vehicle is completely free from the dealer override system. To do this, you will need to locate the dealership kill switch and observe it for signs that indicate it has been disconnected. The most obvious evidence would be any visible wire or electronic plugs that have been detached.
Another way to test it is by starting your vehicle and seeing if any warning lights come up on the dashboard. Should there be no indication of malfunction or issue, you can rest assured knowing that the kill switch has been properly removed. If there are any warning signs, you may need to repeat the process or seek professional assistance.
8. Take Precautionary Measures
If you’re thinking about removing the dealership enabled kill switch from your car, there are a few things to keep in mind. It is essential that you understand the potential consequences and risks of removing this security feature. If your car gets stolen without this extra layer of protection, it could be a complicated process dealing with insurance claims and police reports.
Additionally, some states may have specific laws regarding vehicle security features, so be sure to check before making any modifications. It is always best to consult a professional if you are unsure about the process or want expert advice. Taking the necessary precautions can save you from potential headaches and legal issues in the future.
9. Enjoy Your Vehicle Without Restrictions
Removing the dealership kill switch not only ensures that you have full control over your vehicle’s functions but also allows you to enjoy it without any restrictions. You will no longer have to worry about any potential malfunctions or limitations caused by the security system. With proper labeling, disconnecting and wrapping of wires, and a successful reinstallation, you can confidently drive your car without any added hassle or inconvenience. So go ahead and enjoy your vehicle to its full potential!
If there are no visible signs of disconnection, you can double-check by turning on the vehicle and observing the operation of all lighting, power windows, and other systems that could be affected by an active kill switch. If these systems all work as expected, then your vehicle is ready to use without needing a dealer override system.
And there you have it – your DIY guide How to Remove Dealership Kill Switch with all the steps and tools necessary to get the job done right. With this information in hand, you should be able to safely and easily disconnect the kill switch from your vehicle and get back on the road again with confidence. Thanks for reading and happy motoring!
Some Tips:
- Before beginning the removal process, familiarize yourself with your vehicle’s wiring and security systems to ensure a smooth removal.
- Use caution when working with electrical components and always disconnect the battery before starting any work.
- Labeling wires is crucial for successful reinstallation, so take your time and be thorough in this step.
- If you are unsure about any step in the process, consult a professional for assistance.
- Be aware of any state laws or regulations regarding vehicle security features before making modifications.
- Always prioritize safety and take precautions to avoid any potential accidents or issues during the removal process.
- Enjoy your newly liberated vehicle without restrictions! So go ahead and enjoy your car to its fullest potential with peace of mind. And always prioritize safety while working on your vehicle to avoid any accidents. Happy motoring!
FAQS
How Do I Know if the Dealership Kill Switch is Disconnected?
Understanding the status of a dealership kill switch is essential to ensure optimal security. Although it can be difficult to determine if the kill switch has been disconnected, there are a few tell-tale signs that you can look out for. The exterior of the vehicle should be examined for any wiring that has been cut, or for any other indications of tampering with the vehicle, as these could be signs that someone has broken or disabled the switch.
Additionally, if you experience odd behavior in your vehicles, such as declining performance or difficulty starting, the kill switch may likely have been tampered with. If you suspect an issue like this, you should consult with a certified mechanic to inspect and diagnose any problems with your car’s security system.
How Can I Tell if My Vehicle Has a Dealership Kill Switch Installed?
It is important to determine if your vehicle has a dealership kill switch installed before you attempt any maintenance or work yourself. If you’re not sure whether or not you have such a security device in your car, some telltale signs may indicate it is present. First, look for an indicator light on the dashboard – this light should be in several colors depending on the model: sometimes red and green, yellow and white, or blue and white.
Additionally, there may be a keyfob provided with the car which can provide access to functions of the kill switch – typically the keyfob will have symbols on it correlating to those found on the dash. Lastly, again depending on the model, there could be buttons located near the gear shift or steering wheel that serve as indicators that there may be a kill switch installed in your vehicle. Keeping track of these clues can help you better understand if you have a kill switch installed in your car or truck.
Do All Vehicles Have Dealerships With Override Systems?
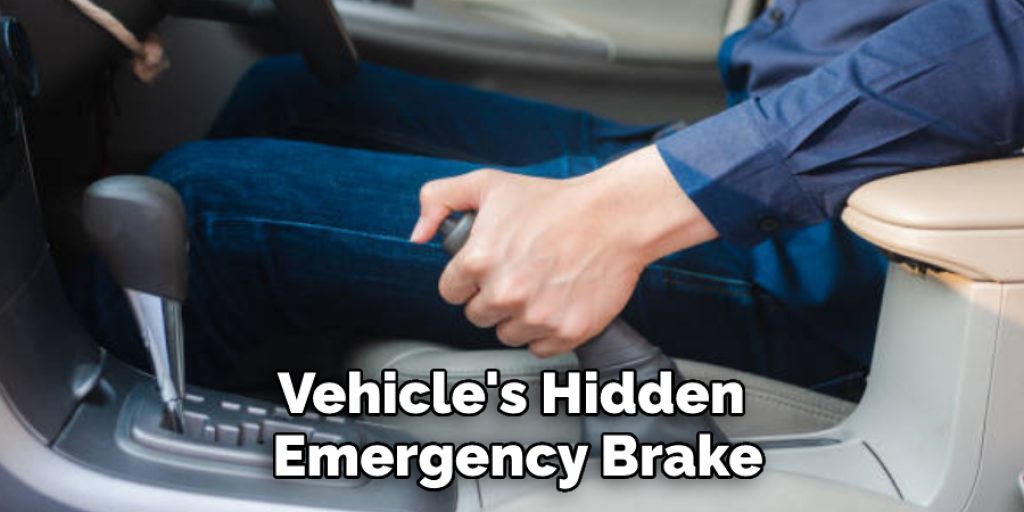
While not every vehicle may have its dedicated dealership, many vehicles on the road today do come outfitted with override systems. Try and think of it like your vehicle’s hidden emergency brake–even if the driver is unaware that this system exists, that doesn’t mean it isn’t safely tucked away in an out-of-sight or out-of-mind space.
Just in case it ever needs to deploy. After all, there are countless times when having an override system can save lives by bringing cars to an emergency stop. As such, these systems have become a vital part of any vehicle owner’s safety net, offering them peace of mind while they cruise down the highway.
Because of this, most cars on the market today are now fitted with some form of kill switch or override system to help prevent vehicle theft.
Can I Remove the Dealership Kill Switch Myself?
While it is entirely possible to remove a dealership kill switch yourself, it’s not always recommended. For one thing, removing such a system may violate your warranty–-which can be a considerable disadvantage for some drivers. Additionally, in many cases, it is illegal to remove or tamper with dealership kill switches as they are an integral part of the security features designed to protect your vehicle.
That said, if you are determined to remove the dealership kill switch from your car yourself, we recommend that you proceed carefully and thoroughly to read over all instructions and safety guidelines. Additionally, it is always best to consult a certified mechanic before attempting any modifications or removal of security systems in your vehicle. They can provide expert advice and ensure that the process is done safely and correctly. So go ahead and carefully remove the dealership kill switch from your car with confidence, knowing that you have all the necessary information to do so effectively. Good luck!
Conclusion
Don’t get frustrated when trying to remove a dealership kill switch. You should carefully determine how to remove dealership kill switch. Follow these simple steps and you’ll have it done in no time! If you need any more help or have questions feel free to contact us or leave a comment below. We would love to hear from you!
You Can Check It Out to Bypass Dryer Door Switch
Louis Wein
Louis has always been fascinated by cars. He loves the way they look, the sound of the engine, and how they make him feel when he's driving. He is always keen to learn more about different mechanics of cars and how the engine contributes to other aspects of the car. As an automotive technician with over 10 years of experience, he knew how they worked and loved taking them apart to see how they went back together. He was especially interested in the mechanics of combustion engines and loved finding ways to make them more efficient. He loves to work on cars and help people keep their vehicles running smoothly. As a senior editor, he enjoys contributing to Diy quickly because it allows him to share his knowledge and expertise with others.