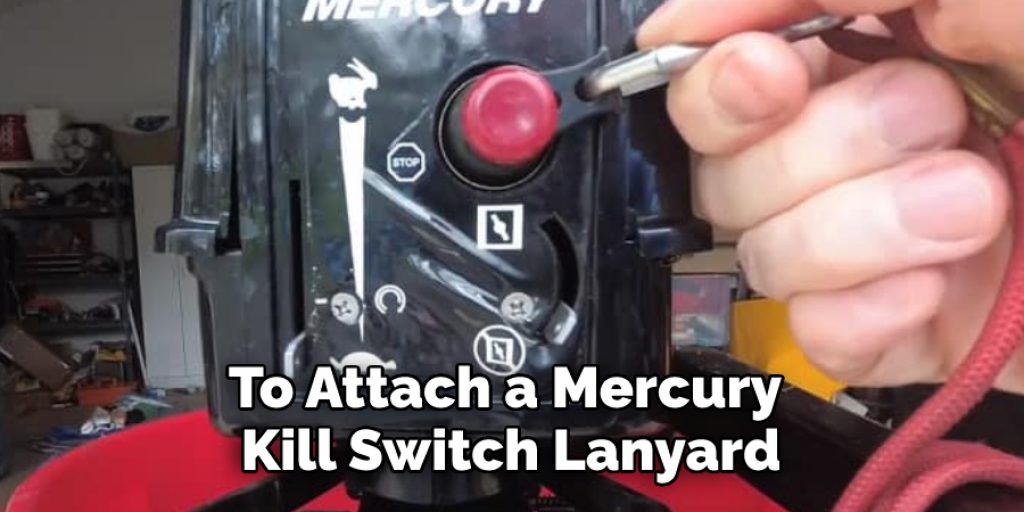
How to Attach Mercury Kill Switch Lanyard
Are you in the process of restoring your vintage boat and need assistance adding a mercury kill switch lanyard? It is important to know how to attach mercury kill switch lanyard. Whether it’s your first time installing this type of marine technology or not, this blog post is here to help.
We’ll give you all the information you need to understand how these safety systems work and provide detailed tips on properly attaching a mercury kill switch lanyard. With focus and diligence, any avid boat restoration enthusiast can easily install a reliable mercury kill switch system – read on to learn everything you need to know!
Tools You Will Need
- Phillips screwdriver
- Flathead screwdriver
- A wire stripper/cutter
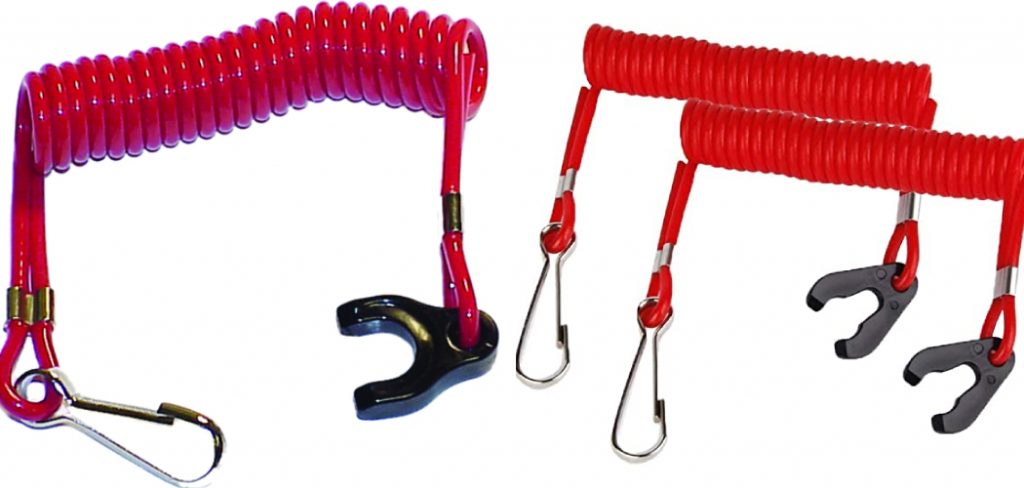
- Mercury kill switch lanyard
- Electrical tape
6 Instructions Guide on How to Attach Mercury Kill Switch Lanyard
1. Locate the Engine’s Ignition Switch
Before you begin attaching a mercury kill switch lanyard to your boat engine, the first step is locating the ignition switch. You can find it in the steering column or dashboard of your boat. To access the switch, use a Phillips screwdriver to unscrew and remove the cover plate.
After you’ve done this, you’ll be ready to attach the mercury kill switch lanyard and get back on the water with your newly upgraded safety measure!
2. Disconnect the Power Supply Wire
Proper preparation is key to properly attaching a mercury kill switch lanyard. The first step towards doing this safely is to disconnect the power supply wire that runs from the battery to the ignition switch. This can be done by using a reliable flathead screwdriver.
Loosen up the nut and smoothly pull it away from the engine’s electrical system. If done correctly, this will cut off the flow of electricity for you to securely attach your mercury kill switch lanyard with minimal fuss and risk involved.
3. Create Bare Copper Wires
To attach a Mercury Kill Switch Lanyard, it is necessary to strip bare copper wires. This can easily be achieved using a wire stripper/cutter: simply cut off one of each of the two remaining power supply wires and then use the cutter to strip them down until you reach the copper.
Doing so will expose the metal that needs to be attached to your Kill Switch Lanyard, providing you with all the necessary components for successful installation and operation.
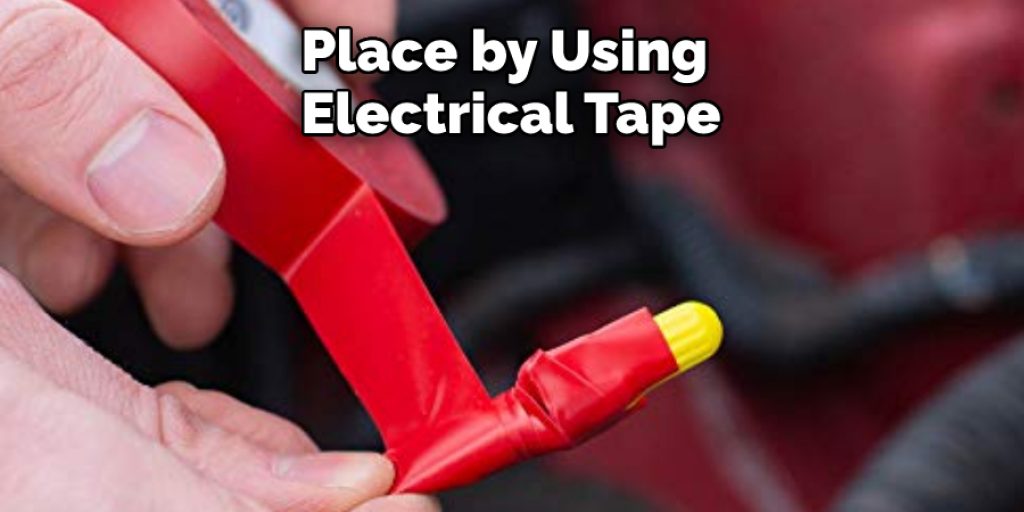
4. Secure Each Connection With Electrical Tape
Installing a mercury kill switch lanyard is a great way to keep you and your machine safe while using it. To start, take the two copper wires that came with the lanyard and fasten one wire to each end of the lanyard. Be sure to firmly secure the connection with electrical tape to avoid any loose or exposed wires.
With your installation completed, you’ll be able to enjoy increased safety when operating machinery or other large pieces of equipment – no matter what type of unexpected situation may arise!
5. Make Sure It is Secure
Securing the cover plate of a kill switch lanyard attached to a Mercury outboard requires a few simple steps. After inserting the end of your lanyard into the engine’s kill switch and clicking it in place, you will be ready to move onward and outward with an added layer of safety while boating.
Before doing so, however, double-check that you have located the appropriate screw holes in each side of the ground-level cover plate and securely screwed it in place.
This protective addition serves as an extra measure of security to keep watercraft engines free from potentially hazardous environmental elements. Once fastened in its rightful spot, you can now hit the waves with peace of mind — safety measures affiliated!
6. Connect the Kill Switch Lanyard
Attaching a kill switch lanyard to your boat’s steering wheel or throttle handle is a safety step that should not be overlooked. Start by positioning the loop at the end of the kill switch lanyard around the steering wheel or throttle handle that you intend to secure it to. Then wrap the wire in a few turns around the steering wheel or throttle handle so that it won’t slip off and unplug it in case of an emergency.
Make sure it remains in place by using electrical tape and systematically pressing parts of it into itself until you have a secure hold on your boat’s steering wheel or throttle handle. Following these steps correctly will guarantee that you can respond as quickly as possible in any potential emergency.
Congrats – you’ve now successfully attached your mercury kill switch lanyard! With the proper installation of this safety system, you can have peace of mind knowing that your boat is always protected and ready for a day out on the water.
Tips on Attaching Mercury Kill Switch Lanyard
- Read the instructions that come with your kill switch lanyard. This will give you a good idea of how the lanyard should be attached to your outboard motor.
- Locate the kill switch clip on your outboard motor. This is typically located near the top of the motor, just behind the propeller.
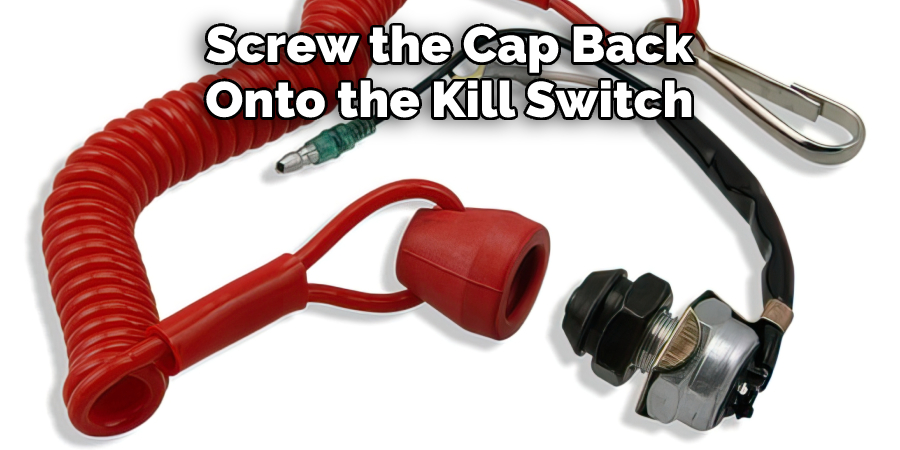
- 3. Unscrew the cap on the kill switch clip and insert the end of the lanyard into the clip.
- Screw the cap back onto the kill switch clip, making sure that it is tight.
- Locate the other end of the lanyard and attach it to your life jacket or another piece of clothing. Make sure that the lanyard is long enough so that you can reach the kill switch easily in an emergency.
- Test the lanyard to make sure that it is secure by pulling on it gently. The lanyard should not come detached from either the kill switch clip or your life jacket.
- If you are using a self-contained kill switch, follow the instructions that come with it to attach it to your outboard motor and life jacket.
- Make sure that everyone on board knows where the kill switch is located and how to use it in an emergency.
- Practice using the kill switch in calm waters so that you are familiar with how it works before using it in an emergency.
- Inspect your kill switch lanyard regularly to make sure that it is in good condition and not frayed or worn
Frequently Asked Questions
How Can I Securely Connect the Wires of My Kill Switch Lanyard?
Connecting a kill switch lanyard securely is essential to ensuring optimal safety while operating a motor vehicle. Fortunately, this is a simple process that can be completed in just a few minutes. Begin by finding the red and black wires of the lanyard, then twist the ends together until they are tightly secured.
You’ll want to make sure you have a sufficient overlap for maximum contact area between the two wires, so pull on each end gently to ensure they meet properly before continuing. Now slide an appropriately sized heat shrink tube over both of the connected wires.
Use an appropriate heat source such as a hair dryer or heat gun to shrink them in place for additional security. Finally, test your connection with a multimeter to confirm all connections are tight before using your kill switch lanyard; once you’re comfortable with its security, you’re ready to go!
How Do I Fasten the Cover Plate of the Kill Switch Lanyard Onto My Engine?
Fastening the cover plate of the kill switch lanyard onto your engine is an easy process. To begin, locate the two mounting holes on the bulkhead and make sure they line up with the lanyard’s base mount or articulating bracket. You will then pass a single stainless steel screw through each opening to secure it in place.
Once both screws are properly tightened, you’re ready to reassemble all parts of the engine and start using your motor. If done correctly, your kill switch lanyard should be securely fastened, allowing for smoother and safer operation.
How Do I Secure the End of My Kill Switch Lanyard to My Boat’s Steering Wheel or Throttle Handle?
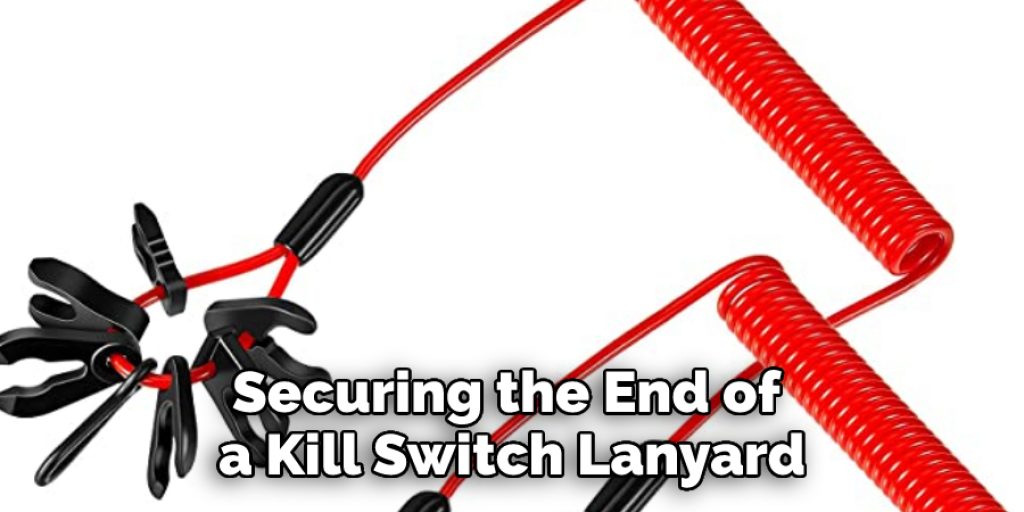
Securing the end of a kill switch lanyard to your boat’s steering wheel or throttle handle can be done in just a few simple steps. First, locate an appropriate hole or eyelet on the handle closest to the center of the side you will use when driving. Next, tie a bowline knot on one end of the lanyard, using basic sailing knots for added security.
Finally, thread one side of the lanyard through the hole or eyelet on your boat’s throttle handle or steering wheel and pull it tight so that it is secure. With this step completed, you’ll be able to ensure that your boat is as safe as possible each time you take it out onto the water.
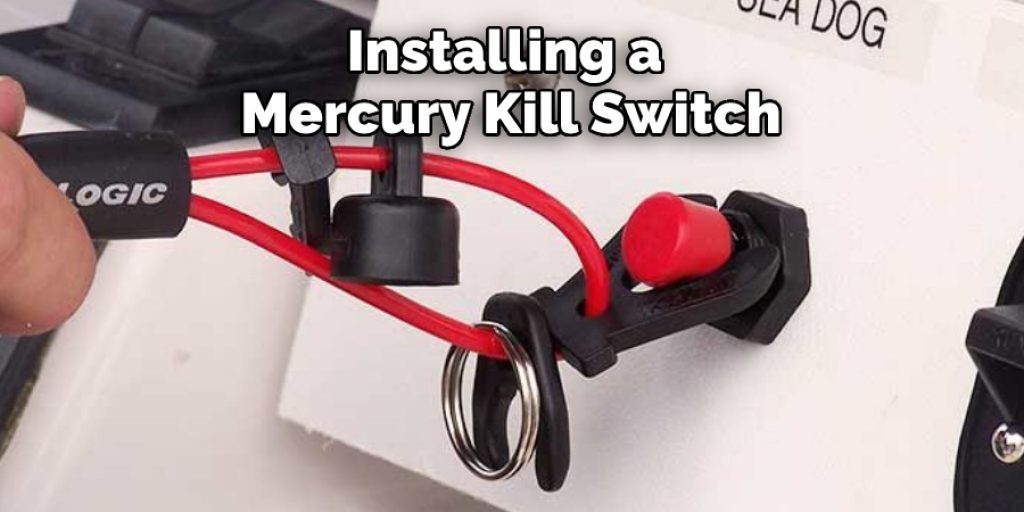
Is It Possible to Install a Mercury Kill Switch Without Electrical Tape?
Installing a mercury kill switch can be a simple, yet effective way of preventing electrical fires. Traditionally this is done using electrical tape, however, not everyone has easy access to the right kind and quality of tape required for the job. Fortunately, some excellent alternatives such as nylon cable ties, stainless steel straps, and heat-resistant sealants can be used instead.
These products are far less prone to snapping or melting under extreme temperatures and offer a much more secure bond when attached to the ignition switch. Additionally, they can be purchased from local hardware stores very cheaply and will give you peace of mind that your kill switch is properly installed.
Conclusion
Attaching the mercury kill switch lanyard is not difficult, but it is important to follow the proper safety procedures. You should carefully determine how to attach mercury kill switch lanyard. If you are unsure about proper processes, consult a professional.
With a few simple tools and some basic knowledge, you can easily Attach the mercury kill switch lanyard and get back to work.
You Can Check It Out to Clean a Window Air Conditioner Without Removing It
Louis Wein
Louis has always been fascinated by cars. He loves the way they look, the sound of the engine, and how they make him feel when he's driving. He is always keen to learn more about different mechanics of cars and how the engine contributes to other aspects of the car. As an automotive technician with over 10 years of experience, he knew how they worked and loved taking them apart to see how they went back together. He was especially interested in the mechanics of combustion engines and loved finding ways to make them more efficient. He loves to work on cars and help people keep their vehicles running smoothly. As a senior editor, he enjoys contributing to Diy quickly because it allows him to share his knowledge and expertise with others.