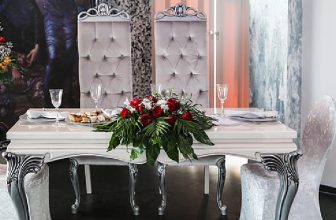
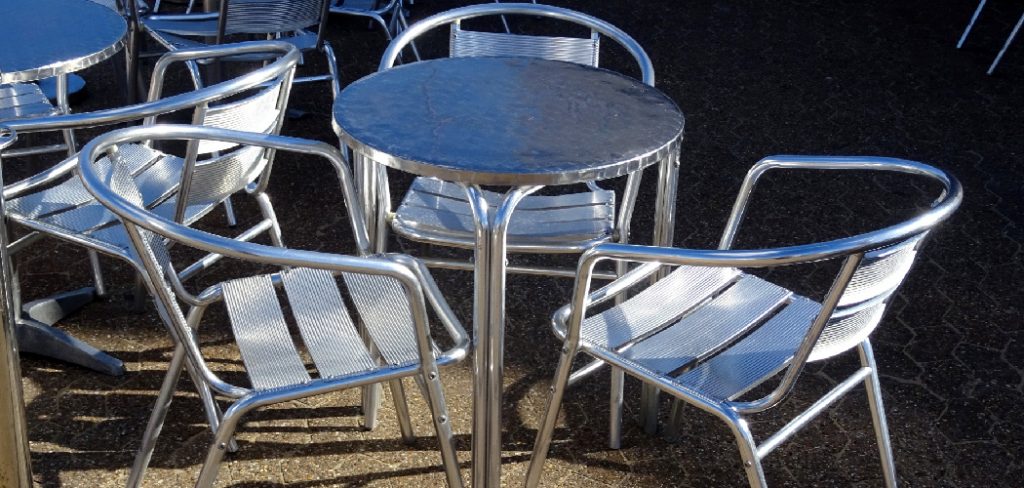
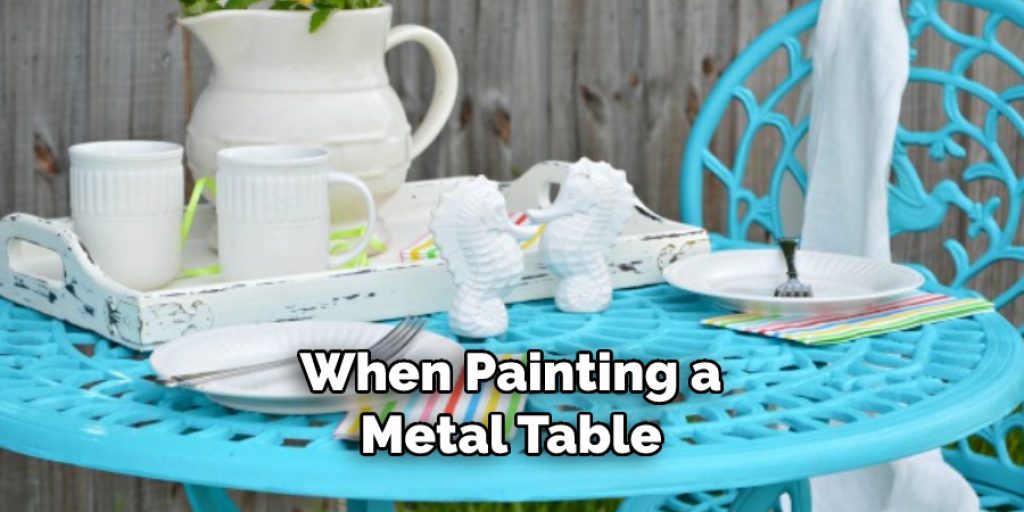
How to Paint Metal Table
Painting a metal table can be a fun and rewarding DIY project that can transform an old, worn-out piece into a stylish and refreshed addition to your home decor. Whether you have a rusty outdoor table or a dull indoor one, painting it can bring new life to it and protect it from further corrosion.
However, painting metal requires some preparation and technique to ensure a smooth and durable finish. In this guide, we will walk you through the step-by-step process of how to paint metal table, from surface preparation to final coating, to achieve a professional-looking result that will stand the test of time.
What Paint to Use for a Metal Table?
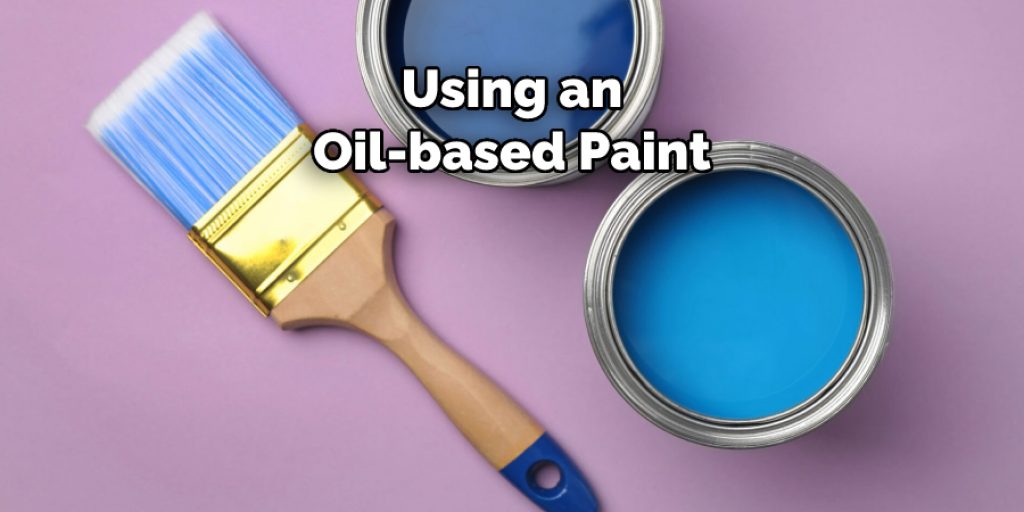
When painting a metal table, you’ll want to use quality paint that will not only look good but also last for many years. The best paint for a metal table is either epoxy-based or oil-based paint. These types of paints are formulated specifically for use on metal surfaces and provide superior durability and protection from rust, scratching, and fading.
Epoxy-based paint is ideal for outdoor metal furniture due to its high resistance to water, UV rays, and other elements. It’s also very easy to clean and maintain. Oil-based paints create a more traditional look that has strong adhesion qualities and resists cracking or peeling over time. Keep in mind that you’ll need to use a primer prior to painting with either type of paint in order to ensure maximum adhesion.
Be sure to choose a color that complements the other elements in your outdoor space. For example, if you want a contemporary look, opt for neutral tones like gray or white. If you’d prefer something more traditional or rustic, choose colors like red or green.
No matter what type of paint you use for your metal table, it’s important to follow the manufacturer’s instructions for proper application and drying times. Additionally, be sure to properly prepare the surface prior to painting in order to get the best results. Once you’ve completed these steps, you’ll be able to enjoy your newly-painted metal table for years to come.
What Tools & Supplies You’ll Need?
To paint a metal table, you’ll need the following tools and supplies:
- A wire brush or sandpaper.
- Paint primer specifically designed for use on metals.
- High-quality oil-based enamel paint.
- Drop cloths or plastic sheets.
- A high-quality angled brush.
- Paint thinner.
- A damp rag.
- A pair of rubber gloves.
- Safety glasses and a face mask.
Once you’ve gathered all the necessary tools and supplies, you’re ready to begin painting your metal table!
10 Steps How to Paint Metal Table
Step 1: Clean the Table
Before painting, make sure the metal table is clean and free from any dirt, grease, or rust. Use a wire brush or sandpaper to remove any loose rust or paint. Clean the table with a mild detergent and let it dry completely.
If the metal table has been previously painted, you may need to use a chemical paint stripper to remove the old paint. While doing this, make sure to wear safety goggles and protective gloves. However, if you are painting a new metal table, this step isn’t necessary.
Step 2: Sand the Surface
Use sandpaper or a sanding block to roughen the surface of the metal table. This will help the paint adhere better and create a smoother finish. Wipe away any dust or debris with a clean cloth. If you are painting over an old coat of paint, use a medium to coarse grade sandpaper and be sure to only sand the areas that need it.
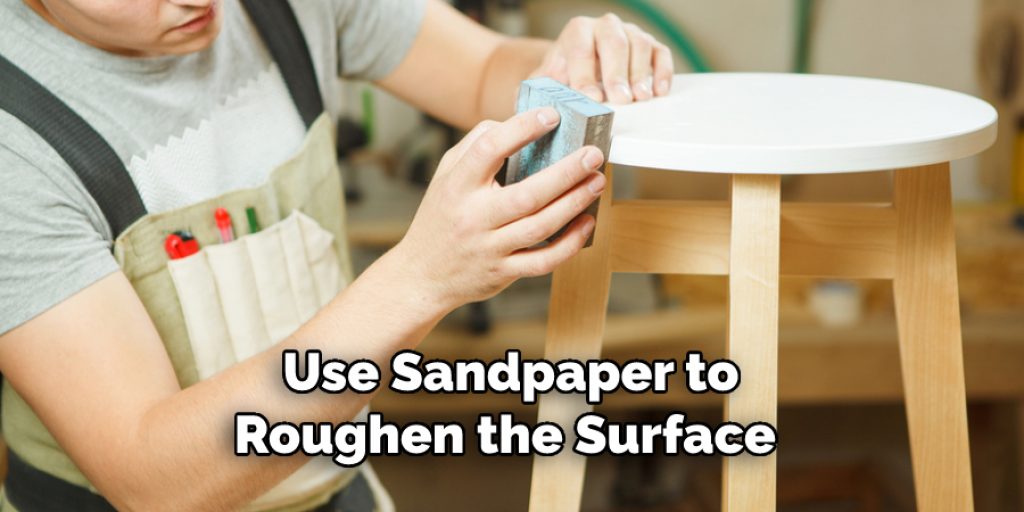
This will ensure the new paint job looks even and professional. After sanding, make sure to thoroughly clean the surface. Using a cloth dampened with mineral spirits, wipe away any residue from sanding. Allow the surface to dry completely before proceeding.
Step 3: Prime the Surface
Apply a primer specifically designed for metal surfaces. Use a brush or spray can to evenly coat the table with primer. Allow it to dry according to the manufacturer’s instructions. Primer helps paint to adhere better and will give your table a professional-looking finish. Make sure that the primer is completely dry before proceeding with the next step.
Although it’s not necessary, you may also choose to sand the table lightly before priming, which could help the primer adhere better and give your finished product a smoother appearance.
Step 4: Fill in any Imperfections
If there are any holes or dents in the metal table, use a filler or putty to fill them in. Smooth out the surface with a putty knife or sandpaper, and wipe away any excess filler. Allow the filler to dry completely before continuing. To get an even finish and help the paint to adhere better, lightly sand the entire surface of the metal table with a fine-grit sandpaper. Wipe away any dust or debris with a damp cloth before continuing.
Step 5: Sand the Primer
Once the primer is dry, use fine-grit sandpaper to lightly sand the surface. This will create a smooth base for the paint to adhere to. Be sure to remove all dust and debris with a lint-free cloth. If you are using an oil-based paint, use a tack cloth to remove any remaining dust and particles. However, if you are using a water-based paint, just use a damp cloth to wipe down the surface.
Step 6: Choose and Apply Paint
Select a paint that is suitable for metal surfaces, such as enamel or spray paint. Apply thin and even coats of paint using a brush or spray can, allowing each coat to dry before applying the next. For an aged look, you can use a dry-brushing technique to add texture.
Apply the paint in areas where wear and tear would naturally occur, such as the edges and corners. Apply a top coat of sealer when finished. This will help to protect the paint job and preserve its appearance. Allow the paint to dry completely before using the table.
Step 7: Sand Between Coats
After each coat of paint has dried, lightly sand the surface with fine-grit sandpaper to remove any imperfections or bubbles. Wipe away any dust with a clean cloth before applying the next coat. If applying a glossy finish, use very fine sandpaper or steel wool between coats. This will help the paint adhere better and give it an even finish. Keep in mind that the more coats you apply, the shinier and smoother the finish will be.
Step 8: Apply Additional Coats
Depending on the desired coverage and color intensity, apply additional coats of paint until you achieve the desired result. Allow the final coat of paint to dry completely. You may need to apply a sealant or topcoat over the paint for protection. Refer to the manufacturer’s instructions for specific details. Once the project is complete, enjoy your new painted metal table!
Step 9: Seal the Paint
To protect the paint and increase its durability, apply a clear sealant or topcoat specifically designed for metal surfaces. Follow the manufacturer’s instructions for application and drying time. Apply the sealant with a brush or roller in thin, even coats. Allow the coat to dry completely before applying another. If desired, you can apply multiple coats of sealant for an even more durable finish. Once the sealant has dried completely, your metal table is ready to be used.
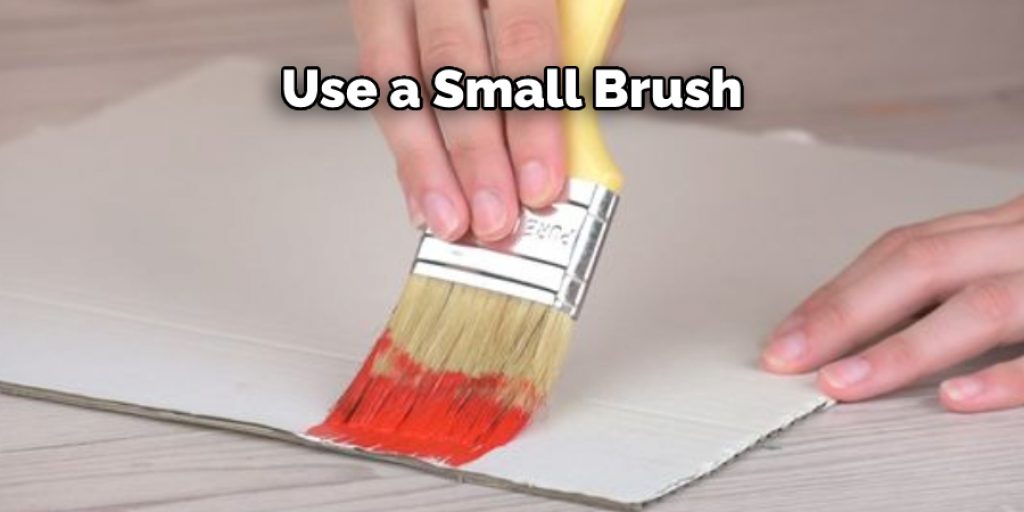
Step 10: Finishing Touches
Once the sealant is dry, inspect the table for any touch-ups or imperfections. Use a small brush to fix any areas that need additional paint or touch-ups. Clean your painting tools thoroughly with water or paint thinner. Once the table looks perfect, it’s ready to be used and enjoyed! However, in order to make your paint job last as long as possible, it’s best to avoid placing any items on the table for at least 24 hours.
This will allow the paint to properly settle and cure before it is subject to wear and tear. After 24 hours, your table should be good to go and the paint should last for years if properly maintained.
With these ten steps, you can successfully paint a metal table and give it a fresh and appealing look. Proper surface preparation, priming, painting, and sealing are essential for a long-lasting and professional-looking finish. So, roll up your sleeves, gather your materials, and get ready to transform your metal table into a stunning piece that will enhance your home decor.
Conclusion
In conclusion, painting a metal table can be a gratifying DIY project that can revitalize an old or worn-out piece of furniture. By following the ten steps outlined in this guide, including proper surface preparation, priming, painting, and sealing, you can achieve a smooth, durable, and professional-looking finish.
With the right materials, technique, and patience, you can transform your metal table into a stylish and refreshed addition to your home decor. So, follow along with how to paint metal table; grab your paintbrushes and get ready to unleash your creativity to create a stunning and personalized metal table that will be the envy of all.
Angela Ervin
Angela is the executive editor of DIY quickly. She began her career as an interior designer before applying her strategic and creative passion to lifestyle and home. She has close to 15 years of experience in creative writing and online content strategy for housekeeping, home decorations as well as other niche efforts. She loves her job and has the privilege of working with an extraordinary team. She lives with her husband, two sons, and daughter in Petersburg. When she's not busy working she spent time with her family.