How to Make a Window Cornice
A window cornice can be a great way to add style and texture to any room. The design possibilities are endless, and the look is timeless. Cornices also provide a decorative touch to windows, blocking out light and preventing drafts from entering your home. With some basic woodworking skills, you can easily build your custom window cornice quickly.
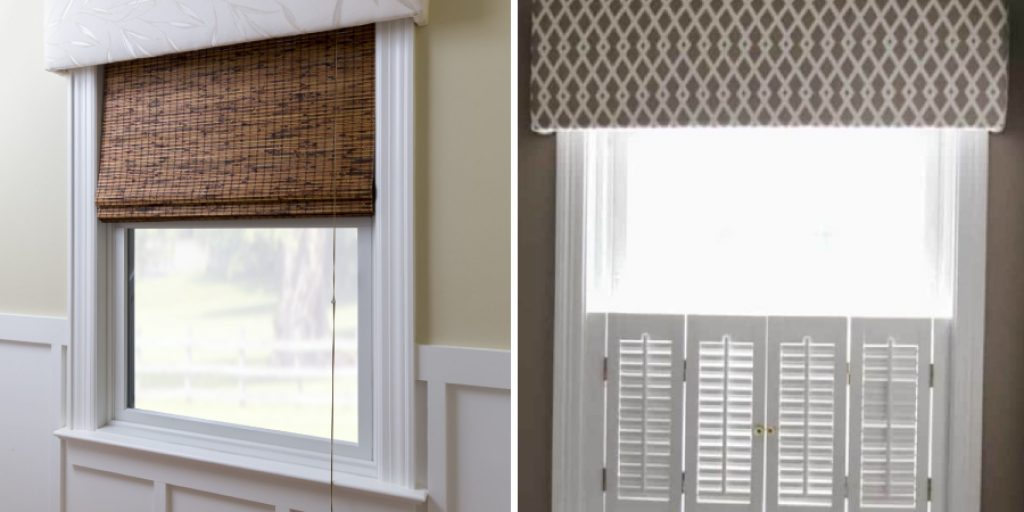
A window cornice is a great way to add an elegant touch to any room and can help improve your space’s overall look. Cornices are easy to install and require minimal tools or materials, making them ideal for do-it-yourself projects. With the right techniques and measurements, you can make a beautiful window cornice to enhance your home’s decor. In this blog post, You will learn in detail how to make a window cornice.
Materials You Will Need
- Wood or composite material for the framing.
- Filling materials such as foam, batting, stuffing, etc.
- Fabric to cover the cornice.
- Heavy thread for attaching fabric to wood.
- Marker or pencil for measurements and markings.
- Saw (for cutting wood).
- Iron and ironing board (for pressing fabric).
- Staple gun and staples.
- Hammer and nails.
- Adhesive or glue for attaching pieces of material to the cornice frame.
Step-by-Step Processes for How to Make a Window Cornice
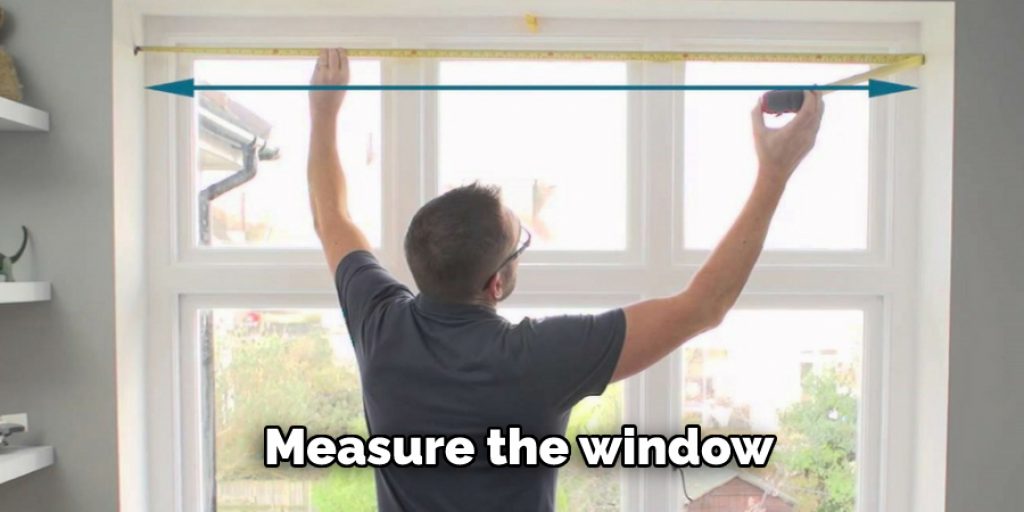
Step 1: Inspect the Window
Measure the window before constructing a window cornice. Analyze the frame of the existing window to decide on the size of your new cornice. Select a design that will fit in with your room’s overall decor and within your budget. Determine if you want to buy a pre-made cornice or make one from scratch.
Step 2: Gather Materials
Gather the materials needed to construct your cornice. This includes wood, nails, screws, fabric, and batting. Consider purchasing a piece of pre-cut plywood for the base of the cornice if you are making it from scratch.
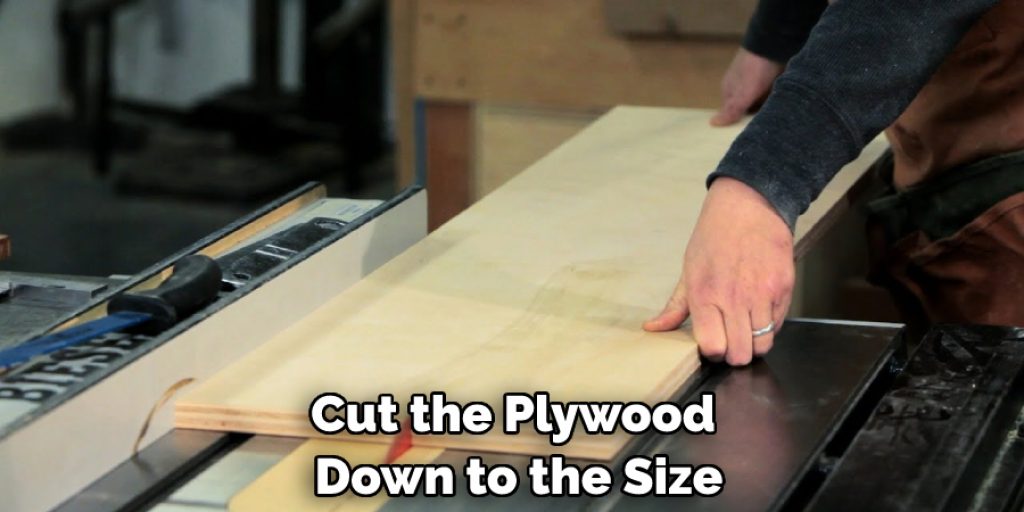
Step 3: Cut the Plywood
Cut the plywood down to the size you determined in step one. Round the top edges and cut a notch in each side to insert the mounting bars. Attach two wooden mounting bars across the back of your plywood piece. Secure with glue or screws.
Step 4: Cover the Plywood
Using batting, cover the front of your plywood piece and staple it securely to the back of the plywood. Attach your fabric to the top of your cornice with a staple gun. Make sure it is pulled tight enough to avoid wrinkles.
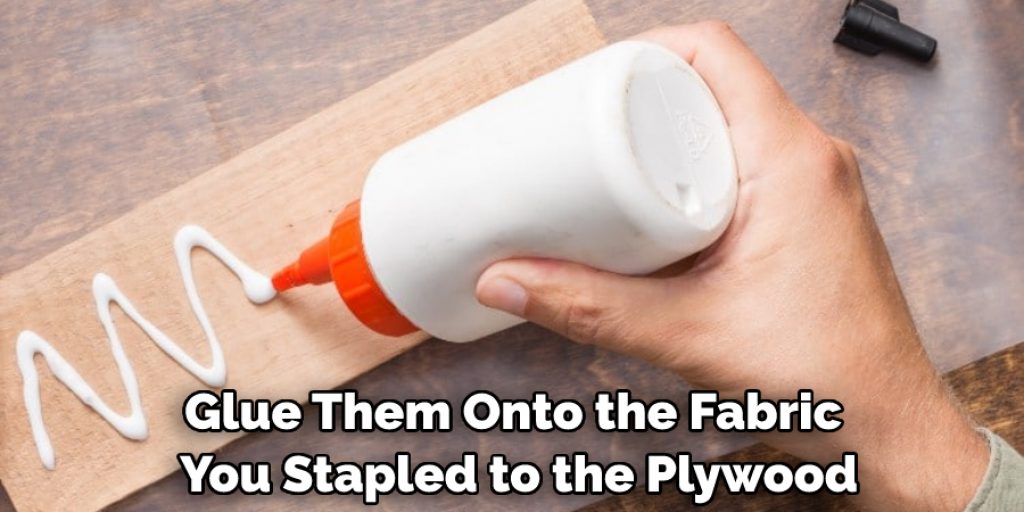
Step 5: Attach Decorative Details
Add trims, tassels, fringe, or any other decorative details to the front of your cornice. Glue them onto the fabric you stapled to the plywood. Mount your newly constructed cornice to the top of your window. Make sure it is securely attached with screws or nails.
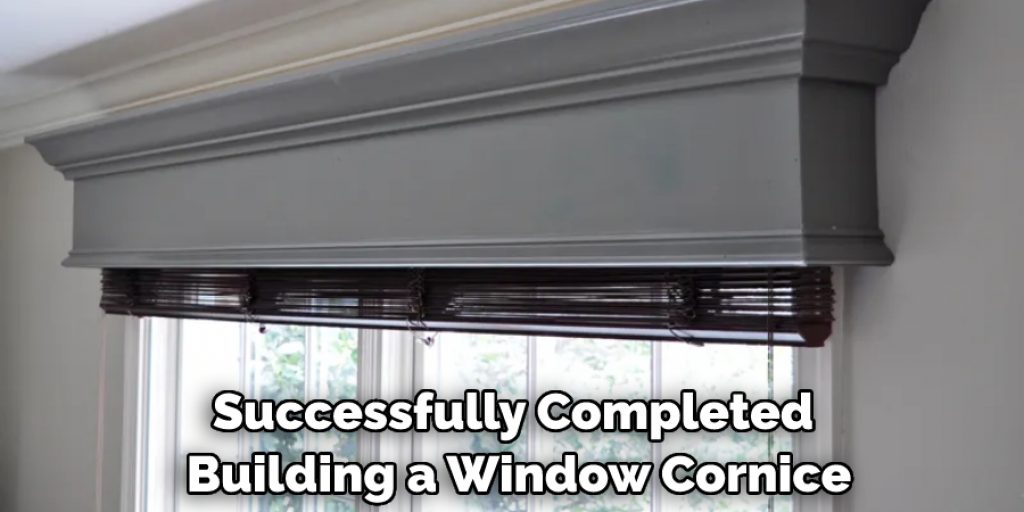
Step 6: Enjoy Your New Cornice
Finally, stand back and admire your work. You have successfully completed building a window cornice. Now all you need to do is enjoy it for years to come.
Tips for How to Make a Window Cornice
- Always wear protective eyewear and gloves when using a saw, router, nail gun,, or other power tools.
- Make sure to read all instructions that come with the tools being used before beginning work. This will help ensure safety while using the tools and will prevent possible injury due to incorrect use of the tool.
- Be sure to use the correct nails and fasteners for the particular job being done. Ensuring that the right type is used will help make sure that the cornice stays secure during its lifetime.
- Ensure that all power tools are properly plugged into a GFCI (ground-fault circuit interrupter) before use. This will help prevent electric shock from occurring while working with power tools.
- Make sure to keep cords and wires away from the work area when cutting or drilling into the wood for the cornice project.
- Use clamps to secure the cut or drilled material on a stable surface, such as a work table. This will help prevent the material from slipping while using power tools.
- Make sure to have good ventilation in the area being worked in, as dust and debris can cause health hazards when inhaled or ingested by accident.
- When working high up on ladders or scaffolding, always have someone spot the person working. This will help prevent falls or injury while working on the cornice project.
Following these safety tips ensures that your window cornice project is completed safely and securely.
How Do You Care for Your Window Cornice?
Once your window cornice is installed, it will require some simple maintenance to keep it looking its best. Here are a few tips for caring for your window cornice:
- Dust regularly using a microfiber cloth or duster. This will help prevent dirt and dust buildup that can damage the material over time.
- Vacuum the cornice monthly using a brush attachment. This will help remove any cobwebs or other debris that may have accumulated.
- Avoid cleaning with harsh chemicals, as these damage the material and cause discoloration. If necessary, use mild soapy water to spot clean stains. Be sure to rinse off any soap residue with plain water.
- To ensure that your window cornice retains its color shape, try to avoid direct sunlight as much as possible.
By following these simple steps, you can keep your window cornice looking fresh and new for years to come! With proper care and maintenance, you’ll be able to enjoy the beauty of your window cornice for a long time.
What Can You Do if You Make a Mistake or Need to Change Something on the Window Cornice?
It is fairly easy to do if you make a mistake or need to change something on the window cornice. If you need to remove any of the nails, use a hammer and nail set. Pulling them out can damage the wood. You can also use sandpaper to smooth out any rough spots or irregularities in the wood. Cut the foam with an electric carving knife to make changes to the foam. To replace pieces of the cornice, measure the area and cut new pieces to fit. You can use wood glue or a hot glue gun to adhere them in place.
If you need to add more decorative elements, you can use fabric flowers, ribbons, trim, or other decorations to enhance it. Finally, you can use fabric tape or spray adhesive to attach the decorative elements and secure them in place. Remember always to take safety precautions when working with tools, sharp materials, and adhesives. And if you are ever in doubt, ask a professional for assistance.
Are There Any Special Considerations for Making a Window Cornice for an Arched Window?
When it comes to making a window cornice for an arched window, there are some special considerations that must be taken into account. For example, the fabric used must be chosen carefully to ensure that it does not interfere with the arch of the window. Also, the design of the box should be custom-fitted to fit around the arch rather than using a standard box pattern. Additionally, the measurements used should be adjusted accordingly to ensure that the cornice will fit perfectly and securely around the arch of the window.
With these considerations in mind, creating a beautiful window cornice for an arched window is possible. Careful planning and attention to detail are essential to ensure that the finished product looks professional and fits securely around the window’s arch. With these steps as a guide, you can create a custom-fitted window cornice for your home that looks stunning.
How Can You Make Sure Your Window Cornice Looks Good and Lasts for Years to Come?
When making a window cornice, it is important to ensure that the material and design you choose will look good and last for years. To ensure your window cornice looks great and lasts, consider the following tips:
- Choose a material that can stand up to moisture and heat. Wood, metal, or plastic cornices will work, but make sure they’re sealed to prevent water damage.
- If you are painting or staining your window cornice, use a high-quality paint or stain that is made for outdoor use. This will help with fading and chipping over time.
- Use a primer before applying any paint or stain to help with adhesion and longevity. This will also help the finish look better.
- Consider using a sealant after your cornice is finished to protect it from moisture and UV rays.
- Make sure that whatever screws, nails or other hardware you use to attach the window cornice are made for outdoor use and are stainless steel or galvanized.
Following these steps will help ensure that your window cornice looks great and lasts for years to come. With the right design, materials, and care, your window cornice can become a beautiful piece of your home’s decor.
Conclusion
One potential disadvantage of making a window cornice is that it can be time-consuming. Depending on the size, complexity, and materials used, it can take several hours or even days to create the perfect cornice for your window.
In conclusion, making a window cornice is not difficult and, with the right materials, can be an easy project to complete. The result of creating your own window cornice will be a stylish addition to any room that provides both a decorative and functional benefit. From measuring and cutting the wooden boards to assembling them into a frame to attaching the fabric covering, it’s a project that anyone with just some basic DIY skills can complete easily. I hope this article has been beneficial for learning how to make a window cornice. Make Sure the precautionary measures are followed chronologically.
Angela Ervin
Angela is the executive editor of DIY quickly. She began her career as an interior designer before applying her strategic and creative passion to lifestyle and home. She has close to 15 years of experience in creative writing and online content strategy for housekeeping, home decorations as well as other niche efforts. She loves her job and has the privilege of working with an extraordinary team. She lives with her husband, two sons, and daughter in Petersburg. When she's not busy working she spent time with her family.