How to Build a Window Casing
Window casing is an important part of the overall design of a home. It frames out the window and can be used to add character and style to any room. It also helps protect the window from drafts and other weather elements that can cause damage over time if left unprotected.
The advantages of learning to build a window casing are numerous. Installing a window casing will give your windows a finished, professional look that adds value and curb appeal to your home or business. Not only does it create an attractive appearance, but a properly installed window casing can also provide protection from drafts and reduce energy costs by insulating the window frame against the elements. You can find step-by-step instructions on how to build a window casing in this blog article.
Step-by-step Instructions for How to Build a Window Casing
Step 1: Inspect the Window Frame
Before building a window casing, inspect the area around the window to ensure the frame is level and plumb. If necessary, adjust it with shims or other tools before installing the casing.
Step 2: Measure and Cut Lumber
When selecting your lumber for building a window casing, measure both the length and width of each window and make sure to add an extra inch or two for the casing. Cut each piece of lumber according to your measurements with a circular saw.
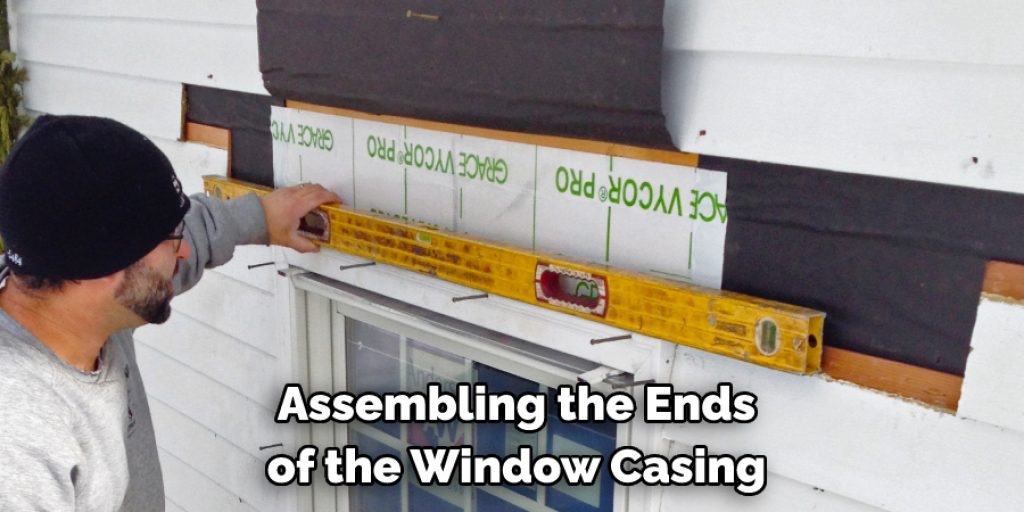
Step 3: Assemble the Ends
Start by assembling the ends of the window casing, and attaching the shorter pieces first. Use wood glue and nails to secure them together, making sure they fit snugly against each other. Once the ends are in place, attach the longer side pieces to them. Again, use wood glue and nails to secure them into place. Make sure that they fit flush with one another so that when you install it around the window frame, it is level and even.
Step 4: Cut the Header and Sill Pieces
Measure the width of the top and bottom of the casing to determine how wide your header and sill pieces should be. Cut them out of lumber with a circular saw, adding an extra inch or two for trim pieces. Attach the header and sill pieces to the sides of the window casing by using wood glue and nails. Make sure that they fit snugly into place.
Step 5: Install Around the Window Frame
Now it’s time to install your window casing around your window frame. Ensure it is level and plumb, then use a drill and screws to secure it. To give the window casing a finished look, add trim pieces to the top and bottom of the casing. Measure them so they fit snugly around the header and sill pieces, then glue and nail them into place.
Step 6: Caulk the Seams
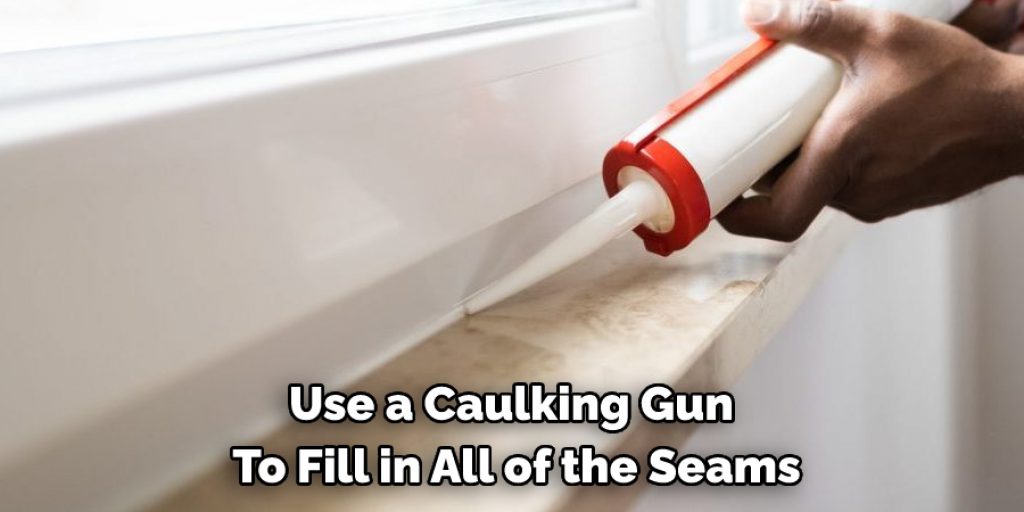
Use a caulking gun to fill in all of the seams and joints between the window frame and casing. Smooth it with your finger or a damp cloth, then dry it overnight. Once the caulking is dry, you can paint or stain your new window casing. Make sure to apply two coats of paint or stain for the best results.
Following these steps, you can easily build a professional window casing that adds value to your home.
Safety Precautions for How to Build a Window Casing
- Wear protective gear such as safety glasses and work gloves while working on the window casing.
- When cutting wood with a saw, always keep your hands away from the blade to avoid any injuries.
- Be sure to measure twice and cut once for accurate results when building the window casing.
- Make sure the pieces fit tightly together and use glue if necessary to ensure a secure connection.
- Use a level to check that the frame is square before nailing it into place.
- When using power tools, be sure to read and follow all instructions carefully for safe operation of the tool.
- Securely attach the window casing to the wall by nailing it from both sides.
- Always unplug and store away power tools when not in use.
Following these safety precautions can help ensure that you build a secure and stable window casing for your home.
Are There Any Specific Techniques You Should Use When Installing a Window Casing?
When installing a window casing, it’s important to take the time to ensure each step is done properly. This will help to create a neat, professional finish that looks great and is secure. The first step when adding window casing is to measure and cut the material for the frame with a saw. It’s best practice to measure twice and cut once. Once the frame has been built, you’ll need to attach it to the window opening using nails or screws.
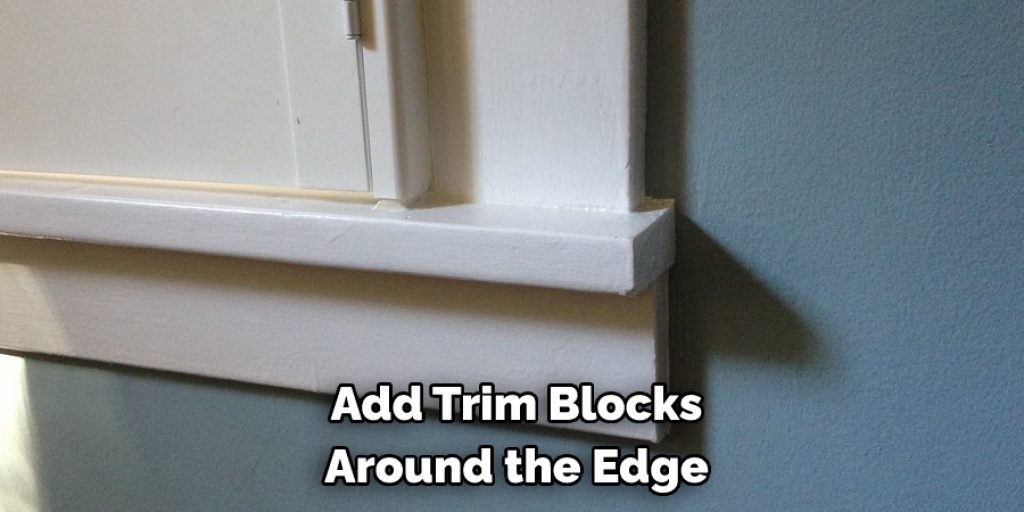
The next step is to add trim blocks around the edge of the window casing. These will help hold the casing in place and provide extra protection against water damage. To install the trim blocks, use a drill to make small holes for the screws, then secure them with construction adhesive. Finally, add any additional trim pieces you may need for your project. Add caulk where needed to provide an airtight seal around the window casing and paint or stain it if desired.
What is the Best Way to Attach Window Casing to Your Walls?
Window casing provides a finished look to a window area and can be installed with or without trim pieces. The most common way of attaching window casing is by using nails, but there are other methods as well. Depending on your wall type, you may want to consider screws, adhesive fasteners, or even staples. Here’s how to choose the best fastener for your window casing:
- Nails: Nail guns are ideal for attaching window casing to most walls. Hammering nails in manually can be difficult and time-consuming, but with a nail gun, you can get the job done quickly and easily. For thinner material like pine or poplar, go for 18-gauge nails. For heavier and thicker trim, you may need stronger 16-gauge nails.
- Screws: Screws are highly durable and provide a secure hold compared to nails. If your wall is made of drywall or plaster, using screws can be beneficial as they won’t pull out as nails can. If you’re using screws, choose a screw length that will provide deep penetration and ensure the head is slightly lower than the casing.
- Adhesive Fasteners: Adhesive fasteners are perfect for lightweight materials like foam or plastic trim. When applying adhesive fasteners to your window casing, make sure you have cleaned the surface beforehand and allowed the adhesive to set properly before putting up the trim.
- Staples: Staples can be used to attach lightweight and thin window trims to walls, but they are not suitable for heavier materials. If you’re using staples, make sure that you use a heavy-duty staple gun and insert the staples so that they go deep into the trim material.
For best results, you should always use the proper type of fastener based on your wall and window casing material. Using the right fasteners ensures that your window casing is securely attached to your walls without any problems.
How Much Will It Cost Me to Build and Install a Window Casing?
The cost of building and installing a window casing is largely dependent on the amount and type of materials used. Generally, you can expect to spend anywhere between $50 and $150 for the raw materials necessary to build the window casing. This cost does not include any labor costs associated with the installation process. Depending on your location, ceilings, walls, and other factors, the labor cost for installing a window casing can range from $150 to $400.
Ultimately, the cost to build and install a window casing will depend on the amount of materials used and how complex your installation is. If you’re looking for an accurate estimate of how much it will cost to build and install a window casing, it’s best to contact a professional contractor who can assess the job and provide you with an estimate.
What is the Best Way to Maintain Your Window Casing Over the Long Term?
Once you’ve successfully built your window casing, it is important to take steps to maintain it for the long term. This can help ensure that your window casing remains in good condition and lasts many years. Start by inspecting your window casing regularly for signs of wear and tear. Look out for any paint bubbling, cracking, or flaking that could signal an underlying issue. Make sure there are no cracks in the wood, and check for any evidence of water damage or moisture build-up.
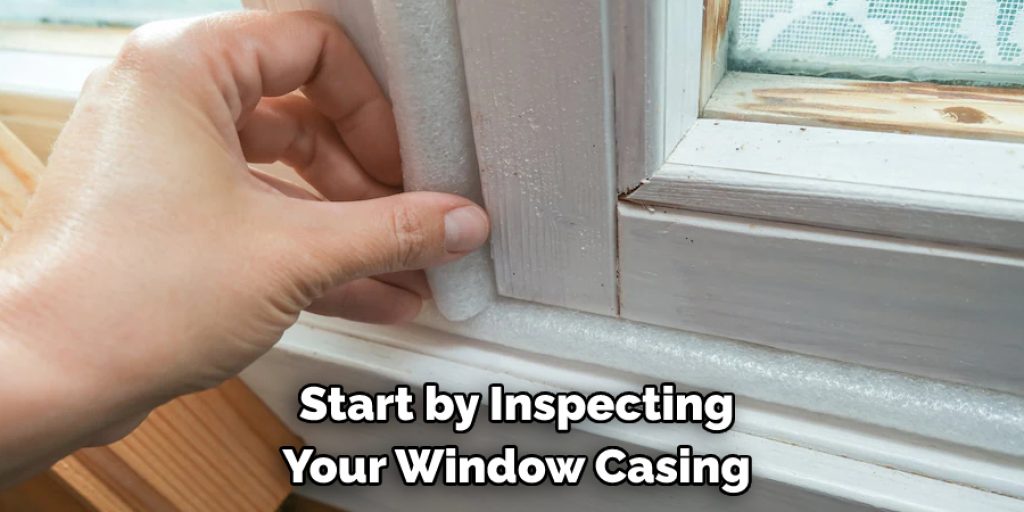
If you find any issues with your window casing, it’s important to take action right away to prevent further damage. This can include repairing any cracks or patching up any areas that may have been affected by moisture. Once the repairs are made, you can then seal the window casing with a protective coating such as varnish or shellac. This will keep it protected from further damage and help extend its lifespan.
Conclusion
One disadvantage of building a window casing is the cost associated with the materials and tools needed for the project. Although building a window casing can be done relatively inexpensively, it requires higher-quality material than other home improvement projects and more specialized tools like miter saws and routers.
In conclusion, building a window casing is a project you can easily tackle with the right tools, materials, and patience. It may seem intimidating at first, but with proper preparation and the tips outlined in this blog post, you will be able to build beautiful window casings that will last for years. With careful measuring and planning, you can save time and money by getting the job done right the first time. I hope this article has been beneficial for learning how to build a window casing. Make Sure the precautionary measures are followed chronologically.

