How to Levitate a Pencil
If you are looking for something to entertain the kids, then I have got a cool magnetic trick for you. Have you ever tried out the levitate pencil trick? It is cool magic that’s going to amaze your viewers. Generally, it is a trick of magnets, where they create a floating like an illusion in front of the audience. You can make a pencil appear to float in mid-air, using a couple of magnets. By following this easy trick, you can do it too.

This trick is also essential when you want to explain to your students how does magnet actually work. In both cases, you need to first learn how to levitate a pencil. So, if you have set up your mind and really willing to learn the process, I am gonna show you the exact ways right in this article. Let’s dive in! How to Levitate a Pencil Using Magnets This trick is very easy and even kids can easily perform it.
How to Levitate a Pencil
Step 1
First of all, take a base of Styrofoam and draw a straight layout holding your ruler on it. Then mark the equidistant point from both ends. After that, take a long wooden stick and fasten it to the center of your base with the help of adhesive.
Step 2
To make a ruler, you will need two pieces of Styrofoam that are the same size. Place one piece on the base, and then place the other piece on top of it. Use double-sided tape to attach the two pieces together. Make sure to leave a small gap between the two pieces of Styrofoam.
Step 3
To make a simple motor, you will need two ring magnets, four small magnets, two pieces of Styrofoam, and a battery. First, place the two ring magnets on the first piece of Styrofoam, with the magnets facing each other. Then, take the four small magnets and place them on the first piece of Styrofoam, following the distance you drew earlier. Repeat this step for the other piece of Styrofoam. Finally, connect the two pieces of Styrofoam using the battery, and your motor should start working!

Step 4
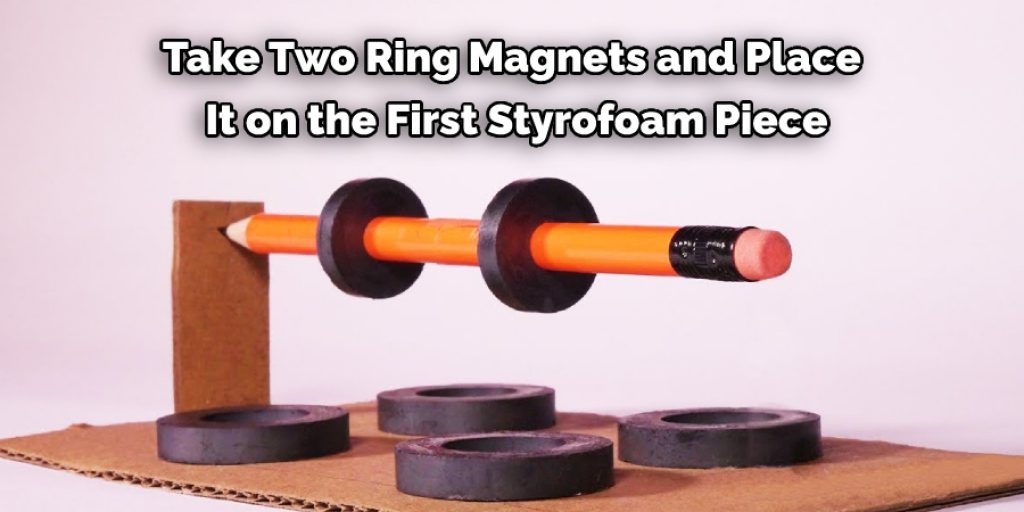
Next, take half of the popsicle as a context and double dip the part of the pencil, whereas the magnets have to be placed. The magnet that you are going to put on the pencil should repel the base magnets. Now, insert the magnet in the pencil such that it isn’t facing the base magnets.
Step 5
Similarly, dip the front part twice. The front ring magnet should attract the front base magnets. Inset the ring magnet in such a manner that it is slightly back than the base magnets. Now, leave the pencil over the magnet. You will now notice the pencil is floating over the pencil. That’s it; the levitating pencil is ready to use. You rotate the pencil a little bit to make it look more interesting.
Hopefully, you have understood the entire process. But if you are still confused and got stuck at some point, let me know through the comment section below.
You may also read now


