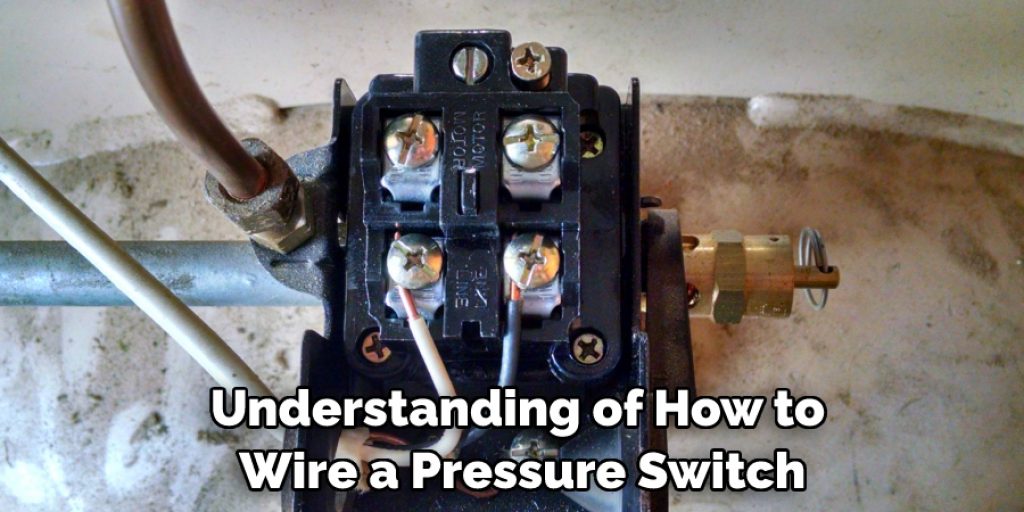
How to Wire a Pressure Switch
Wiring a pressure switch may seem intimidating at first, but the task can be easily handled with just a few simple steps. Whether you are installing a new pressure switch or repairing one that is already in place, it helps to have some knowledge about how it works and what components are necessary for the job. Understanding what’s involved will make your job easier and more successful – giving you both peace of mind and satisfaction when it comes to getting the desired results.
In this blog post on how to wire a pressure switch, we’ll explain why having an understanding of pressure switches is important, as well as provide step-by-step instructions on how to wire your own pressure switch. So let’s dive in!
What is a Pressure Switch?
A pressure switch is a device that turns on and off based on the amount of pressure applied to it. This process is known as “pressure sensing”, and usually involves the use of a diaphragm or bellows that changes shape when subjected to different levels of pressure. Pressure switches are frequently used in water systems, air conditioners, and other automated systems where the pressure needs to be monitored for safety.
Why Do You Need a Pressure Switch?
1. To Keep It Safe
Pressure switches are a crucial element in keeping your system safe and functional. If the pressure in an automated system changes too much, it can lead to damage or even catastrophic failure. Pressure switches alert you of this risk before it gets out of control.
2. For Optimal Performance
Installing a pressure switch can help improve the performance of your system. Pressure switches are more responsive than manual systems, and this enhanced accuracy can lead to more efficient operation.
3. For Convenience
Finally, having a pressure switch installed makes it easier to manage your system as it eliminates the guesswork associated with manually changing the pressure. Also, it makes monitoring the pressure much simpler than having to take readings manually.
Required Items
In order to wire a pressure switch, you’ll need the following items:
- Necessary electrical components (switches, wiring, etc.)
- Pressure switch
- Voltmeter/multimeter
- Screwdriver and pliers

5 Ways How to Wire a Pressure Switch
1. Gather the Necessary Components
Before you can begin wiring your pressure switch, you’ll need to gather all of the necessary components for your system. This includes things such as wires, terminals, and clamps. Also, make sure you have a voltmeter/multimeter on hand to help with troubleshooting.
2. Install the Pressure Switch
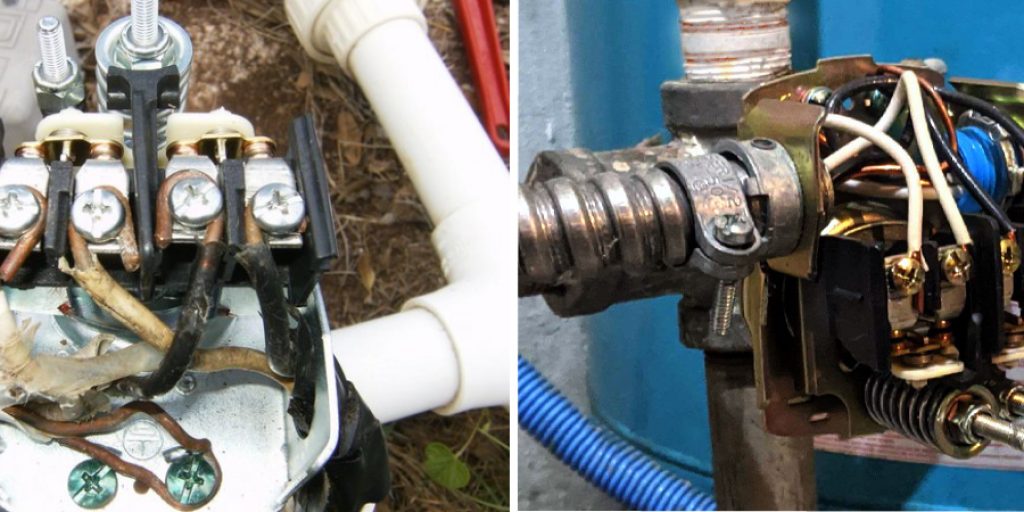
Once you have all of the items needed, it’s time to install the pressure switch. First, turn off any power to the area where you will be installing the switch. Next, use your screwdriver and pliers to attach the pressure switch to the wall. Then, connect the wiring according to your system’s specifications.
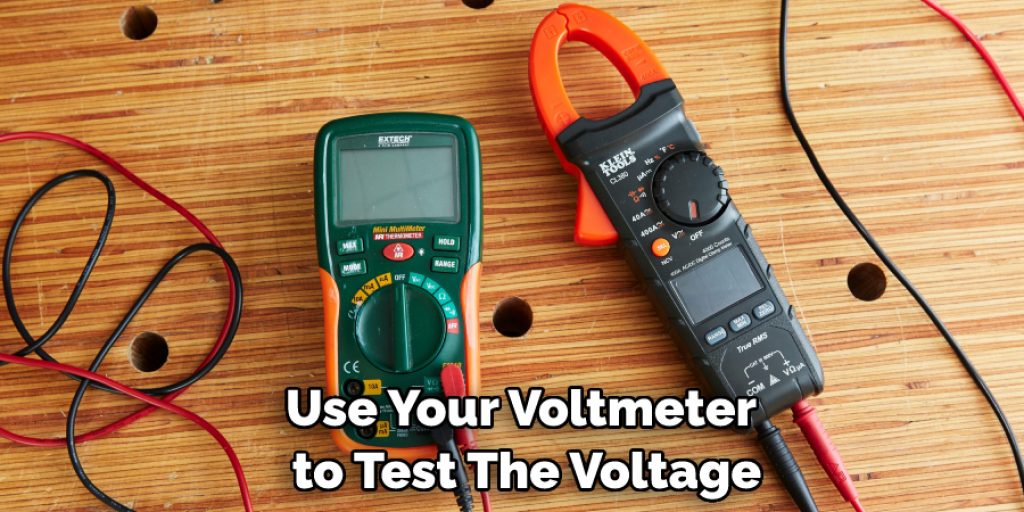
3. Test Your System
At this point, you should have a basic understanding of how to wire a pressure switch. Now it’s time to test your system and make sure everything is working properly. To do this, use your voltmeter to test the voltage levels at each connection point. If everything is in order, you should see consistent readings across all points.
4. Troubleshoot Your System
If you’re not getting consistent readings, then there may be a problem with your system wiring. Start by retracing your steps and ensuring that all of your connections are secure. If that doesn’t fix the problem, then you might need to replace some of the components.
5. Recheck Your System
Once you’ve made any necessary repairs or replacements, recheck your system to ensure that all of the connections are secure and that the voltage levels are consistent. If everything is working as it should, then congratulations – you’ve successfully wired a pressure switch!
8 Safety Precautions to Follow
When wiring a pressure switch, it is important to take safety precautions. Follow these tips for safe and successful wiring:
1. Familiarize yourself with the circuit breaker panel in your home or office before beginning installation. Make sure you know which breaker controls the power to the area of the house where you are working.
2. Turn off the power completely by flipping the circuit breaker switch that controls the area you will be working in. If you turn off the wrong switch, you could be electrocuted.
3. Make sure the pressure switch is wired correctly by consulting diagrams that are provided with it. Also, make sure to use the right size of wire for your switch.
4. Wear protective gloves and eyewear when working with electrical wiring. Wearing these items can protect you from potential electric shocks. It minimizes your risk of injury if the wire should come out of its insulation.
5. Double-check all connections with a voltage tester to make sure there is no electrical current present. The connections should be tight and secure, with no exposed wires.
6. Make sure the switch panel is installed in an area away from any water sources, including sinks, bathtubs, or showers. This will help prevent potential electric shocks if the switch comes into contact with these areas.
7. Make sure all wiring is safely tucked away and out of reach of children. If you have to use a wire that is longer than the recommended length, make sure it is secured with electrical tape or other approved methods.
8. After completing the wiring, turn on the power and test the pressure switch to ensure it is working properly. If you find any issues, contact a qualified electrician for assistance.
Following these tips can help you safely and successfully wire a pressure switch. Be sure to consult diagrams or contact a qualified electrician in order to ensure that the wiring is done correctly. Taking these steps can help prevent potential accidents and ensure your safety.
7 Maintenance Tips
If you are planning to wire a pressure switch, proper maintenance is essential. Here are seven tips to help keep your pressure switch working efficiently:
1. Clean the terminals of the pressure switch regularly. This will help minimize damage and ensure a good connection when wiring. Cleaning the terminal also improves the longevity of the switch.
2. Check all wiring connections regularly. Loose or corroded wires can cause issues with your pressure switch, so make sure to check all connections and replace any worn or damaged wires as needed.
3. Install a fused disconnect switch at the start of every pressure switch installation. This will help protect the switch should an overload occur.
4. Make sure the circuits are properly grounded. Improper grounding can lead to electrical issues with your pressure switch, so ensure that all wires and connections are properly grounded before beginning any wiring work.
5. Check power supply voltages regularly to ensure they are at the correct level for your pressure switch.
6. Regularly check the pressure switch’s external components, such as hoses and sensors, for any signs of wear or damage. Replacing or repairing any damaged components is essential for the proper functioning of the switch.
7. Make sure to regularly check all internal components, such as springs and diaphragms, for signs of wear or damage. Replace any broken or worn components to ensure your pressure switch is working correctly.
Following these maintenance tips will help keep your pressure switch functioning properly and ensure it provides the best performance possible. Proper wiring is essential for a successful installation, but proper maintenance is also important in ensuring the long-term reliability of your pressure switch.
Frequently Asked Questions
How Long Will It Take to Finish the Project?
The amount of time required to wire a pressure switch will depend on the complexity of the wiring, the number of components involved, and your experience with similar projects. Generally, it should take no more than an hour or two to complete the task.

What Special Tools Will I Need?
You’ll need some basic electrical tools such as wire strippers, a screwdriver, and pliers. In addition to these basics, you may need some specialized tools, such as an ohmmeter or voltage tester, if the wiring is more complicated.
How Much Will It Cost?
The cost of wiring a pressure switch will vary depending on the complexity of the project. In most cases, you should expect to spend around $50-$100 for materials and tools. It might also be necessary to hire a professional electrician to wire the switch, which could add an additional cost.
Conclusion
It is important when hiring a pressure switch that you adhere to safety guidelines and take the necessary steps to make sure that the switch functions correctly. Taking the time to wire the switch correctly can save a great deal of time, energy, and money in the future – not to mention safety concerns. Taking easy-to-follow steps like labeling wires, creating diagrams or sketches, attaching wires with twist connectors, and securing screws are all crucial pieces of work that will ensure the pressure switch system runs as smoothly as possible.
Installing your own wiring for a pressure switch may seem intimidating at first, but with careful planning and proper installation techniques as easy as this post on how to wire a pressure switch, this project can be completed efficiently and safely without the help of an electrician.