How to Fix Popcorn Ceiling Cracks
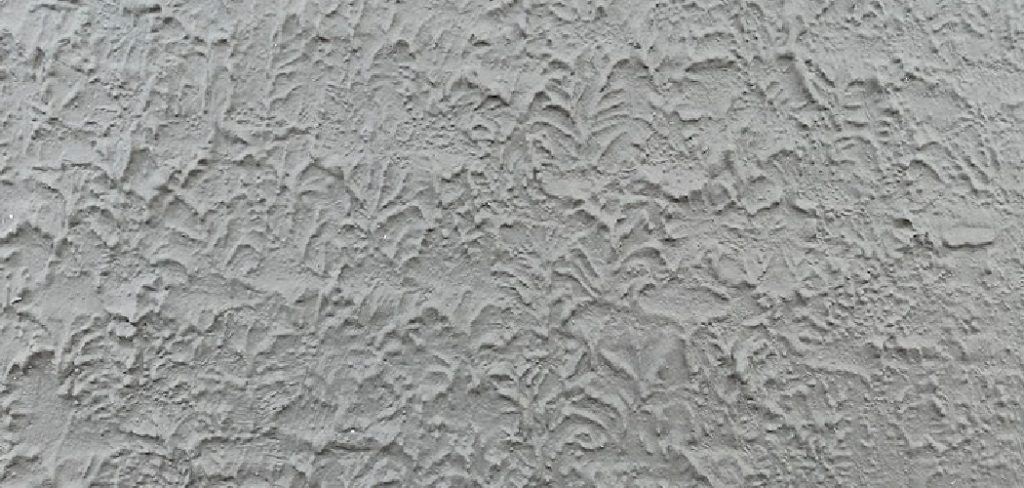
Popcorn ceilings, also known as acoustic or textured ceilings, were a popular interior design trend in the mid-20th century. They were used to cover up imperfections and add texture to plain ceilings. However, with time and changing trends, popcorn ceilings have become outdated and can even decrease the value of your home.
Popcorn ceilings, also known as textured or acoustic ceilings, were popular in the 1950s to 1980s due to their cost-effectiveness and ability to hide imperfections. Today, however, many homeowners are opting for a smoother ceiling finish and looking for ways to fix popcorn ceiling cracks. In this blog post, You will learn in detail how to fix popcorn ceiling cracks.
Materials You Will Need
- Safety gear (gloves, safety glasses)
- Ladder or scaffolding
- Putty knife
- Sandpaper
- Joint compound
- Paintbrush or roller
- Drywall patching compound
- Primer
- Ceiling paint
- Popcorn ceiling texture spray
Cracks on your popcorn ceiling can be unsightly and make your room look old and worn out. But don’t worry, with the right materials and a little bit of know-how, you can easily fix these cracks yourself.
Step-by-Step Instructions for How to Fix Popcorn Ceiling Cracks
Step 1: Inspect the Ceiling
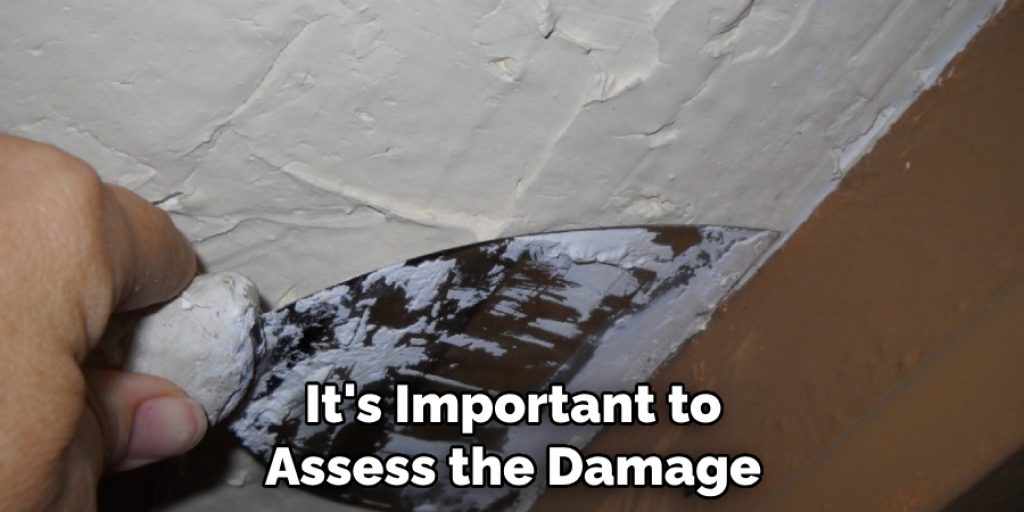
Before you start fixing any cracks in your popcorn ceiling, it’s important to assess the damage and determine the cause of the crack. This will help you figure out the type of repair needed and prevent future cracks from occurring.
Step 2: Gather Materials
To fix popcorn ceiling cracks, you’ll need a few essential materials including a putty knife, sandpaper, joint compound, mesh tape or paper tape, and a paint roller. Cover the surrounding area with drop cloths or plastic sheets to protect against potential mess. It’s also recommended to wear safety goggles and a dust mask to prevent any particles from getting into your eyes or lungs.
Step 3: Scrape Off Loose Popcorn Texture
Using a putty knife, gently scrape off any loose popcorn texture that may be surrounding the crack. This will ensure a smooth surface for repair and prevent the new texture from peeling. Once you’ve scraped off all of the loose texture, use fine-grit sandpaper to smooth out any rough edges or bumps around the crack.
Step 4: Apply Joint Compound
Using a putty knife, apply a thin layer of joint compound to the crack and surrounding area. Make sure to feather out the edges for a smooth finish. Place either mesh tape or paper tape over the joint compound, pressing it firmly into place. This will help reinforce the repair and prevent future cracks from forming.

Step 5: Apply Another Layer of Joint Compound
Using your putty knife, apply another layer of joint compound over the tape, making sure to feather out the edges once again. Once the joint compound has dried, lightly sand the area to smooth out any imperfections. If needed, repeat steps 6-8 until the crack is completely covered and blended in.
Step 6: Apply a Fresh Layer of Popcorn Texture
Finally, using a paint roller or texture sprayer, apply a fresh layer of popcorn texture over the repaired area. This will help blend in the repair with the rest of the ceiling and give it a seamless finish.
By following these step-by-step instructions, you can easily fix popcorn ceiling cracks and restore your ceiling to its original state. Remember to always take necessary safety precautions and consult a professional if needed for larger or more complex repairs.
Tips for How to Fix Popcorn Ceiling Cracks
- Before starting any repairs, make sure to wear appropriate protective gear such as safety goggles, gloves, and a dust mask.
- Cover the surrounding area with drop cloths or plastic sheets to prevent any debris from getting on furniture or floors.
- Use a sturdy ladder and have someone hold it steady while you work on the ceiling.
- If using a ladder, make sure it is tall enough for you to comfortably reach the ceiling without overextending your arms.
- Turn off any nearby electrical power sources and cover them with plastic sheeting to prevent any accidents.
- Use a lightweight putty knife or scraper to remove loose popcorn material before applying any patching compound.
- If using a spray-on texture, make sure to follow the instructions carefully and only apply in well-ventilated areas.
Causes of Fixing Popcorn Ceiling Cracks
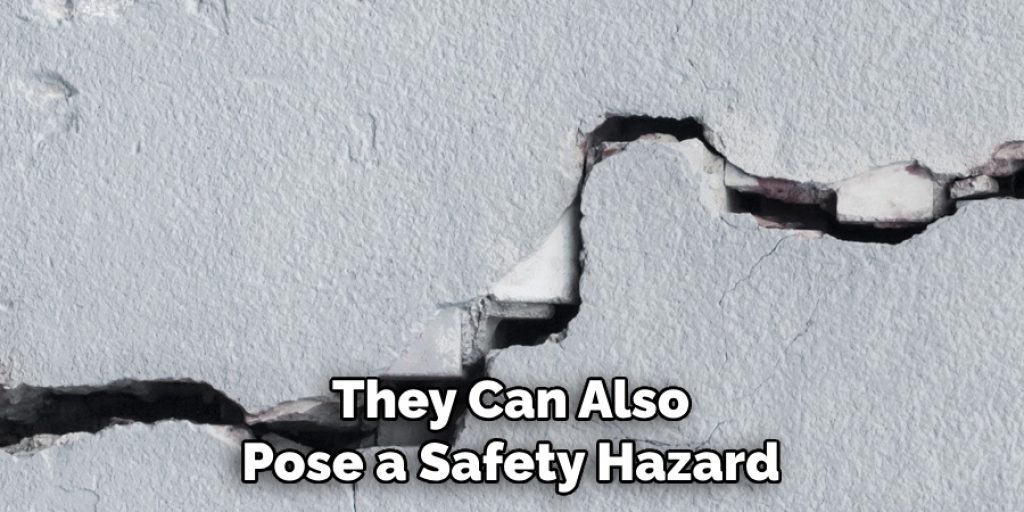
Cracks on popcorn ceilings are a common occurrence, and it can be frustrating to constantly have to repair them. Not only do they look unattractive, but they can also pose a safety hazard if left unrepaired. In this article, we will discuss the various causes of popcorn ceiling cracks and how to fix them.
1. Age of the Ceiling
One of the main reasons for popcorn ceiling cracks is the age of the ceiling. Popcorn ceilings were a popular choice in homes built between the 1950s and 1980s, so if your home falls within this timeframe, it’s likely that your ceiling has aged and developed cracks.
2. Structural Movements
Another common cause of popcorn ceiling cracks is structural movements. These include things like settling of the house, expansion and contraction due to temperature changes, and even vibrations from nearby construction or heavy traffic.
3. Water Damage
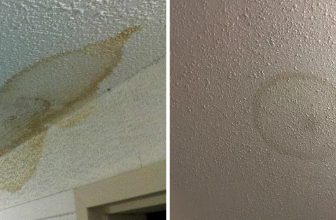
If your popcorn ceiling has water damage, it can lead to cracks. This is because the moisture weakens the material and causes it to sag or bulge, eventually resulting in cracks.
4. Poor Installation
Popcorn ceilings that were not installed properly can also develop cracks. If the popcorn texture was not applied evenly or if it was mixed with too much water, it can weaken the ceiling and cause cracks over time.
5. Heavy Objects
Hanging heavy objects from the ceiling, such as a chandelier or ceiling fan, can also contribute to popcorn ceiling cracks. The weight of these objects puts stress on the ceiling, causing it to crack.
6. Humidity
High levels of humidity can also cause popcorn ceilings to crack. When there is excess moisture in the air, it can seep into the popcorn texture and cause it to expand and contract, leading to cracks.
7. DIY Repairs
Lastly, attempting to fix popcorn ceiling cracks yourself can actually make the problem worse. Without the proper tools and techniques, you may end up causing more damage to the ceiling.
How Do You Properly Prep the Ceiling Before Fixing the Cracks?
When it comes to fixing popcorn ceiling cracks, proper preparation is key. Without properly prepping the surface beforehand, your repairs may not hold up or look as seamless as you’d like. In this section, we’ll discuss the steps you should take before repairing popcorn ceiling cracks. First and foremost, you’ll need to gather all necessary tools and materials for the repair process. This includes a putty knife, sandpaper, joint compound, and paint. You may also want to have a ladder or step stool for reaching high areas.
Next, you’ll need to clean the area around the crack. Use a damp cloth or sponge to wipe away any dirt, dust, or debris. This will help ensure that the repairs adhere properly and create a smooth finish. Once the area is clean, you may need to prime the surface before applying joint compound. This step is especially important if your ceiling has been previously painted or if there are any stains present. Use a primer specifically designed for use on ceiling surfaces and follow the instructions carefully.
Can You Prevent Future Cracks From Appearing in Your Popcorn Ceiling?
If you’ve recently fixed a crack in your popcorn ceiling, you might be wondering if there are any steps you can take to prevent future cracks from appearing. After all, fixing popcorn ceiling cracks can be a time-consuming and messy process. Luckily, there are some preventative measures you can take to minimize the chances of cracking in your popcorn ceiling. These include:
1. Maintaining Consistent Humidity Levels

Fluctuations in humidity can cause the materials in your ceiling to expand and contract, leading to cracks. To prevent this, try to keep the humidity level in your home between 40-60%.
2. Avoiding Heavy Objects or Furniture on the Ceiling
The weight of heavy objects or furniture can put pressure on your popcorn ceiling, causing it to crack. If possible, try to avoid placing heavy items directly on the ceiling.
3. Regularly Checking for Leaks
Any moisture that seeps into your ceiling can weaken the materials and make them more prone to cracking. Be sure to check for any leaks in your roof or plumbing regularly and address them promptly.
4. Using a High-quality Paint
The type of paint you use on your popcorn ceiling can also affect its durability. Opt for a high-quality, moisture-resistant paint that can better withstand changes in humidity.
By taking these preventative measures, you can significantly reduce the likelihood of future cracks appearing in your popcorn ceiling. However, keep in mind that even with the best care, some cracks may still appear over time due to natural settling and aging of the materials.
Conclusion
In conclusion, fixing popcorn ceiling cracks is a task that requires time, patience, and attention to detail. While it can be a daunting and messy process, the end result of a smooth and seamless ceiling is worth the effort. However, there are some potential disadvantages to consider when attempting to fix popcorn ceiling cracks.
These include the risk of harmful materials being released into the air during removal or repair, as well as the possibility of damaging the underlying structure if not done correctly. It is important to weigh these drawbacks against the benefits and safety precautions when deciding whether to tackle popcorn ceiling repairs on your own or hire a professional. I hope this article has been beneficial for learning how to fix popcorn ceiling cracks. Make Sure the precautionary measures are followed chronologically.

