How to Sew Placemats With Batting
Are you tired of replacing disposable placemats after every meal? Sewing your reusable placemats with batting is an easy and eco-friendly alternative. You can customize them to match your home decor or use fun and colorful fabric for a more playful look.
How to sew placemats with batting is a delightful way to add a personal touch to your dining experience while providing extra cushioning and insulation for your table. Whether you want to protect your table from hot dishes or simply enhance your decor, homemade placemats offer functionality and style.

This guide will walk you through the necessary materials and steps to create beautiful, quilted placemats that showcase your creativity. With a few basic sewing skills and a selection of fabrics, you can craft unique placemats to impress your family and guests. Let’s get started on this enjoyable sewing project!
What Will You Need?
Before diving into the sewing process, gather the materials to create your placemats with batting. Here’s a list of the essential items:
- Fabric: You’ll need fabric for your placemats’ front and back. Choose sturdy cotton or linen fabrics that can withstand frequent use and washing.
- Batting: This is what gives your placemats their thickness and insulation. Look for low-loft batting to avoid bulkiness.
- Thread: Select a thread color that complements your fabric choices.
- Ruler: A ruler will come in handy for accurately measuring and cutting fabric pieces.
- Cutting Mat and Rotary Cutter (optional): These tools make it easier to cut precise fabric pieces, but you can also use a pair of scissors.
- Pins or Clips: Use these to hold your fabric pieces together while sewing.
- Sewing Machine and Accessories: A basic sewing machine will suffice for this project. Remember to have extra needles and bobbins on hand.
10 Easy Steps on How to Sew Placemats With Batting
Step 1: Prepare the Fabric
Start by washing, drying, and ironing your fabric. This step ensures that any shrinkage occurs before sewing, so your placemats won’t change size after washing.
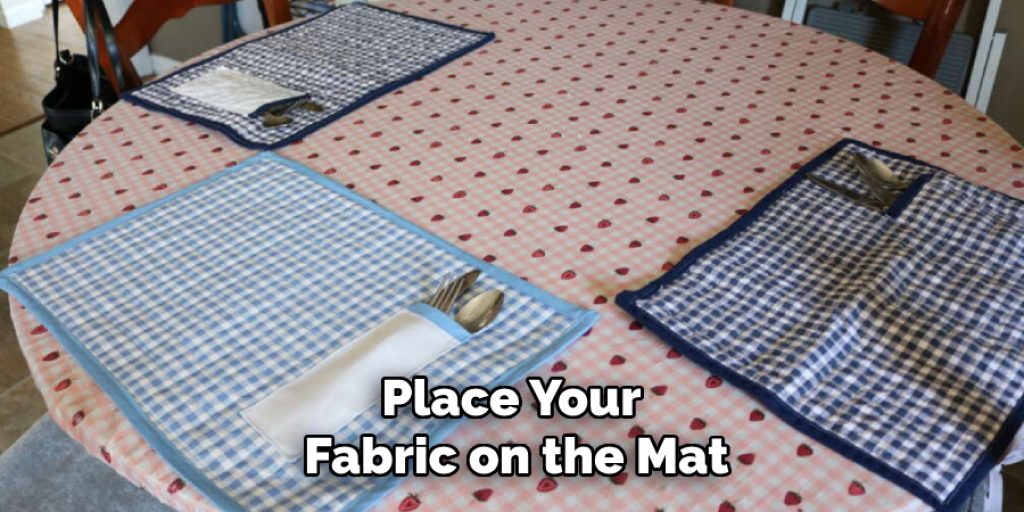
Next, cut your front and back fabric pieces into rectangles measuring 14×20 inches each. If using a cutting mat and rotary cutter, place your fabric on the mat, aligning the edges with the grid lines for accuracy. Use a ruler to measure and mark your fabric before cutting.
Step 2: Cut the Batting
Once you have prepared your fabric, it’s time to cut the batting. Measure and cut two pieces of batting to match the dimensions of your fabric rectangles, which should be 14×20 inches as well. Ensure that your batting is smooth and wrinkle-free to make the sewing process easier later on.
If you prefer an added cushioning layer, consider using two layers of batting instead of one, which will give your placemats a bit more heft and insulation against hot dishes. After cutting, stack the batting pieces between the fabric layers, ensuring they are adequately aligned. This layering technique will provide functionality and enhance the aesthetic appeal of your placemats when they are quilted.
Step 3: Layer the Fabric and Batting
Now that you have all your pieces cut, it’s time to layer them together. Start by placing one piece of the backing fabric right side down on a flat surface. Next, lay one piece of batting on top of the backing fabric, ensuring it is centered. Finally, place your front fabric piece right side up on top of the batting. Make sure all edges are correctly aligned for a neat finish. This layered setup will form the foundation of your placemat, providing both structure and design.
Step 4: Quilting the Layers
With your layers secured, it’s time to quilt them together. Set your sewing machine to a straight stitch and choose a length of around 2.5 to 3.0 for a balanced look. Start sewing about half an inch from the edge, following a straight line along the perimeter of the placemat. This initial stitching will help keep the layers in place and create a finished edge. As you sew, add additional quilting lines across the placemat, either in a grid pattern or with fun swirls, adding texture and visual interest.
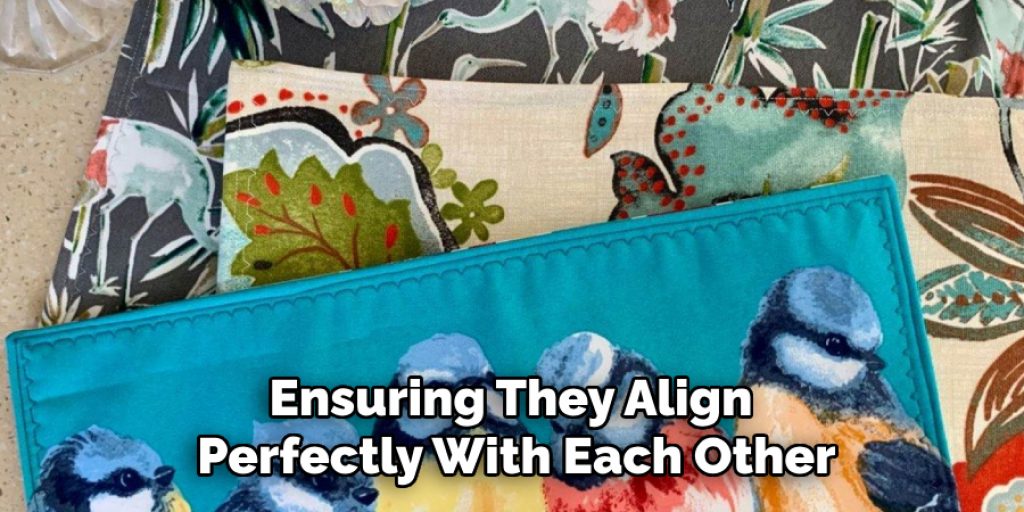
Step 5: Trimming the Edges
After quilting your layers together, it’s essential to trim the edges for a clean finish. Using a pair of scissors or a rotary cutter, carefully trim any excess batting and fabric along the edges of the placemat, ensuring they align perfectly with each other. This step will help create a polished look and ensure your placemats lie flat on the table. Be cautious not to cut into your quilted seams, as this could compromise the integrity of your placemat.
Step 6: Binding the Edges
You’ll need to bind the edges to give your placemats a professional finish. Begin by cutting strips of fabric for the binding; a width of 2.5 inches is standard. The length of each strip will depend on the perimeter of your placemat, so measure accordingly and cut enough strips to cover all four edges. With the strips ready, fold each strip in half lengthwise and press to create a crease.
Next, align the raw edge of the binding with the edge of the placemat, right sides together. Pin or clip the binding in place and sew along the edge with a ¼-inch seam allowance. Continue sewing until you reach the starting point, then cut off any excess binding fabric. To finish, fold the binding over the edge to the other side of the placemat and hand-stitch it in place for a neat and secure finish.
Step 7: Final Touches
Once the binding is securely stitched in place, it’s time to inspect your placemats. Check for loose threads and trim them as necessary. If you notice any puckering in the fabric, gently press the placemat with an iron on a low setting to smooth it out, being careful not to press directly on the batting. Additionally, consider giving the entire placemat a light press to enhance its overall appearance.
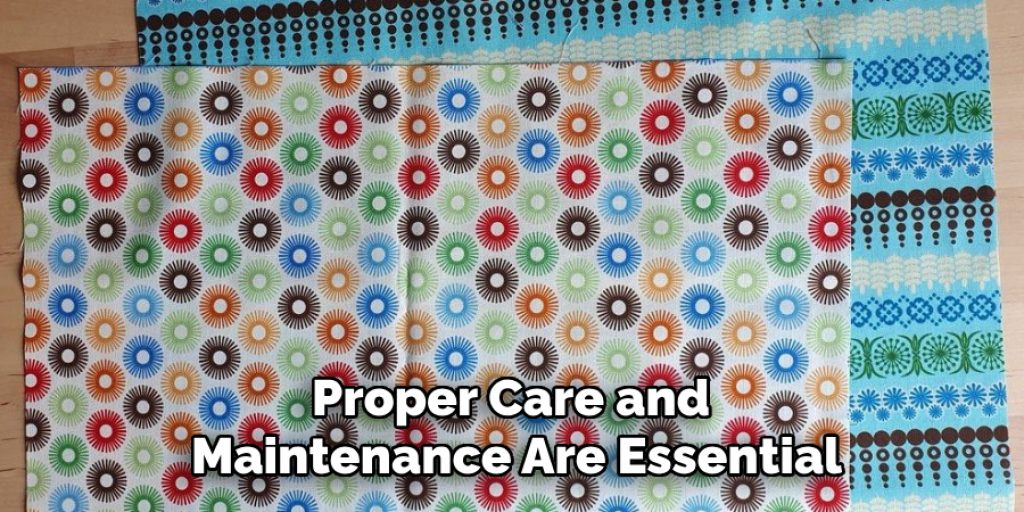
Step 8: Care and Maintenance
Proper care and maintenance are essential to ensure your placemats’ longevity. Start by washing your placemats in cold water gently to prevent any potential shrinking or fading of colors. Avoid using bleach, as it can affect both the fabric and batting. Once washed, lay them flat to dry or tumble dry on a low setting. After drying, giving them another light press with an iron is a good idea to remove any wrinkles that may have developed. If you notice any stains, treat them promptly with a mild detergent before washing them again.
Step 9: Personalization Options
To make your placemats truly unique, consider personalizing them with embellishments. You could add decorative stitches using contrasting thread for an eye-catching effect or applique designs that reflect your style or theme. Fabric paint or markers can also be used to add custom designs or monograms, further enhancing the aesthetic of your placemats. Just ensure that any added elements are securely attached and can withstand washing. Personalization showcases your creativity and makes your placemats a conversation starter during meals.
Step 10: Storage
When not in use, proper storage of your placemats is key to maintaining their quality. Avoid folding them in a way that creates creases—opt instead to roll them or lay them flat. Store them in a cool, dry place away from direct sunlight to prevent any fading or deterioration of fabrics. If space allows, consider using a storage box or a drawer dedicated to tableware, ensuring that your handcrafted placemats are well-protected and easily accessible for your next gathering.
By following these steps and adding your own personal touches, you can create beautiful and functional placemats that will elevate any dining experience.
5 Things You Should Avoid
- Ignoring Fabric Pre-Washing: Pre-washing your fabrics can lead to unexpected shrinkage or color bleeding after your placemats are completed. Always wash and dry your fabric before cutting to ensure the final product maintains its size and vibrancy.
- Skipping the Quilting Process: Neglecting to quilt your layers together properly can result in shifting or bunching fabric when used. This may detract from the overall aesthetic and functionality of your placemats. Ensure consistent quilting to keep everything secure.
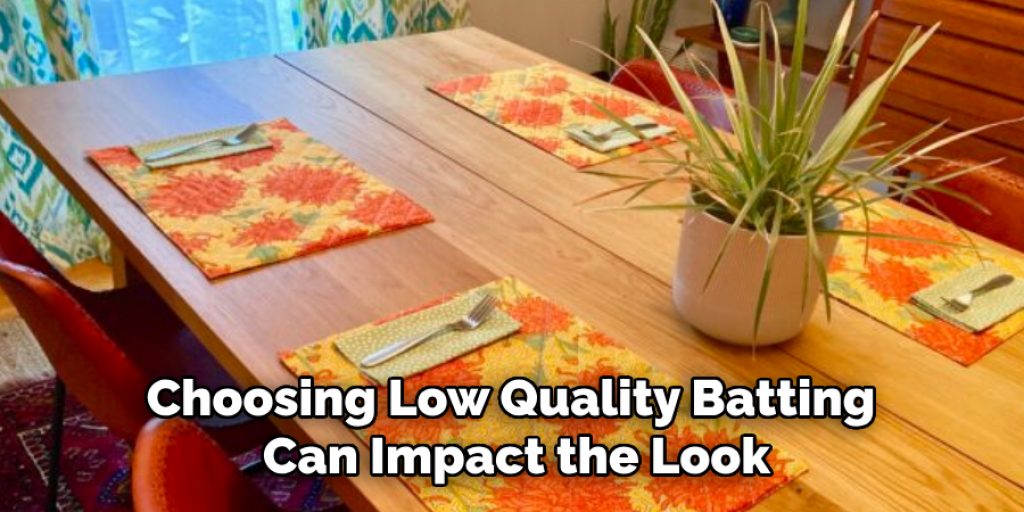
- Using Poor Quality Batting: Choosing low-quality batting can impact the look and durability of your placemats. Opt for a batting that offers the right cushioning and resilience to maintain its shape over time.
- Inadequate Cutting Techniques: Cutting your fabric and batting without precision can lead to uneven edges and misaligned layers. Use sharp scissors, a rotary cutter, and a cutting mat to ensure clean, straight edges for a professional finish.
- Neglecting to Secure Layers Properly: Not using pins or clips to secure the layers before sewing can result in wavy seams or uneven quilting. Always take the time to pin or clip your layers together to keep everything in place while stitching.
Conclusion
How to sew placemats with batting is a rewarding project that combines practicality with personal expression.
By following the outlined steps—from selecting quality materials and pre-washing fabrics to quilting, binding, and personalizing your placemats—you can craft unique and durable items that enhance your dining experience. Remember to properly care for your placemats and store them wisely to maintain their vibrant appearance.
With a little creativity and attention to detail, you can produce beautiful placemats that are not only functional but also a reflection of your style, making every meal special.
Elizabeth Davis
Elizabeth is a creative writer and digital editor based in the United States. She has a passion for the arts and crafts, which she developed from a young age. Elizabeth has always loved experimenting with new mediums and sharing her work with others. When she started blogging, she knew that DIYquickly would be the perfect platform to share her tutorials and tips. She's been writing for the blog from the beginning, and her readers love her helpful advice and easy-to-follow instructions. When she's not writing or editing, Elizabeth enjoys spending time with her family and friends.