How to Fix a Dress That Is Too Small to Zip Up
Introduction:
Dresses are one of the most common items that women wear. They come in a multitude of styles, colors, and sizes to fit anyone’s wardrobe needs. This article will demonstrate how to fix a dress that is too small for you to zip up by altering it into an empire waist style or other type, depending on your preference. I hope this helps! Introduction how to fix a dress that is too small to zip up can be a frustrating problem for many women. However, it doesn’t have to mean the end of the dress. With a few simple alterations, you can transform your dress into a comfortable and stylish fit that looks like it was made just for you.
Materials Needed:
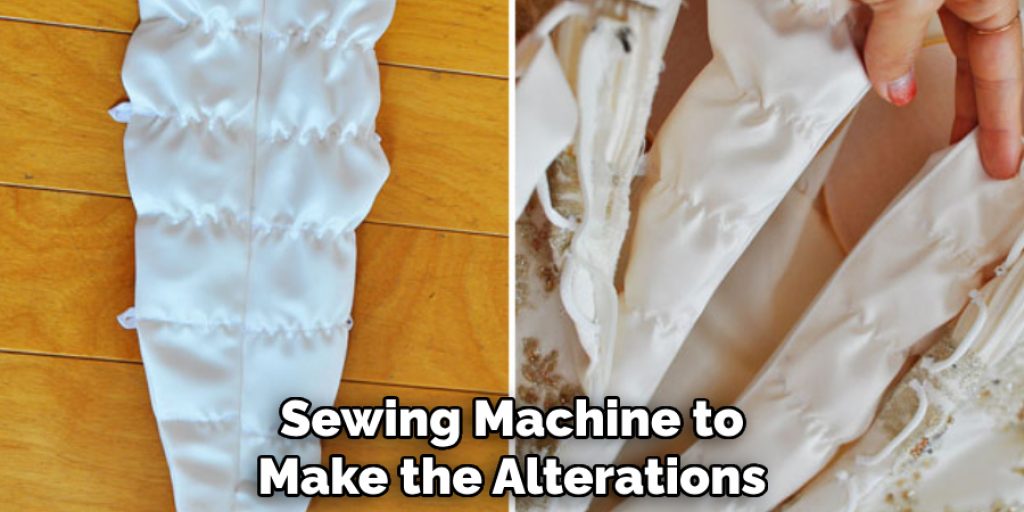
Sewing Machine:
First, you will need a sewing machine to make the alterations. If you don’t own one, you can borrow or rent one from a friend or family member or even consider purchasing a budget-friendly one if you plan on altering more clothes in the future.
Seam Ripper:
You will also need a seam ripper to remove unwanted stitches and seams. This tool is essential in altering clothes and can be found in most sewing supply stores.
Fabric:
You will need extra fabric that matches the dress or a contrasting color to create the empire waist style. Make sure you have enough fabric to create the new design and also for any mistakes that may occur during the process.
Scissors:
A good pair of scissors is necessary to cut the fabric and thread while making alterations. Make sure they are sharp and have a pointed tip for precision.
Measuring Tape:
A measuring tape will come in handy to take accurate measurements when altering the dress. This tool is essential to ensure proper fit and symmetry.
Pins:
Pins help hold the fabric in place while sewing. They also allow you to make adjustments before sewing to ensure the perfect fit. Make sure you have enough pins in case some fall out or get misplaced during the process.
Zipper:
If the dress originally had a zipper, you will need to replace it with a longer one to accommodate the new design. If not, you can purchase an ipper of the desired length and color.
11 Step-by-step Guidelines on How to Fix a Dress That is Too Small to Zip Up:
Step 1: Try on the dress
The first step is to try on the dress and identify where it is too small. This will help you determine how much fabric needs to be added for it to fit comfortably. You can also mark the areas that need alterations with pins or chalk. It is essential to wear proper undergarments when trying on the dress for a more accurate fit. But be careful not to prick yourself with the pins. The dress should be tight but not too tight that it is uncomfortable or restricts movement.
Step 2: Take Measurements
Using a measuring tape, take accurate measurements of your waist and bust. Then, measure the length from your underbust to where you want the hem to fall. These measurements will guide you in altering the dress to fit your body perfectly. It is important to take measurements while wearing the dress for a more precise fit. You can also ask a friend or family member to help with the measurements.

Step 3: Cut the Dress
Using the seam ripper, carefully remove the zipper from the back of the dress. Then, cut off any excess fabric from the sides of the dress, leaving a seam allowance of about half an inch on each side. Make sure to cut the fabric evenly on both sides. Otherwise, the dress will be lopsided after alterations. You can also try on the dress again at this stage to see if the sizing is correct.
Step 4: Prepare the Fabric
If you have chosen to use matching fabric for the empire waist, cut two long strips of fabric that are four inches wide and the length of your waist measurement plus two inches. If you are using contrasting fabric, make sure to add seam allowances on all sides before cutting. You can also iron the fabric to remove any wrinkles or creases.
Step 5: Sew the Strips
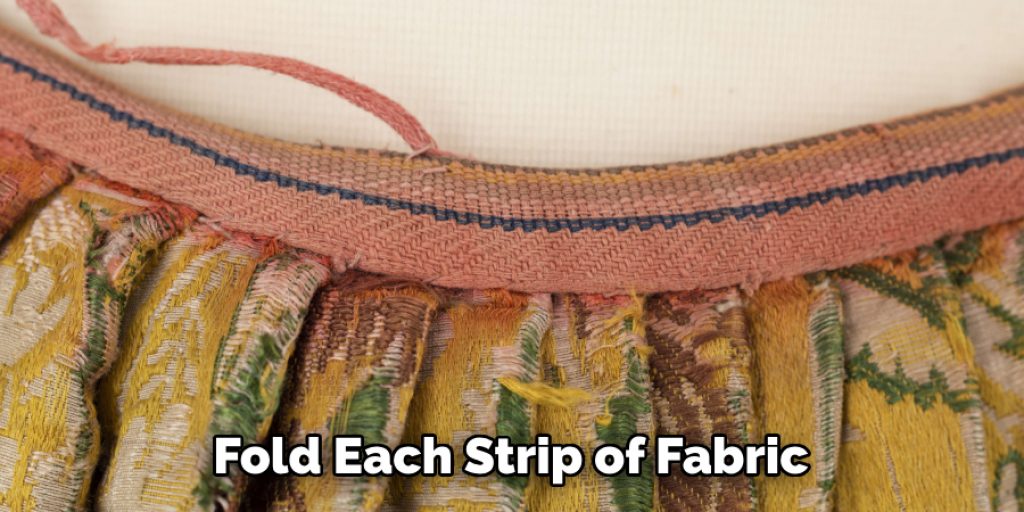
Fold each strip of fabric in half lengthwise and sew along the raw edges with a quarter-inch seam allowance. Then, turn the strips inside out to create two long tubes of fabric. The tubes will be used for the empire waist style. You can also use a serger or zig-zag stitch to prevent the fabric from fraying. It is important to sew the strips together in a continuous circle for the desired length. But be careful not to twist the fabric while sewing.
Step 6: Pin and Sew
Place one of the fabric tubes along the top edge of the dress, right sides together. Make sure to leave about half an inch of seam allowance on both ends of the tube. Then, pin it in place, making small pleats as you go around the dress. The pleats will help create a fitted look. Once pinned, sew along the top edge of the dress with a quarter-inch seam allowance. It is important to sew slowly and carefully, making sure the fabric is smooth as you go. Repeat this process with the second tube of fabric on the bottom edge of the dress.
Step 7: Repeat on the Other Side
Repeat step six for the other side of the dress with the remaining fabric tube. Make sure to line up both sides evenly and adjust the pleats as needed for a symmetrical look. This will create the empire waist style. You can also try on the dress at this stage to see if the fit is correct. If not, you can make adjustments before moving on to the next step. But be careful not to sew the dress so tight that it is uncomfortable.
Step 8: Attach the Zipper
Using a zipper foot, attach the longer zipper to the back of the dress. Make sure to line up the edges evenly and sew close to the edge of the fabric, leaving no gaps between the zipper and the fabric. This will create a smooth finish for your zipper. You can also hand-sew any loose threads or gaps for a neater look. You can also try on the dress again to see if it zips up comfortably. It is important to make sure the zipper runs smoothly before moving on to the final step.

Step 9: Hem the Dress
If needed, hem the bottom of the dress with a half-inch seam allowance. You can also use hem tape or blind stitching for a more professional look. Make sure to try on the dress again after hemming to ensure it falls at your desired length. Otherwise, you can make adjustments before the final step. You can also add any additional embellishments or details to the dress at this stage. It is important to take your time and pay attention to details for a polished look.
Step 10: Make Final Adjustments
Try on the dress one last time to make any final adjustments. You can also add additional pleats or take in areas that may still be too loose. Be careful not to overdo it and cause discomfort while wearing the dress. Once you are satisfied with the fit, cut off any excess threads and iron out any wrinkles or creases. It is important to take your time and ensure the dress fits comfortably before moving on to the final step.
Step 11: Wear Your Newly Altered Dress
Congratulations, your dress is now ready to be worn! Put it on and make sure it fits comfortably and looks how you envisioned. You can also show off your newly altered dress to friends and family. But most importantly, enjoy your perfectly fitted dress and feel confident in it! Remember to take proper care of the dress to maintain its fit and appearance. You can also use these steps for future alterations on other clothing items that may be too small or need adjustments for a better fit.
Following these steps on how to fix a dress that is too small to zip up will not only save you money from buying a new dress, but it will also give you the satisfaction of creating something unique and personalized. Plus, altering your own clothes can be a fun and rewarding experience. So next time a dress is too small, don’t throw it away, alter it to fit your body perfectly and show off your creativity!

Some Alternative Solutions:
– Put a rubber band around the back, and then pull it over to the front.
Thread the straps through those two holes on either side of your chest area that open to make them longer strings or knots so they are not too short for you to tie into a bow knot securely without slipping off while wearing it.- Duct tape can also be used as an improvised zipper slider. – Tear off some fabric from both sides of the dress near the neckline, leaving enough room for ties at each end. Tie them tightly together, which will act like a latch-hook closure when looping up and down between these two cloth pieces on each side of your chest/neckline area where excess fabric is hanging out before tearing the extra fabric off.
– If the dress is too small to zip up, then use your teeth as a zipper by simply pulling one side of it with your mouth and using the other hand to pull on the opposite side for more leverage.
– Try cutting off about an inch from both sides of the zippers at either end so that they are not catching onto anything else while you’re trying to close them together or open them up again. Then, put duct tape all around each side where they’ve been cut to keep this modified length secure until you can find a tailor who has more material available to make new zippers. This should make it easier for you if there’s any heavy strain placed on the dress while you’re trying to zip it up.
– Consider using a zipper extender such as the one that comes with many dresses if your zipper is just too tight and doesn’t close properly or fully.
– Reweave any loose threads back into place so they wouldn’t get caught in an open zipper, which could then be damaged by having them pulled on for a period of time.
– If all else fails, use safety pins to fasten together where the fabric has been cut off at the top until such time when you can find a tailor who has more material available for making new zippers.”
Precautions While Fixing a Dress That Is Too Small to Zip Up:
Do not attempt to use scissors unless there are no other options.
Carefully remove the excess fabric from around the zipper with your hands before cutting anything, if possible.
If pieces of fabric must be cut away, make sure they are as close to the seams in the garment as possible so the repair does not show when you wear it.
The less visible stitching required for this type of project, the better! And never try to take out stitches after removing them–sewing has gotten much easier over time because we figured out how to do things right without having done them wrong first!
When Do I Need to Replace the Zipper?
If the zipper is difficult to move, if you can’t get it up or down without a lot of effort, this could be caused by dirt and debris getting in between the teeth. You’ll need to clean out those spaces with an eyeliner brush dipped in rubbing alcohol before trying again.
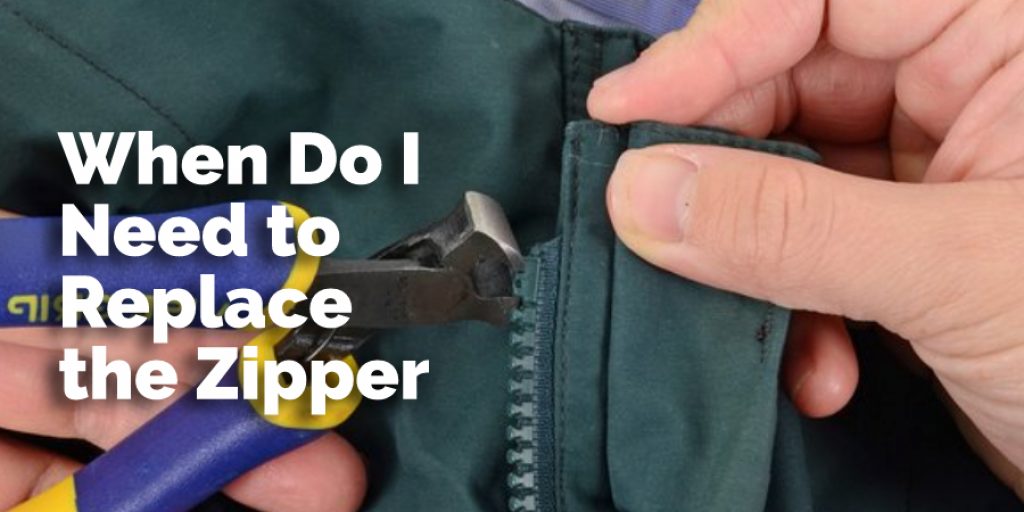
But more often than not, your zipper needs lubrication because it’s too dry from age or over-washing (don’t forget that zippers should only go into the washing machine once every six months!). To fix this problem, apply some sewing machine oil on both sides of the pull tab where it meets the front side of each tooth. This will make all moving parts work better together as they slide past one another.
Frequently Asked Questions:
Q: Will These Solutions Work for Any Type of Dress?
A: Yes, they can be applied to any dress that is too small to zip up. However, be cautious and gentle when trying these solutions to avoid damaging the dress. You may also need to adjust some of the techniques depending on the fabric and style of the dress. It’s always best to consult a professional tailor if you’re unsure. You can also consider using a dress size converter for future purchases to avoid this issue. It’s always better to buy a size bigger than risk damaging a dress that is too small for you.

Q: Can I Use These Solutions for Any Zipper?
A: Yes, these solutions can be applied to any zipper. However, it’s important to consider the type of zipper and its condition before attempting any repairs. Some types of zippers may require specific tools or techniques for successful repair. The best course of action is always to consult a professional tailor for advice on how to fix your specific zipper issue. You can also consider upgrading to a higher-quality zipper, which may prevent future problems.
Q: How Often Should I Clean and Lubricate My Zipper?
A: It’s recommended to clean and lubricate your zipper at least once every six months. This will help prevent any build-up of dirt or debris that may cause the zipper to become stuck or difficult to move. Additionally, regularly cleaning and lubricating your zipper can prolong its lifespan and prevent damage. It’s also important to avoid over-washing your zipper as this can dry out the lubricant and cause it to become stiff. It’s best to spot-clean the zipper if possible and only wash it when absolutely necessary. Always follow the care instructions on your garment to ensure proper maintenance of your zipper.
Q: What If My Dress Is Too Small in Other Areas?
A: If your dress is too small in other areas besides the zipper, you can also use some of the solutions mentioned above. For example, you can add elastic to the waistband or use a fabric extender for tight sleeves. It’s always best to consult a professional tailor for specific advice on how to alter your dress and make it more comfortable. Remember to always be cautious and make small adjustments at a time to avoid any irreversible damage to your dress.
Q: What Is the Best Way to Store a Dress with Zipper Issues?
A: If your dress has zipper issues, it’s best to store it in a cool, dry place away from direct sunlight and moisture. It’s also recommended to hang the dress rather than folding it to avoid creating any creases or additional strain on the zipper. Make sure to regularly check on the dress and address any zipper issues immediately to prevent them from becoming worse. You can also consider using a garment bag for added protection while storing the dress. So, always follow precautions while fixing a dress that is too small to zip up, and consult a professional if needed for the best results.
Conclusion
In conclusion, we hope that the procedures we have stated here will help you fix the zipper-related issue for your dress. Thank you, and have a good day. So, whether you need to replace your zipper or just make some minor adjustments, it’s important to handle the situation carefully and consult a professional if needed.
With these tips in mind on how to fix a dress that is too small to zip up, you can confidently tackle any zipper-related issue and ensure that your dress always fits perfectly. Remember to regularly maintain and care for your zippers to prevent future problems as well. Thank you for reading, and we hope these tips have been helpful. Happy zipping!
You may read also: How to Make a Fabric Wallet with Zipper