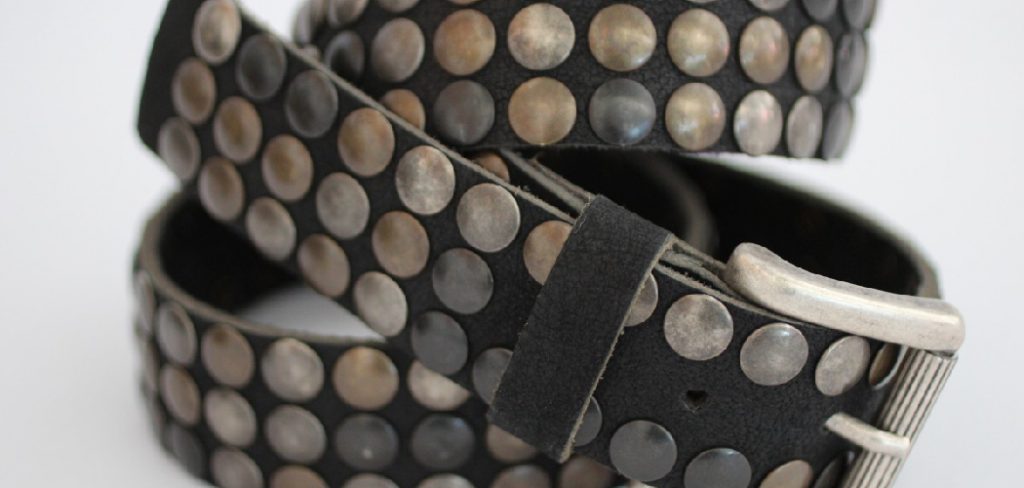
How to Put Studs on a Belt
Adding studs to a belt is a great way to add some personality and edge to an otherwise plain piece of clothing. It’s also a relatively straightforward process and can be done in simple steps. We’ll show you how to put studs on a belt in this post. So read on, and learn how to add some rock star-style attitude to your look!
First, measure the width of your belt at the spot where you want to add the studs. Then, buy studs that are slightly wider than your belt width. You’ll also need a hammer and nails or a drill with a bit that is the same size as the head of your studs. Finally, follow the steps mentioned in this blog post.
10 Steps to Follow: How to Put Studs on a Belt
Step 1: Lay Belt Flat
Place the belt flat on a surface with the buckle in front of you. Then, use a cloth measuring tape or ruler to measure from the center of one stud hole to its pair on the other side. Mark the stud hole centers, flip the belt over, and repeat. Check your design for the correct spacing.
Step 2: Measure Studs
Insert a stud through the hole and measure from one end to its other. As some studs have more rounded ends than others, you may need to round up some measurements (the final length should be about 1/8″ longer than your belt).
Step 3: Pre-Drill
Pre-drill holes in the leather on each side of the belt using a drill bit that is slightly larger than your stud. Go slowly and take care not to let the drill drift out of the hole: you want clean holes with no tearing at the edges.
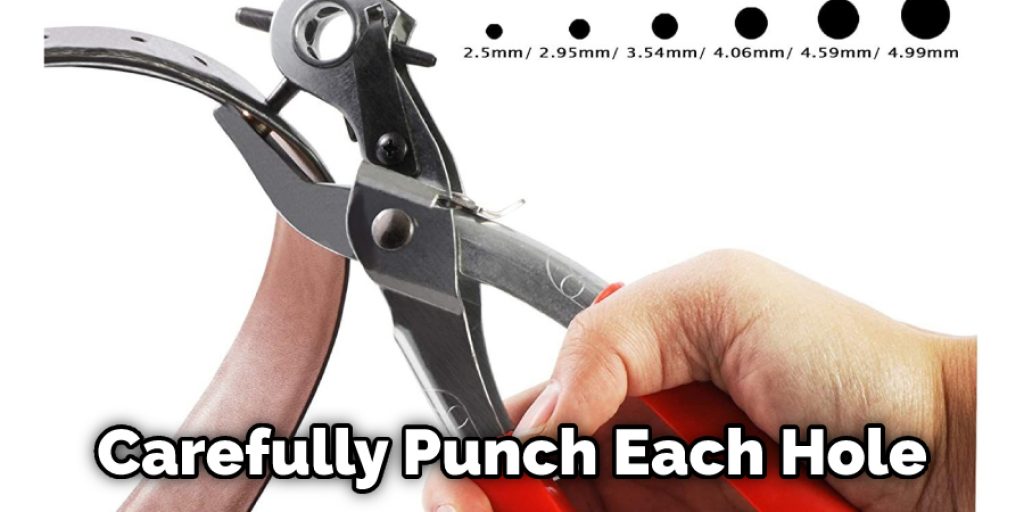
Step 4: Punch Holes
Clamp the belt to a work surface with the leather side up, and align it so that holes for studs will be roughly centered on the top edge of your design. Next, carefully punch each hole with an awl by inserting it into the pre-drilled hole at a 90° angle, then pivoting it outwards as you twist to create a round hole that flares to a wider diameter on the other side.
Step 5: Insert Studs
To attach a stud to a belt, insert the stud into the belt from the back and press it firmly into place until its base is flush with your work surface. Then flip over and press from the front. If there’s any gap between the leather and the prong of the stud, you can use a hammer to gently push the prong through from the back.
Step 6: Check Fit
Inspect your belt for fit and adjust as needed. Make sure that you can pull it straight and bend it in half without strain (if you need to cut off excess length, do so with a very sharp craft knife).
Step 7: Trim Ends
Trim off the ends of your studs with a sharp pair of scissors until they are flush with the belt. If you use too high an angle on some edges, you can make them sharp enough to scratch you.
Step 8: Clean Up Edges
If there are rough or jagged edges on your studs, you can use a metal file or sandpaper to smooth them down. You may also want to round off the sharp corners and edges of any belt loops and the end of the buckle prong (though it depends on what look you’re going for).
Step 9: Apply Leather Conditioner
Apply a layer of leather conditioner to your belt and allow it to dry. This will make all edges softer, but it can also cause the dye to bleed if you haven’t used any conditions or dyes on that part of the belt yet.

Step 10: Wear with Pride!
Wear your studded belt with pride and a touch of reckless abandon! You can use leather scraps or leftover pieces from other projects as studs. When drilling the holes, be sure to gradually increase drill speed as you get deeper into the material. If you don’t, it’s easy to push through to the other side or tear the leather.
Some Tips and Suggestions
Here are some tips and suggestions on how to put studs on a belt.
1. The best type of studs to use goes through the belt. The holes should be drilled in the same places on every stud (down one side) and should line up perfectly.
2. Punching small holes into your brand new belt with an awl is very annoying, but it has to be done so you can attach the studs. Do as many as you can at a time instead of one at a time.
3. When attaching studs, make sure you put the hole on the main part of the belt and not on one of the loops, or you will ruin your pants when trying to feed it through.
4. The best tool for attaching studs is a hammer, but make sure it is not too heavy, or you will break the studs.
5. If you are having trouble putting them on with a hammer, try using the back of a screwdriver instead.
6. Make sure that the belt is made of cotton or another sturdy fabric because if it is not, it will wear out very quickly.
7. Attaching the studs should be done on top of the belt instead of behind it because you will be unable to attach them to anything if put through the backside.
Things to Consider When Putting Studs on a Belt
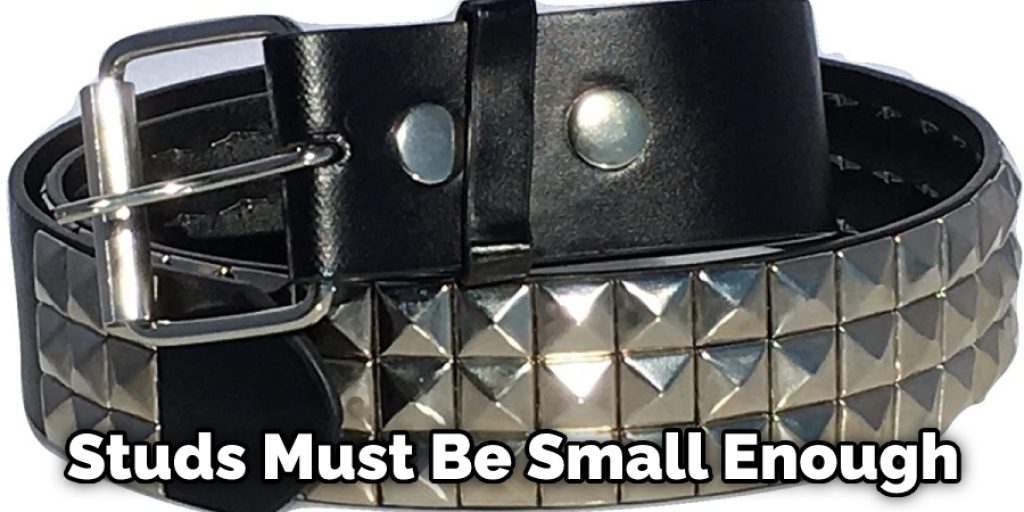
1. Studs must be small enough to fit within the belt holes.
2. Studs would look best if they were approximately symmetrical unless you’re purposefully making them asymmetrical for an artistic statement.
3. You need to decide if you want the studs on your belt to be just for decoration or if you want them to be functional. If you want them to be functional, you need to put at least six studs on the belt so that it will stay together. If you just want the studs for decoration, you only need to put them on two of the holes.
4. Keep in mind where on your body you are wearing this belt because some belt designs do not go with every outfit.
5. The studs can complement the belt by being the same color or contrasting with the belt.
6. To keep your belt looking neat, studs should be about the same circumference as the belt holes.
7. If you want to put studs on a belt with a hole spacing of more than an inch, use two rows of studs so that they are evenly spaced and symmetrical. This will ensure that your belt doesn’t look odd with the studs.
Safety Measures and Precautions
1. Always wear safety goggles when using a drill.
2. Always use a belt sander when sanding down the holes to make them smooth and perfect.
3. If you have sensitive skin, always wear gloves or keep your hands away from drilling or cutting.
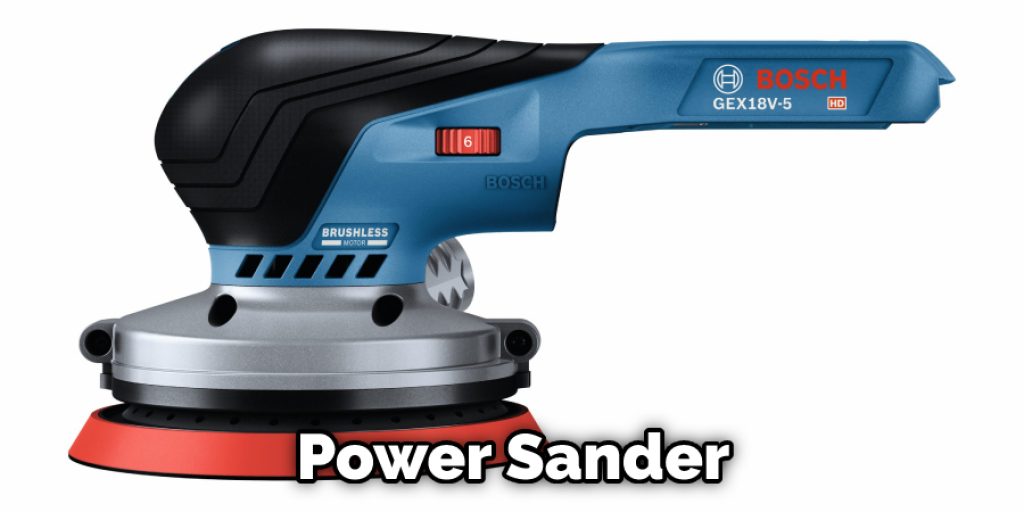
4. When using a power sander, it is normal for sparks and debris to be produced. To avoid getting any on your skin, make sure you are wearing a face mask that covers your mouth and nose.
5. If the belt has been worn, do not use it with studs as it will cause excessive wear.
6. Place something under the belt when doing certain cutting and drilling tasks. It will make a mess if you do not and wear down your belt.
7. Be aware that the studs on the belt may scratch surfaces or people while you are wearing it.
How Do You Attach Studs to Leather
There are many ways to add studs to a belt. The basic idea is to glue the studs to a leather base, cover the studs, and trim away any excess material. But different techniques can create different looks, so it’s a good idea to know your options before you start your project.
1. Pre-made Studs
If you are using pre-made studs, there is little work to be done other than gluing them on. These studs come in a wide range of styles. Some are round, some are diamond-shaped, and others have more unusual shapes. They’re usually made from metal or plastic. Plastic studs can be hot glued into place, but metal studs will require a different adhesive to keep them in place.
2. Leather Punched with Holes
In this style of leatherworking, even holes are punched in the leather to hold individual diamond-shaped studs. This is done using a basic leather hole punch for small areas or an industrial-sized pricking iron for larger projects. The whole surface can then be covered with large discs made from leather scraps. These discs are hot glued into place, just like the pre-made studs.
3. Metal Studs Sewn on
Individual metal studs are attached to a leather base using thick thread in this style. This is a good option if you want to place your studs in a specific pattern but don’t care for the look of pre-made studs or diamond-shaped holes in the leather. This is also a good option if you prefer a belt that isn’t as heavy as one made from pre-made studs.
4. Lasercut Studs on Leather
In this style, large diamond shapes are cut out of leather, and smaller leather pieces are glued into the negative space left behind by the cuts. The outside edges are then covered with pre-made studs. This style is easier to customize if you have a laser cutter or know someone who does.
5. Glued-on Studs
This is the least personalized option, but it is very quick and easy. Just glue pre-made studs into place until the entire surface of the belt is covered. This style takes a little longer because you have to wait for each layer of studs to dry before you attach more, but it’s still quick compared with many other leatherworking techniques.
Conclusion
When you know how to put studs on a belt, the stud must hang freely from your work surface. If necessary, you can hang them with string or wire, but make sure the loop is large enough for both hands to fit through comfortably.
The bottom corners should be pushed down slightly not to hang off either edge. This will keep everything in line while allowing space for every inch between each hole along your lengthwise strip. We hope you enjoyed this blog about how to put studs on a belt. Please share it with friends and family who might find the article helpful!