How to Paint Velvet Fabric
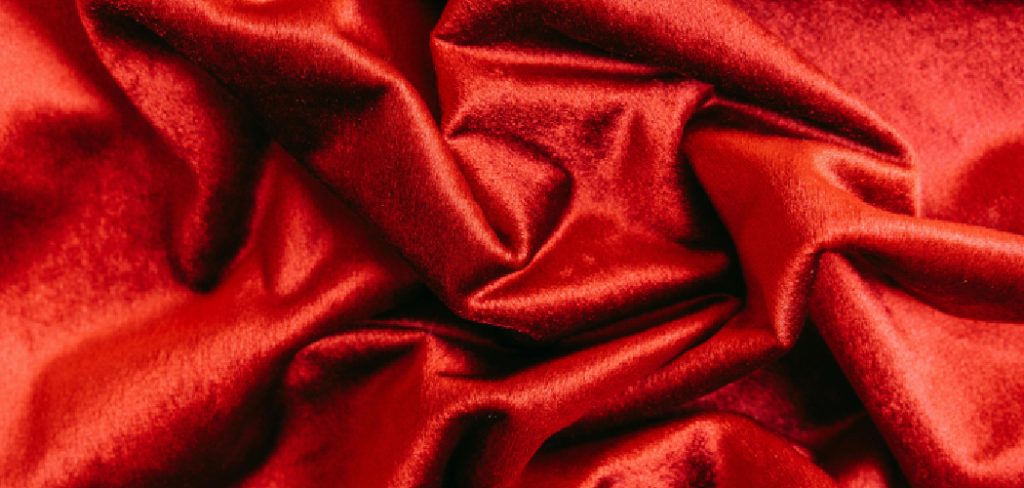
Velvet fabric is renowned for its luxurious texture and rich appearance, making it a popular choice for upholstery, apparel, and decorative items. Its unique qualities, such as a soft pile and depth of color, create an elegant aesthetic that can enhance any space. However, velvet can become worn or outdated over time, prompting many to explore creative avenues like painting.

Painting velvet offers the opportunity to refresh old items or achieve custom colors that perfectly fit a specific decor or style. In this guide on how to paint velvet fabric, we will take you through the necessary steps and techniques to transform your velvet pieces, ensuring vibrant and lasting results.
Materials and Tools Needed
To successfully paint velvet fabric, you’ll need the following materials and tools:
Materials:
- Velvet fabric
- Fabric paint (acrylic or textile paint)
- Primer (to enhance adhesion)
- Paintbrushes or sponges
- Painter’s tape (for masking off areas)
Tools:
- Scissors (for cutting fabric)
- Measuring tape (for precise measurements)
- Drop cloth (to protect your workspace)
Optional Items:
- Heat setting tools (like an iron or heat press)
- Fabric sealer (to protect the finished paint job)
Preparing the Velvet Fabric
Proper preparation of the fabric is essential before painting velvet, as this will ensure the best results.
Cleaning and Prepping the Fabric
Start by thoroughly washing or spot-cleaning the velvet to eliminate any dirt, dust, or oils that may interfere with paint adhesion. Use a fabric-safe detergent and a soft cloth or sponge to gently clean the surface, following the manufacturer’s care instructions for the specific type of velvet.

After cleaning, allow the fabric to dry completely and ensure it is free from any residues or moisture that could affect the paint application. A well-prepped surface is crucial as it promotes better paint adherence, resulting in a smoother and more vibrant finish.
Preparing the Work Area
Setting up a clean and protected workspace is vital for a successful painting project. Lay down drop cloths to safeguard your surfaces from splatters and spills. Ensure the area is well-ventilated to allow for proper drying and minimize exposure to paint fumes.
Use painter’s tape to mask off any areas you do not want to be painted, ensuring crisp lines and a professional finish. Taking time to prepare your workspace will help create a more enjoyable and efficient painting experience.
Choosing the Right Paint and Primer
Selecting the appropriate materials is key to achieving the desired results when painting velvet fabric.
Selecting Fabric Paint
When choosing fabric paint for velvet, opt for high-quality acrylic or textile paints specifically designed for fabric use. Both types are suitable, but acrylics tend to provide vibrant colors and excellent durability.
Consider your desired color palette and the finish you want to achieve—matte finishes can offer a subtle elegance, while glossy finishes can bring a bold, dynamic look to your painted pieces. Always test a small swatch before fully committing to ensure the paint behaves as expected on the velvet’s unique texture.
Using Primer
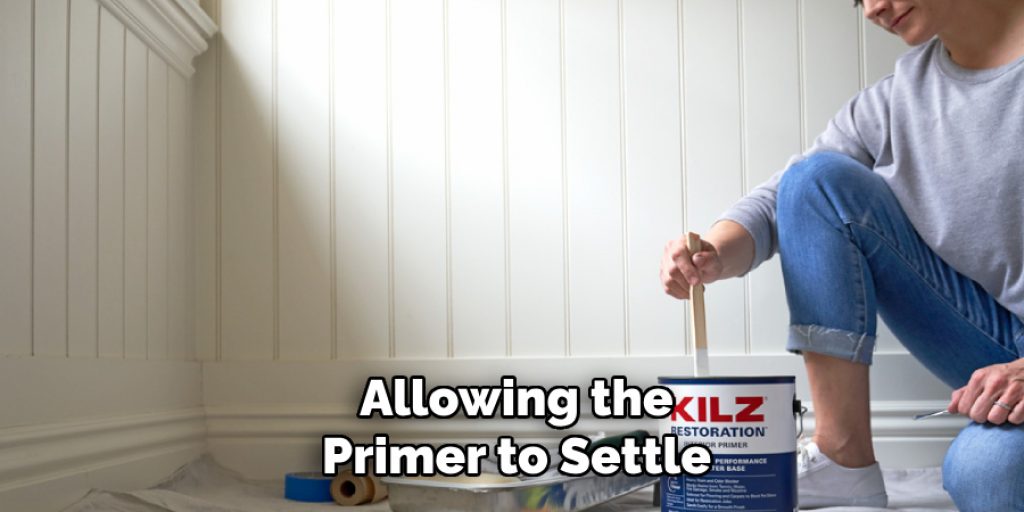
Using a primer on velvet is essential for enhancing paint adhesion and durability. Primers create a smooth and even base that allows the paint to adhere more effectively, resulting in a more uniform appearance. When applying primer, use a brush or sponge to cover the entire surface evenly, following the manufacturer’s instructions for drying times.
This preparatory step will improve the overall finish and extend the lifespan of your painted design, ensuring that your velvets remain vibrant and beautiful for years to come.
How to Paint Velvet Fabric: Painting the Velvet Fabric
1.Applying the Primer
Priming is critical when painting velvet fabric, as it enhances paint adhesion and ensures a smooth application. Start by selecting a high-quality fabric primer suitable for use on velvet. Using a clean paintbrush or sponge, apply a thin, even primer layer across the entire fabric surface. Make sure to work in sections, allowing the primer to settle into the texture of the velvet for optimal adhesion.

When starting, use gentle strokes to avoid over-saturation, and avoid applying too much primer at once to prevent dripping. After applying, allow the primer to dry completely following the manufacturer’s guidance—typically, this will take about one to two hours. To achieve a seamless finish, consider lightly sanding the primer once dry with fine-grit sandpaper, providing an even smoother base for your paint application.
2.Painting Techniques
It’s time to paint your velvet fabric with the primer fully dried. Select the right painting tool: a soft brush or a sponge works well for covering larger areas, while smaller brushes can help with detailed sections. For the actual painting process, employ techniques such as dabbing for textured effects, brushing for smooth applications, and spraying to achieve light, even coverage across the fabric.
Remember to apply the paint in thin layers rather than thick coats to prevent buildup, which can lead to stiff areas or uneven finishes. Allow each layer to dry before adding more; this ensures a vibrant color while reducing the risk of flattening the plush texture of the velvet.
Setting and Sealing the Paint
Once your painted velvet is completely dry, it’s crucial to set the paint to ensure its longevity and durability.
Heat Setting the Paint
Heat-setting fabric paint is essential for activating and binding it to the fibers. You can achieve this using an iron or a heat press. If using an iron, set it to the appropriate heat setting for velvet—usually a low to medium temperature.
Place a piece of clean cloth over the painted area to protect the fabric, and gently iron over it using quick, light movements. If using a heat press, set it at the recommended temperature and time specified by the paint manufacturer. Be cautious not to apply too much pressure to avoid crushing the fabric.

Applying Fabric Sealer
To further protect your painted design, applying a fabric sealer is recommended. The sealer acts as a barrier against wear and can enhance the vibrancy of the paint. After your paint has fully cured, apply a thin, even coat of the fabric sealer using a clean brush or sponge. Pay special attention to the edges and seams to prevent fraying. Follow the manufacturer’s instructions for drying times, typically one to two hours, before handling or using the fabric. This final step helps ensure that your painted velvet remains stunning and durable for years to come.
Caring for Painted Velvet Fabric
Washing and Maintenance
To preserve the beauty of your painted velvet fabric, gentle care during washing and maintenance is crucial. Hand washing is ideal; immerse the fabric in lukewarm water with mild detergent, gently agitating it without wringing to prevent damage. If using a washing machine, select a gentle cycle with cold water and place the fabric in a mesh laundry bag for extra protection. Avoid harsh chemicals and bleach, which can fade colors and degrade the paint. Always air dry your painted velvet away from direct sunlight, as UV rays can cause colors to fade.
Storage and Handling
Proper storage techniques are essential to prevent damage to your painted velvet. Store the fabric in a cool, dark, dry place, ideally rolled rather than folded to prevent creases and marks. Use acid-free tissue to help maintain its shape, and avoid stacking heavy items on top of it. When handling, avoid unnecessary friction or pressure on the painted areas, as this could affect the finish, ensuring that the fabric remains vibrant and intact.
Troubleshooting Common Issues
Addressing Uneven Coverage
If you notice streaks or uneven areas after painting, don’t worry, as these can often be fixed. One solution is to apply an additional layer of paint using a soft brush, ensuring even coverage and a smooth finish. For best results, use light, soft strokes and overlap slightly with the previously painted areas to blend seamlessly.
Fixing Paint Peeling or Cracking
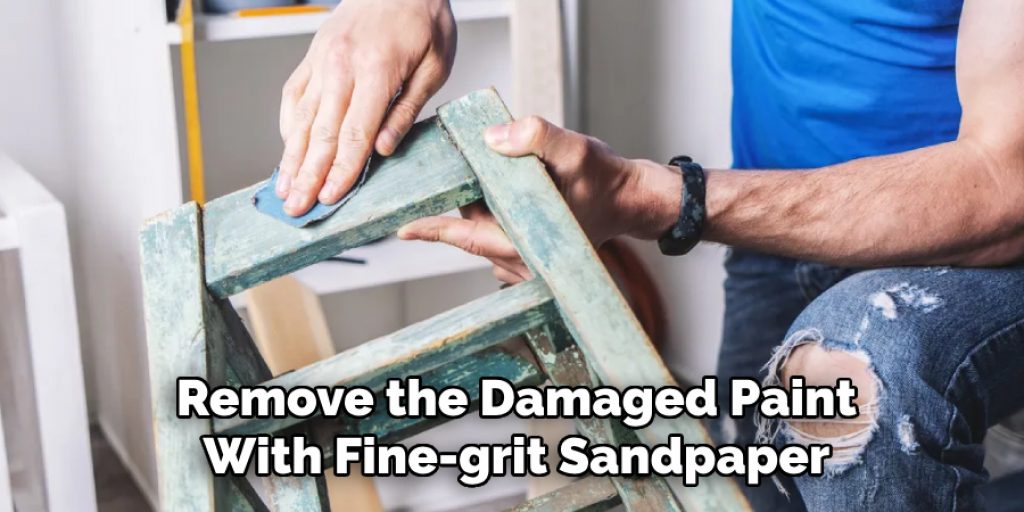
Peeling or cracking can occur due to inadequate curing or exposure to moisture. To repair these issues, carefully remove the damaged paint with fine-grit sandpaper and reapply a primer before repainting the affected area. To prevent future problems, always allow the paint to be fully cured and use a protective fabric sealer after the paint has dried.

Frequently Asked Questions (FAQs)
1. Can I Use Regular Paint on Velvet Fabric?
No, it is not recommended to use regular paint on velvet fabric, as it may not adhere properly and could result in a stiff, uneven finish. It’s best to use fabric-specific paint designed for soft textiles to ensure flexibility and longevity.
2. How Long Does It Take for The Paint to Dry on Velvet?
The drying time for fabric paint on velvet can vary depending on the brand and environmental conditions. Generally, it takes about one to two hours for the paint to dry to the touch, but it’s advisable to wait at least 24 hours before washing or using the painted fabric to ensure complete curing.
3. Is It Safe to Iron Painted Velvet Fabric?
Yes, you can safely iron painted velvet fabric; however, you should always use a low to medium heat setting and place a clean cloth over the painted area to protect the paint. Avoid applying too much pressure, which could damage the plush texture of the velvet.
Conclusion
In summary, knowing how to paint velvet fabric can transform your projects, allowing you to explore a plethora of colors and designs. You can ensure a stunning and durable finish by following the steps involving surface preparation, proper painting techniques, and caring for your painted velvet. We encourage you to experiment with various shades and patterns to showcase your creativity, as painted velvet is not only versatile but also a unique addition to any décor. Enjoy the process, and let your imagination guide your artistic journey!


