
How Long Does Paper Mache Last
Paper mache is a traditional art form that has been around for centuries and is still used in many cultures today. It involves creating a paper pulp mixture, adding some stiffener to it, then molding the mixture onto an object to create a cast.
The process can take hours to days, depending on the thickness of the layers applied and how long they are left to dry before being added again. There are also many different types of paper mache, each with its own unique properties. In this blog, we will know the factors determining how long paper mache lasts and how you can increase its lifespan.
Summary: Paper mache is a medium that can be used to create sculptures, art, and decorations. It is composed of raw materials, such as flour, water, and salt, which are mixed together and then shaped into a desired form. Paper mache can last for a few days or weeks, depending on the condition and care of the piece.
What is Paper Mache?
Paper mache is a paste applied to nearly any surface and then shaped into the desired form. The process of making paper mache is much simpler than many think, as it only involves a mixture of paper pulp and water.
As a result, paper mache has been used for thousands of years by craftsmen worldwide, giving them access to a material that is cheap to produce and the ability to turn dry paper into a strong and flexible material.
Artisans in China created the earliest known paper mache sculptures for decoration and ancestral worship. European travelers who discovered paper mache were fascinated by the craftsmen’s ability to create different shapes and forms, from rocks to animals.
8 Factors That Determine the Lifespan of Paper Mache:
1. Temperature:
Temperature is a significant determining factor for the lifespan of paper mache. Hot temperatures can cause faster drying than low ones, and extreme heat can damage any materials in which it is stored.
Temperatures that are too cold will not dry the material as quickly as needed, causing cracks to form. Also, allowing high humidity areas to remain around paper mache will greatly decrease its lifespan, as it will be much more susceptible to mold or mildew.
2. Moisture:
Humidity is a factor in how long paper mache lasts because the material’s inability to dry at a normal pace. An object with high moisture content cannot dry out properly, making it extremely vulnerable to bacteria and mold.
3. Light Exposure:
Light is not only one factor that determines how long paper mache lasts but also influences how an object looks over time. Even though paper mache technically does not need sunlight or any other kind of light to dry, it will darken over time due to exposure to light.
4. Location:
Because paper mache is a form of dried paper, it will be extremely susceptible to mold or mildew if placed in dark and humid areas for long periods of time. However, if the material is kept in an area with plenty of sunlight, it can last much longer than expected in a dimly lit room.
5. Thickness:
The thickness of paper mache greatly influences the lifespan of an object. A thin layer of the material will dry faster than a thick one because air can easily reach all parts of the item. The thinner something is, the easier it is for air to travel through it and dry.
6. Type and Number of Liquids:
The type of liquid to be added and the number of liquids added will greatly determine how long paper mache lasts. The more liquids added, the weaker the mixture becomes because it is harder for air to get through different materials in the paste.

7. Supports:
The use of supports is essential when determining how long paper mache lasts because it increases the lifespan of a particular item tenfold. Supports can be made from various materials, such as fabric and cardboard.
They allow for airflow to reach every part of the object that cannot be seen otherwise. A common misconception is that support can be easily seen, which is not the case. This myth is derived from a lack of understanding of the material and how it needs to be applied in layers.
8. Shape:
The different shapes that paper mache can take are another factor involved in determining its lifespan. A unique shape is more susceptible to damage, such as cracks or dents, if it comes in contact with physical objects. However, a flat object is much less likely to be damaged than a complex three-dimensional one.
6 Tips To Make Paper Mache Long-lasting
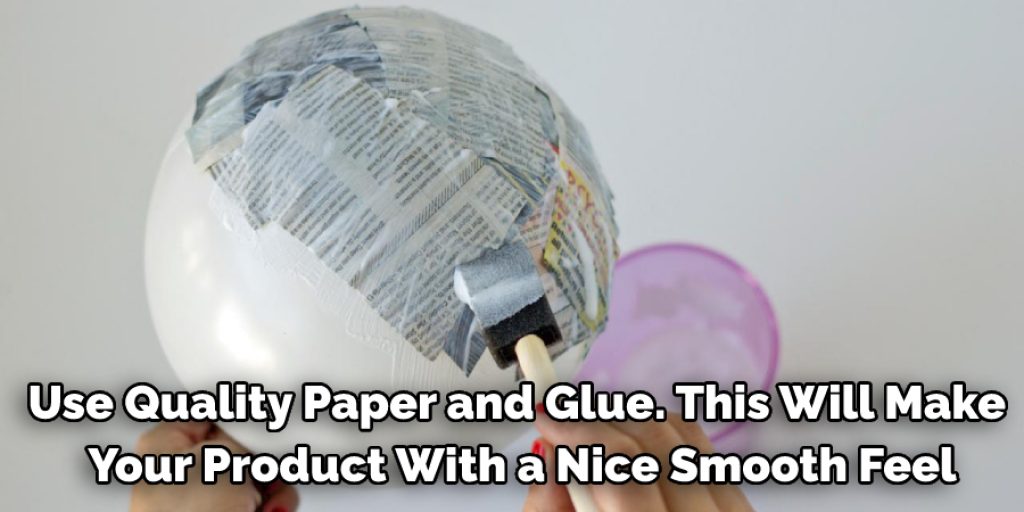
1) Use quality paper and glue. This will make your product have a nice smooth feel and have the desired detail.
2) For extra durability, make two or more coats of paper mache over the existing coat; this will also give the project a smoother finish.
3) Let each layer dry for at least eight hours before applying the next layer.
4) Use a board as the base for your project, not cardboard. Cardboard will absorb water and break apart over time.
5) If you want to be able to reuse your paper mache creation, be sure to coat it with sealer before storing it. It may take more than one coat to make the sealer stick, but it’ll be worth it in the end.
6) If you want your paper mache project to have a glossy finish, apply gloss paint when the paper mache is dry. Pay special attention to details so they are not over-painted and cover up any cracks in the paper mache.
Conclusion:
Paper mache is a great way to create all sorts of sculptures, masks, and decorative pieces. It’s easy to find paper mache recipes on the internet or in your local craft store, but how long does paper mache last? The longevity of paper mache depends on many factors, such as what type you’re using and whether it has been painted with acrylic paint before being dried out.
If you want your sculpture to last for years, use cereal box cardboard that hasn’t been printed on both sides and coat the inside with an adhesive like Elmer’s glue so water can’t seep through no matter how much rain hits it!
Elizabeth Davis
Elizabeth is a creative writer and digital editor based in the United States. She has a passion for the arts and crafts, which she developed from a young age. Elizabeth has always loved experimenting with new mediums and sharing her work with others. When she started blogging, she knew that DIYquickly would be the perfect platform to share her tutorials and tips. She's been writing for the blog from the beginning, and her readers love her helpful advice and easy-to-follow instructions. When she's not writing or editing, Elizabeth enjoys spending time with her family and friends.


