
How to Add Patchwork to Pants
Anybody on Facebook who supports me could have noted the fascination with patchwork clothes. That’s also undoubtedly the product of my love for fabrics of high quality, and need to use up everything. There’s no chance I like these incredible landfill-floating offcuts and scrapes, and this is among my favorite methods of utilizing them.

It’s the first outfit I’ve ever designed, and I’ve been fascinated since. When you are involved in dressing like a circus tent, suggest reading on to stitch up a patchwork outfit for my display. I prefer feeling confident over appearing attractive because you can’t see it already.
All You Require
- Scrap material of cloth and off pieces-it benefits to provide elements of the same weight and lace.
- Thread-Select a color which corresponds to the most famous textile line. Starting for a deeper hue is typically better, instead of a brighter tone.
- Machine tools and overlocker- The overlocker is not mandatory, but completing edges for this task is my favorite option. I have mentioned a couple of other techniques below fabric completion.
- Iron and surface ironing.
- Stitching design-I prefer using a comfortable match for something plain and familiar. The outfit section is a reliable launch. Generally, I only adopt the upper half of a design and add a rectangular assembled as a skirt.
- Design creating paper/butchers paper-By utilizing this, you might get far, but I find it useful for stage 3.

Instructions
Then let’s begin the task.
Stage 1.
After collecting and collating all the materials, I start to wonder how much money I’ve wasted on clothing. When you’ve conquered this nightmare, you can now tell which of those garments should appear perfect, all mixed in one outfit combined. I have no clear guidelines on how to select which materials should fit well. You have to believe your decision, generally. When you are questioning things, ask a buddy.
I think a combination of solids and designs will be an excellent beginning. So it is useful to include a combination of wide-scale designs so limited scale patterns inside the designs: checks, floral patterns, lines, marks-go insane.
This person is saying that if you have a lot of different materials to work with, it can be confusing and overwhelming. It’s better to have a smaller number of options so you can focus and be more creative.
Stage 2.
After you’ve chosen your garments, make sure they’re all clean and brushed. I don’t want anything from the original designs ruining these garments. No, then you and your family will be in embarrassment.
Serious action however-if the materials aren’t fully re-washed if you stitch them completely, they can suffer varying shrinkage levels as you throw the final product in the washing and produce all manner of crinkly, irregular problem edges.
Trim the pieces of cloth into small shapes and patterns. Whenever necessary, track the crop. You’re going to be left with certain strange tiny parts, so I’ll publish a podcast afterward as I like just to use them.
Stage 3.
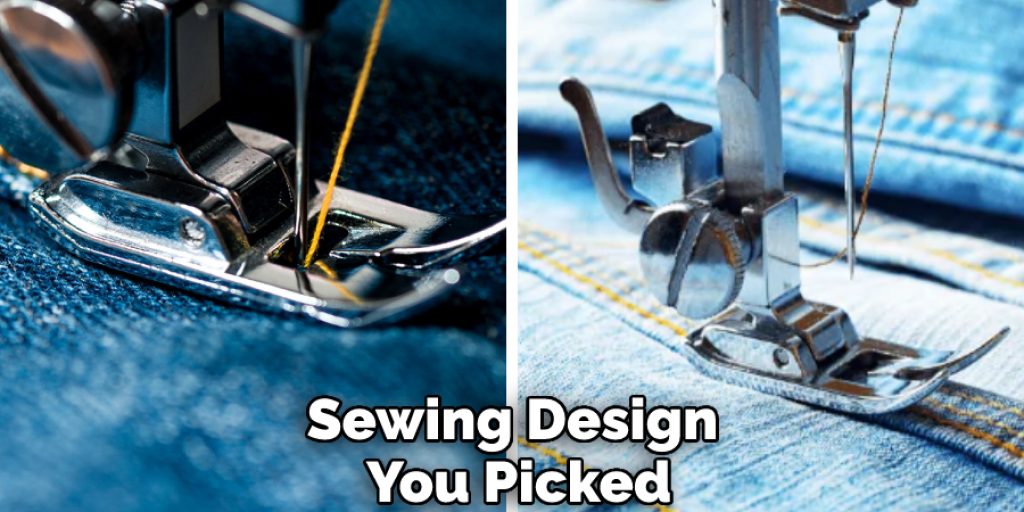
You should go with the sewing design you picked. For this design, you will need a dull, self-drafted edge. The skirt will be a distributed rectangular and require no design. Some of the market template parts have front and rear seen to be split on the fold as half the parts. It is beneficial for this task to get the whole template part to lie in my textile scraps. This provides a positive concept as to how all of this will show up around each other.
Grab a template making sheet or design butchers, divide it in half and draw the template parts through. Then cut them off and lie down. The front part of a top design self-drafted, cutting out like a whole section.
Stage 4.
To make a quilt, you need to sew different pieces of fabric together. You can use different colors and patterns of fabric, and it can be fun to try different combinations. It takes patience to figure out the right combination of fabrics, but it’s worth it in the end.
Stage 5.
When you have achieved the perfect combination, it is time to start putting these together parts. Using only a seam of 1 centimeter, I stitch my parts together again and complete them off by an overlocked side. If you have the room and capacity, it’s helpful to put all of your machines, overlocker, and press along. I continuously turn between the 3 to have a seamless finish, ironing on when I go.
In general, I stitch all together with tiny parts, overlock, and iron the bottom edge to one edge. Then I add this unit to the piece next step. And so forth my top part on the right-hand side, until being split to size. If you’re not using an overlocker, or would also like a better effort to end your edges, are indeed a few other ways I’ve used.
Stage 6:
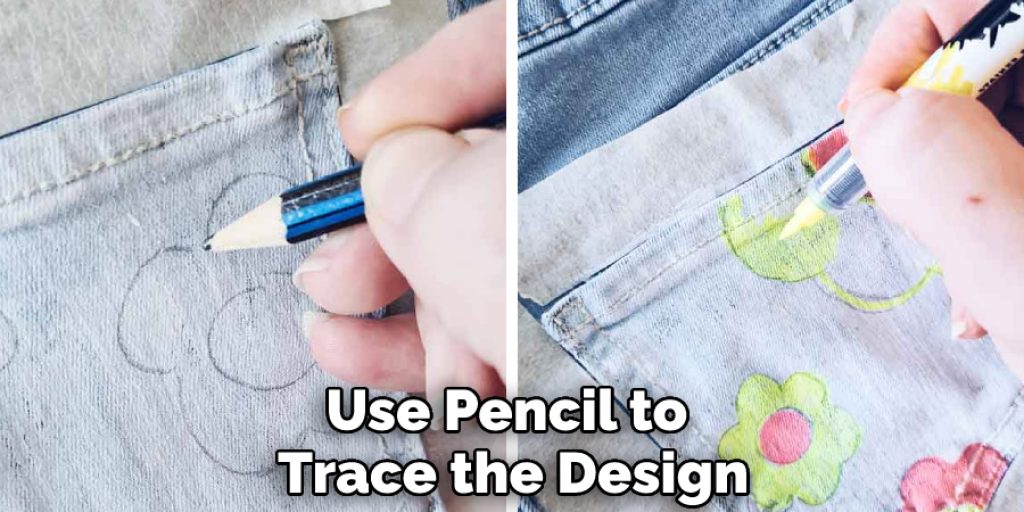
Place the template on your clothing and use a marker or pencil to trace the design. I want to add a line of stitching inside the chalk template before cutting everything off. This will help keep the edges from falling apart when they are cut. Break the contour throughout. It is the right-hand angle. And the view from the other side.
Stage 7:
The person is saying that they like to make the upper part of a dress first, and then the skirt. They say that they use bias adhesion (pieces of fabric cut into strips) to fill in the neck and arm gaps, and that they put inseam holes inside the skirt.
Preview of my completed dress from the top.
Check it out to learn to add pockets to sweatpants.
Nancy Behan
Nancy is an embroidery artist, fashion blogger and a full time editor at DIY quickly. Nancy edits the fashion section on DIY quickly, focusing on the embroidery and cross stitch articles, alongside with fabric and other costume design elements. She graduated from the University of Michigan with a Bachelor of Arts in Art History. She loves to work on her own projects, read books and watch romantic movies in her spare time.


