
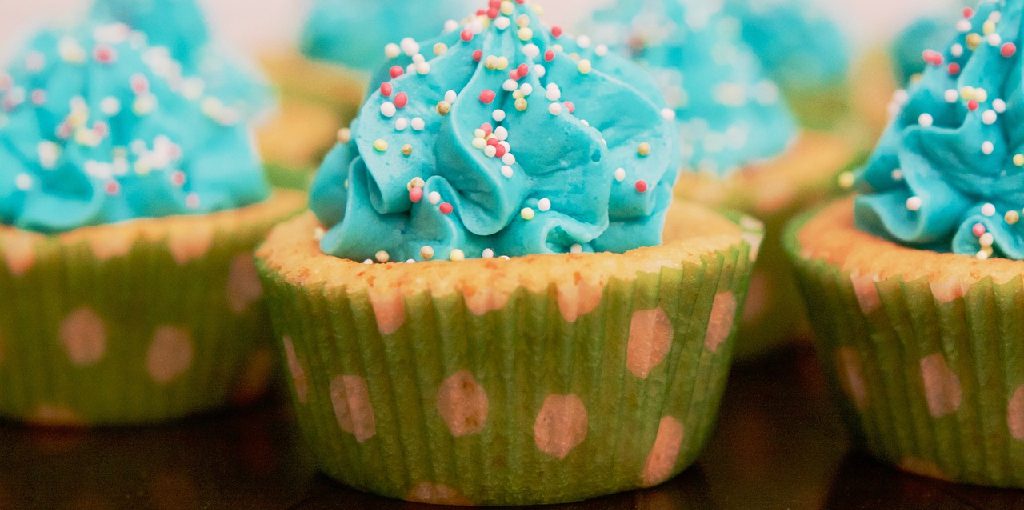
How to Apply Wafer Paper to Buttercream
When it comes to cake decorating, many techniques can be used. One of the most popular is using wafer paper on buttercream. For those unaware of this, wafer paper is a thin edible paper that provides decoration and adheres easily with no hassle.
Do you want to achieve a professional finish on your cake? Then, this is the article for you! We will discuss how to apply wafer paper to buttercream. Read on and learn more about this technique used in both wedding cakes and birthday cakes alike.
Things You’ll Need:
- Buttercream
- Wafer paper
- Scissors
- A cake stand
Directions: How to Apply Wafer Paper to Buttercream
Step One: Start With a Smooth Buttercream Surface
The first thing that must be done when applying wafer paper to buttercream is to make sure the surface is smooth. There should not be crumbs present on the buttercream’s surface. If there are, brush them away with a clean brush and ensure no bits remain stuck onto the frosting.
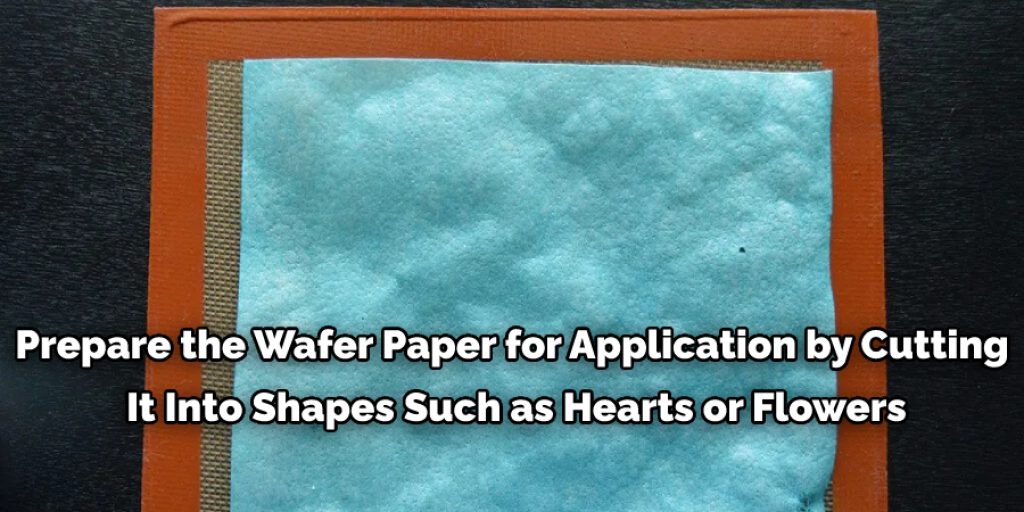
Step Two: Prepare the Wafer Paper
To use wafer paper, you need to cut it into shapes. You can use any kind of cutter to make different shapes like hearts or flowers. The more detailed, the better, but don’t worry if they aren’t perfect. Once they are cut out, set them aside to dry. This will make sure that the wafer paper sticks to the buttercream.
Step Three: Pick One Shape at a Time
When it comes time to apply your design, pick one shape at a time. Place this on top of the buttercream and gently press down with your fingers until you notice that it sticks well. Don’t worry if there are some air bubbles.
You can pop these by gently poking through the buttercream with a toothpick or pin. Once ready, apply another piece of wafer paper to the same area and press down firmly.
Step Four: Continue to Applying Pieces of Wafer Paper
Continue this process until you achieve your desired effect. Don’t worry if any pieces of wafer paper don’t adhere well. You can take a pin or toothpick to poke through the cake and remove any bits that didn’t stick.
Step Five: Finish with a Smooth Layer of Buttercream
When done, frost the cake as normal using buttercream or any other method you prefer. You can use wafer paper for this step too! Place these on top of the cake to further decorate it. If you don’t like how they look, peel them off and place them somewhere else.
That’s it! You have now learned how to apply wafer paper to the buttercream. This is a straightforward technique that anyone can do with little to no experience. Whether you are doing this for your own cake or as a professional, the result will always be beautiful.
Some Tips and Suggestions:
1. If you will apply wet wafer paper to buttercream, make sure it is fresh, and the texture is soft. If the wafer paper has gone dry or stiff, soak it in water until it is softer before cutting out your shapes.
2. When using confetti colors, do not mix with white confetti colors because they will blend.
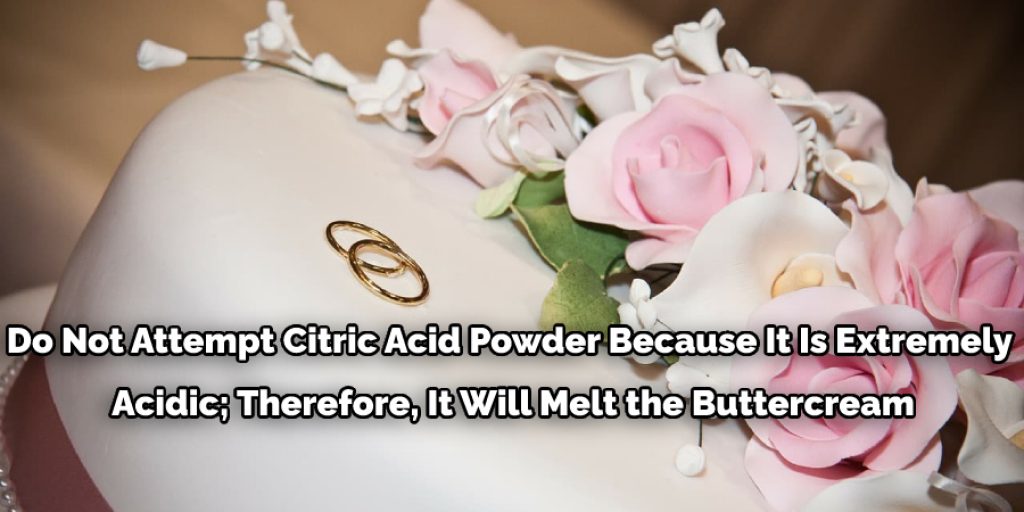
3. Do not attempt citric acid powder because it is extremely acidic; it will melt the buttercream!
4. Double stick tape works great to secure wafer paper to cakes; however, be careful because sometimes confetti colors may bleed. If you use double-stick tape, coat everything in the clear buttercream.
5. To get the most out of your wafer paper, you may seal it in an airtight container.
Difference Between Wafer Paper Dried vs. Rice Paper Dried
Wafer paper is a fragile, delicate paper made from potato starch. Wafer paper is flexible and more fragile than rice paper because it dries quickly and shrinks severely when drying. On the other hand, rice paper does not shrink as badly because it takes longer to dry and expands slightly as it dries.
Because of this characteristic, rice paper is much more reusable. Rice paper holds up well to moisten and re-applicate designs, while wafer paper can tear when wet a second time!
How Do You Attach Wafer Paper to a Cake?
You can attach wafer paper to a cake by either piping it on or brushing it on with simple syrup. For the brush-on method, you place your wafer paper over the buttercream and, using a pastry syringe (or an icing bag with a small tip), cover the back of the paper with simple syrup. Let it sit for about 30 seconds before transferring the wafer paper to your cake.
If you are using a pattern, save yourself some time and use simple syrup or piping gel to transfer images onto wafer paper ahead of time. Once applied, the image will have to dry for 4-6 hours (depending on humidity levels) before applying it to your cake.
Is Wafer Paper and Rice Paper the Same?
No. Wafer paper and rice paper are not identical, although they may appear when dried (see photo above). While both are thin papers made of mostly potato starch, wafer paper has added calcium carbonate while rice paper generally doesn’t.
Rice paper is translucent to slightly opaque, while wafer paper is usually completely transparent. Rice paper is often infused with flavor, while wafer paper can be flavored but usually isn’t.
Conclusion:
In conclusion, it is important to understand that there are many ways of decorating a cake. However, we recommend that you try wafer paper because it can be applied incredibly easily and will give your cake the appearance of elegance without costing too much time or money.
It’s perfect for any occasion! You’ll also find yourself with leftovers which you can use on other cakes in the future. So what are you waiting for? Start applying today! We hope this tutorial on how to apply wafer paper to buttercream has helped make your next cake! Leave a comment below if you need any extra help from us!
You May Also Read – How to Fix Grainy Buttercream Frosting
How Do You Pack Ice Cream for Lunch
Elizabeth Davis
Elizabeth is a creative writer and digital editor based in the United States. She has a passion for the arts and crafts, which she developed from a young age. Elizabeth has always loved experimenting with new mediums and sharing her work with others. When she started blogging, she knew that DIYquickly would be the perfect platform to share her tutorials and tips. She's been writing for the blog from the beginning, and her readers love her helpful advice and easy-to-follow instructions. When she's not writing or editing, Elizabeth enjoys spending time with her family and friends.


