How to Apply Window Cling
Are you ready to get creative and decorate your windows with window clings? Whether you’re a budding creator looking to create some interesting and eye-catching art or if you just want to add a hint of personality to an otherwise dull area, applying window cling is one of the easiest ways to do it. In this blog post, we’ll take a look at the various steps necessary for properly applying window cling vinyl so that your home looks its best. Read on for helpful tips and tricks for applying window cling!
If you want to quickly and easily add a little bit of color and personality to your windows, then window cling might be right for you. Window clings are a great way to transform plain glass surfaces without having to worry about causing any damage or getting stuck with expensive installation costs. In this blog post, we’ll show you exactly how to apply window cling so that it looks professional every time!

Benefits of Applying Window Cling
1. Add a Little Bit of Color to Window
One of the most attractive benefits of applying window cling is the ability to add a little bit of personalization or color to any dull window. Window clings come in an array of colors and patterns, so you can easily customize your windows to match your home’s aesthetic.
2. Create Privacy for Your Home
In addition to adding a personalized touch to your windows, window cling also provides an extra layer of privacy. Cling materials can be designed in such a way as to obscure views from the outside while still allowing light through.

3. Easy to Install and Remove
Window clings are simple to install and can be easily removed without damaging the window surface or leaving stubborn residue behind. This makes them a great option for renters or those who want to change up the look of their windows often.
How to Apply Window Cling in 6 Easy Steps
Step 1: Clean Your Windows
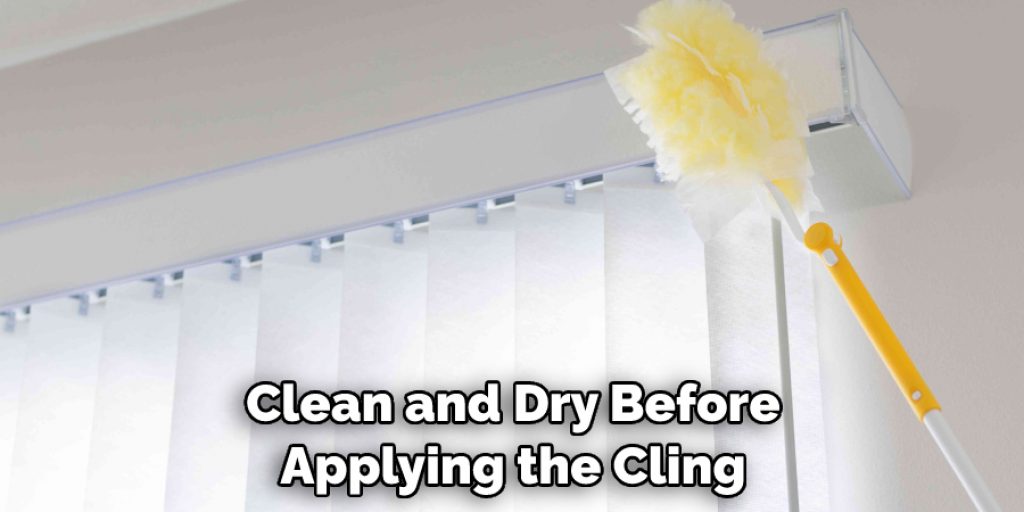
The very first step to applying window cling is cleaning the windows. Before applying window cling, make sure you clean your windows thoroughly with glass cleaner and a lint-free cloth. This will help ensure that the cling sticks to your windows.
Step 2: Cut the Cling
Using scissors, cut the window cling to size so that it fits your window properly. Take care not to make any rough or jagged edges. Also, try to leave extra space around the window cling so you can adjust it later.
Step 3: Wet Your Window
Before placing your cling on the window, lightly spray it with water. This will help make sure that the cling won’t stick right away, giving you time to position and adjust it properly before it sticks permanently.

Step 4: Place the Cling
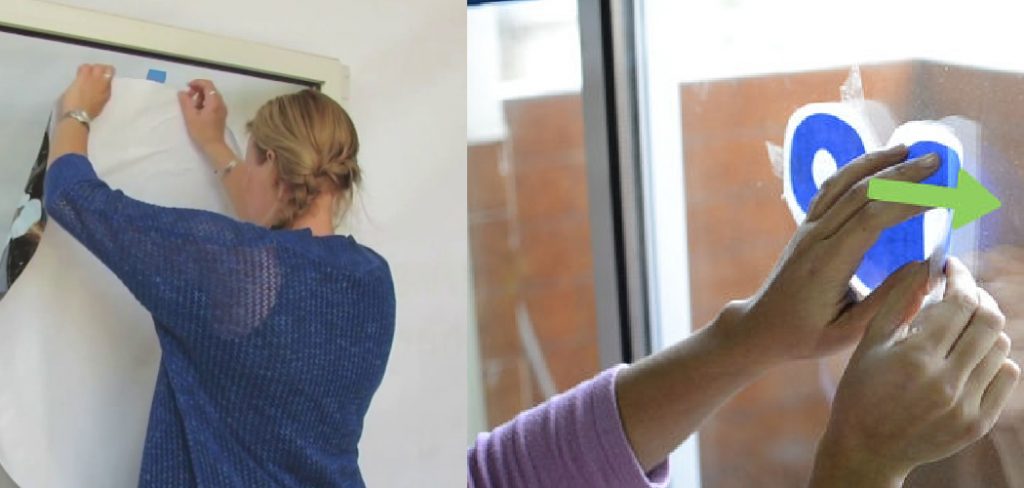
Once you spray your window with water, carefully place the cling on the window. Make sure it is centered and that all edges lie flat against the glass surface. You can use a squeegee to help press out any bubbles or wrinkles in the cling.
Step 5: Dry Your Window
After you have placed the cling, use a microfiber cloth to lightly dry your window. This will help ensure that the adhesive sticks properly and does not come off. You have to make sure you dont scrub the cling too hard as it can cause damage.
Step 6: Repeat
Repeat steps 1-5 for each window where you’d like to apply cling! Make sure to take extra care when cutting and positioning the cling to make sure it looks perfect.
You’re done! Now, you have successfully applied window cling in your home or business. Enjoy your beautiful new windows!
Some Additional Tips to Apply Window Cling
1. Do Not Use Windshield Wipers
Avoid using windshield wipers or any other hard objects that can cause scratches on the cling. This can cause the cling to become torn and unreadable.
2. Clean and Dry the Window Properly
The window should be clean and dry before applying the cling. Make sure there is no dirt, dust, or oily residue on the surface that can interfere with adhesion. Also, you have to make sure that the window is completely dry.

3. Vacuum off Air Bubbles
Once you have placed the cling on the window, it may start to form air bubbles. To remove these, use a vacuum cleaner and gently suck up each individual bubble one by one. This will help ensure that your cling looks neat and professional.
4. Use a Squeegee for Application
Using a squeegee is an easy and effective way to apply your cling properly. Start from the middle of the cling, and then work outward in a circular motion until it is evenly stuck on the window.
5. Add Heat for Better Adhesion
Adding heat can help the cling stick better. Use a blow dryer to blow hot air onto the cling for about 10 seconds. This will make sure that your cling is properly adhered to the window and won’t fall off easily.
6. Seal the Edges
Using a clear sealant or tape can help secure the edges of your cling, making it last longer. This will also ensure that water and dirt are kept out, further extending the life of your cling.
Following these tips should help you apply window cling effectively and get the most out of it. Applying window cling can be a great way to promote your business or show off your creativity. With careful application, your cling will look great for years to come.
Frequently Asked Questions
What Precautions Do I Need to Take When Applying Window Cling?
When applying window cling, you should make sure that the surface of your window is clean and free of debris. It is also important to measure and cut the cling to the exact size before applying it. Additionally, you should apply the cling slowly and carefully, starting from one corner and moving towards the other to avoid any air bubbles. Finally, make sure you apply enough pressure when smoothing out the cling to ensure it adheres correctly.
How Do I Remove the Window Cling?
Removing window cling is fairly straightforward and can be done with a combination of heat and elbow grease. To start, you should use a blow dryer or a heat gun to warm up the cling and soften its adhesive. Once the cling is malleable, carefully peel it away from the window in small strips. If there is any remaining residue, use a plastic razor blade and soapy water to remove it.
What Are Some Creative Uses of Window Cling?
Window cling is a great way to add a touch of creativity and personality to any space. It can be used to create unique art, decorate windows for the holidays, or even help with branding and marketing efforts. Window cling is also perfect for events like weddings or baby showers as it is easily removable afterward.
Can I Reuse Window Cling?
Yes, window clings can be reused multiple times! To do so, you should remove the cling from the window and store it on a flat surface overnight. This will allow the adhesive to cool off and become more flexible for reapplication. Make sure that you clean both the window and the cling before reapplying to ensure a secure hold.
What Are the Benefits of Using Window Cling?
Window cling has many advantages when compared to traditional window decals or paint. Firstly, it is easy to apply and remove without damaging any surfaces. It is also much cheaper than alternatives and can be used both indoors and outdoors. Finally, the window cling is perfect for temporary displays as the adhesive does not leave any residue behind.

How Much Window Cling Do I Need?
The amount of window cling you will need depends on the size of your window and the design you are creating. To figure out how much cling is needed, measure the surface area of the window and then account for any cuts or shapes that need to be made. It is always better to purchase more than necessary just to make sure you have enough.
Conclusion
In conclusion, applying a window cling is not a difficult feat and can be completed very easily. It takes little time to measure the cling and window area, clean the surface, apply it, and ensure that everything is smooth and secure. With the right technique, you’ll be able to effortlessly put up your window clings in no time. Just remember though – properly removing a cling is equally as important as putting one up! It’s best to use professional tools such as a blow dryer or special cleaner when taking down a large cling.
Now you know how to apply window cling! Additionally, make sure to have extra patience as larger clings can damage paint or glass if pulled off too quickly or with too much force. All in all, make sure to take your time so you’ll be guaranteed superior results each time you install a window cling!


