
How to Apply Wood Veneer to Cabinets
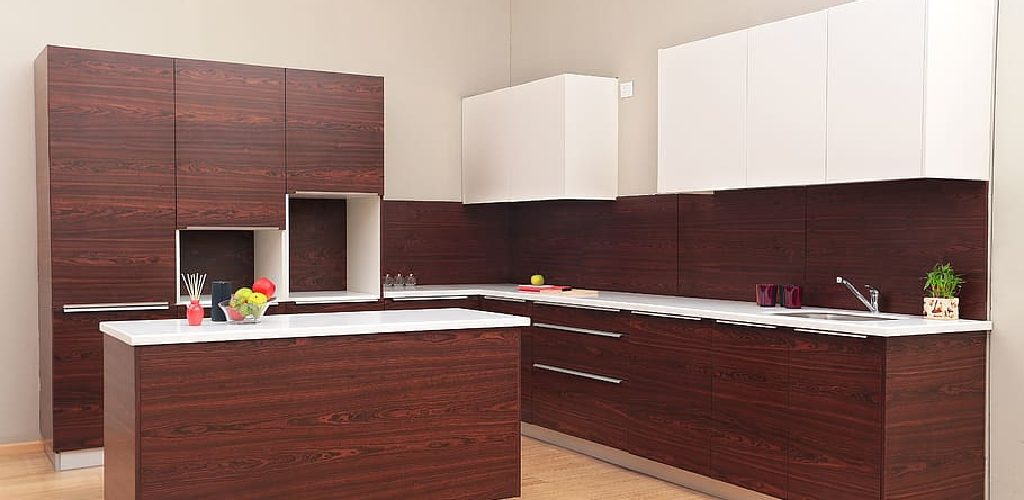
One of the most popular ways to update a kitchen is by applying wood veneer to cabinets. Wood veneers come in various styles, from natural woods like oak and maple to exotic ones such as zebrawood or ebony. You can also find them in various finishes, from high gloss lacquer to low sheen matte oil.
The process for installing wood veneers is not difficult but does require patience and will take around an hour if you are doing it yourself with no help. For those who need a little more direction, we’ve created this blog post that will walk you through the step-by-step process of how to apply wood veneer to cabinets. There are many benefits to adding wood veneer to your kitchen cabinets, and they’re easy.
What is Wood Veneer?
Wood veneer is a thin slice of wood that is applied to another piece of wood, plastic, or metal to give it a look and feel of real wood without all the expense. Early men used wood veneer for thousands of years to protect their tools from weathering, but it wasn’t until 1835 that veneer was manufactured commercially.
A veneer is created by slicing small pieces of wood to create a thin sheet with the grain pattern running in one direction only. This is done carefully so as not to cause splitting or cracking in the wood itself. Some veneers are hand-sliced, but most now are machine cut and require much skill and patience to produce. Continue reading to know more about how to apply wood veneer to cabinets.
Wood Veneer Classification:
Three classes of wood veneers are used for furniture, cabinet making, and decoration.
1. Natural Wood Veneer –
Real wood veneer has been cut from the trunk or branches of a tree, not from plywood or artificial materials. The term “veneer” is actually a misnomer when it comes to natural wood veneers. Although the result may look like a thin slice of wood, their unique cellular structure makes them more similar in nature to plywood or particleboard than solid wood.
2. Engineered Wood Veneer –
Man-made and did not contain the unique cellular structure found in natural wood veneers. Engineered wood veneer is typically made from plywood or particleboard that has been bonded together with a resin under high pressure to create a sheet of material that looks much like natural wood. In fact, in many cases, the engineered wood veneer may be more similar to solid wood than natural wood veneer.
3. Reconstituted Wood Veneer –
Plywood or particleboard is made from an image of wood rather than solid pieces of lumber. The image is printed on a large press, and the paper pattern is then laid over the base material, usually under pressure to create a strong bond between the base material and the paper image.
Reconstituted wood veneer is most often made from plywood or particleboard. Still, it can also be made by bonding together crushed stone with resin to create an artificial material that looks like natural wood grains.
Supplies and Materials You’ll Need:
- A stack of hardwood veneer
- Wood glue
- Clear contact cement
Directions: How to Apply Wood Veneer to Cabinets
Step One: Selecting Your Veneer
When starting a project, you first grab your favorite design magazines and find some cool inspiration if you’re like me. After finding your desired look, the next step is locating a reputable supplier that carries your preferred species. For example, if you’re looking for some nice walnut veneer, look up places that carry wood veneers online and see which ones have a listing for walnut.

Step Two: Measuring Your Cabinet Face Frames
If this is your first time applying wood veneer to your cabinets, I recommend practicing this process on a scrap piece of plywood. Then, once you feel comfortable and ready for the real deal, measure each cabinet face frame (top, bottom, two sides).
The height of your cabinets will determine how long you need to make each strip. Draw out a diagram on how you want your pattern to layout. Remember, the busier the pattern, the harder it will be to cover with veneer! It’s best to go simple and keep your desired look as clean as possible.
Step Three: Measuring Your Cabinet Doors
Measure each cabinet door from top to bottom along. The width of your cabinet doors will determine how many veneers you need to cut (length). Measure the total length and divide by the number of pieces needed.
We could get six 1″ x 12″ strips out of one sheet of 4′ x 8′ plywood. The height is determined by how tall you want each strip to be. We like ours about 1/2 inch high (see image). You’ll need to keep in mind the thickness of your cabinet door. We did not consider this and learned the hard way!
Step Four: Cutting Your Veneer Strips
Once you’ve determined how many strips you will need, carefully cut them out. It’s best to use a blade with a fine-tooth and go slow.
Step Five: Applying Wood Veneer to Cabinet Doors
Before applying the veneer, make sure you wear hand gloves and safety goggles. Once your doors are clean and dry (and free of any dust), you’re ready to apply the veneers. Using solvent-based contact cement, apply to both the cabinet door and veneer. Let dry for 24 hours before continuing with your project!
Step Six: Applying Wood Veneer to Cabinet Face Frames
Using wood glue, add a small bead along each inside edge of your face frame. Carefully place veneers on top of the glue. Use a roller to ensure you get full contact along the entire surface. Place wax paper over your veneer and stack weights (bricks, sandbags) on top to let it dry overnight.
Step Seven: Sanding Your Cabinet Doors
Before sanding, remove plaque off by hand first with acetone. Then use glue and use a roller to press firmly. Use weights or clamps to hold the veneer in place while it dries. Let dry for 24 hours before continuing! Repeat this step twice or as needed until you have achieved the desired look.
Benefits of Adding Wood Veneer to Your Kitchen:
1. Wood Veneer is Easy to Clean
Wood veneer is easy to clean and maintain, which makes it a great choice for kitchens. In addition, the tough surface resists stains and scratches, so you won’t have to worry about ruining the finish on your cabinets every time you pull out a blender or baking sheet.
2. Wood Veneer is Durable
Wood veneer resists heat and moisture, so it’s a great choice for kitchens with ovens or dishwashers. It won’t swell, shrink or warp the way that standard drawer fronts can. It also doesn’t flake or chip like paint does over time, so your cabinets will maintain their sophisticated look longer.
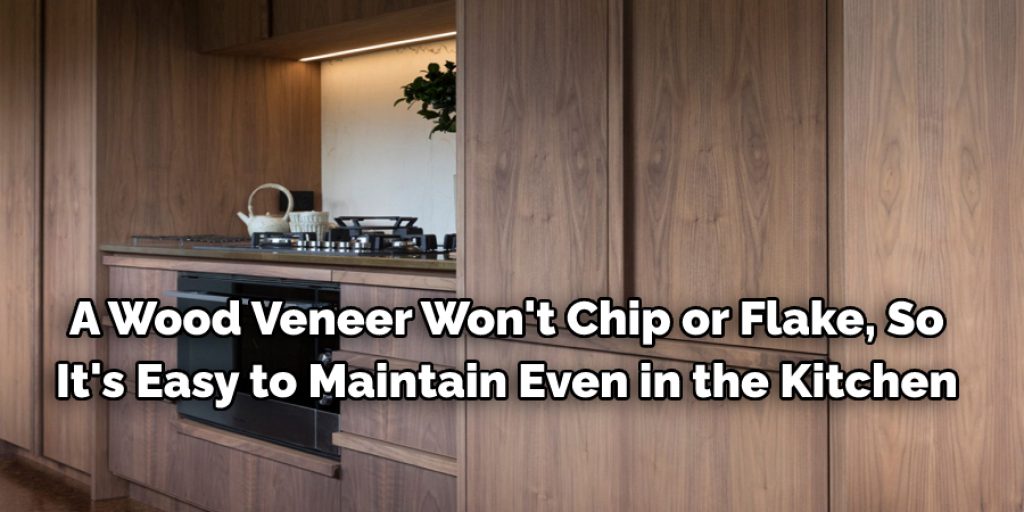
3. Wood Veneer is Easy to Maintain
A wood veneer won’t chip or flake, so it’s easy to maintain even in the kitchen with constant wear and tear. You’ll never have to worry about peeling paint again! If your cabinets get scratched, they’re easy to touch up without having to strip and repaint.
4. It’s Water-Resistant
A wood veneer’s tough surface resists bacteria and moisture, so you won’t have to worry about mold or mildew forming on your cabinets either. They’re great for kitchens with stainless steel appliances because they stand up well to moisture and humidity without warping or swelling.
5. Wood Veneer is Fire-Resistant
A wood veneer’s tough surface resists burn marks, so it’s a great choice for kitchens with ovens. You won’t have to worry about placing hot dishes or pans on your countertops or cabinets because the wood won’t warp or discolor around heat sources.
6. It Looks Natural
A wood veneer looks natural because of its texture, and the variations in the grain mean that no two cabinets will look alike. You can find a color and tone that matches your existing cabinets easily without having to go with a paint finish if you choose wood veneer!
Conclusion:
The process of applying veneer to your cabinets is not complicated. With a little time, patience, and the right materials, you can create beautiful new kitchen cabinets in no time!
We hope this article on how to apply wood veneer to cabinets has helped you learn more about the process of applying wood veneer. If you still have questions or concerns, please contact us via email; we will be happy to help!
Check out our article How to Lighten Dark Wood Kitchen Cabinets


