
How to Attach Deer Antlers Together
Deer antler is a piece of luxury that gets space in our living room. Among all the luxurious decorative products found in the market, deer antlers and deer leathers are much prominent. For this reason, these are handled with much sophistication. The processing of these antlers is much critical. For this reason, today, we will discuss an easy technique on how to attach deer antlers together. This will help the persons who are keen to learn the complete procedure from initiation to completion. The steps involved in this process is simplified below.
Procedure
This is the most popular method for attaching deer antlers together. You will need a few supplies for this method. First, you will need a steel bowl and some water. This will be used for seasoning the antler. Next, you will need a stove for the seasoning process. You will also need a sandstone and wood saw for this process, and then a table saw and file to make the edges smooth. Finally, you will need some ordinary plaster. This will be used to connect the pedicle to the wood you want to mount the antlers.
In order to create antler texture, you will need some white mud. For the antlers themselves, you will need some wooden planks, metal fasteners, and leather. You will also need some necessary woodworking instruments like a nail gun and hammer. Finally, you will need to season the antler and detach all the flesh connected to the pedicle.
You must be very careful about the size of the bowl you choose for your antlers, as they can be quite large. Fill the bowl with water and then submerge the antlers. Cover the bowl and start heating the water. Season the antlers for one hour, and you will notice the color of the pedicle start to fade. This is a clear indication that the flesh connected to the pedicle is beginning to detach. Remove the antlers from the bowl and let them cool.

You have to take a piece of a knife and use the blade, and you have to detach the flesh from the middle of the pedicle. Once you have separated the flesh, the stinking smell of the antler will be eliminated. After you have removed the meat, you have to place the antler again in the bowl and then boil it for one hour. This will allow the total seasoning of the antler.
To remove the meat from an antler, first take a knife and cut through the flesh in the middle of the pedicle. Once the flesh is separated, the unpleasant smell of the antler will be gone. After you have removed the meat, place the antler back in the bowl and boil it for one hour. This will allow the antler to be fully seasoned.
After you detach the antler from the deer’s head, you must assess its precise nature. The pedicle might be imbalanced due to the antler’s uneven cutting. So you must take a saw and make the portions even. You must cut off the extra portion from the antler pedicle, and then use a file to trim the edges. You must use sandstone to scratch off all the excess portions and give the pedicle a near symmetrical shape. Once you have prepared the antler and it no longer smells, you can proceed to the next steps.
Now you have to take a white page and fold it in half. Place the antler on the paper and align it with the middle. Mark the pedicle’s total boundary on the paper and then draw the design of the wood centering the pedicle boundary. This will help you to get the exact shape that will fit appropriately to the antler. Attach the paper with a piece of wood and then cut the pattern using a table saw. After you have cut the outline, sand the wood to give it the desired shape.

After you have prepared the wooden back part of the antler, you have to start the attachment. Many techniques can be used for attaching the wood to the antler. But we prefer a hybrid process that will hold both the antler and the wood firmly. For this, at first, you have to drill a hole in the middle of the antler. This will be done using the minimum diameter based drill bit. After you have prepared a hole in the pedicle, you have to make a similar hole on the wooden back part. You have to make sure that both holes are lined in the middle of the elements.
Next, you’ll need to use a small screw to attach the antler to the wood. To secure it in place, you’ll then need to apply plaster to the surface. You can find this type of plaster at any hardware store. To apply it, simply scoop some plaster into your hand and then smooth it over the surface.
After the plaster has dried, you can start applying mud above the plaster. For this process, you will need white mud. You can quickly obtain it from a paint shop. Then you have to apply it evenly on the entire surface of the plaster. Then, using a thin metal strip, you have to make the total surface smooth. In this manner, you will apply another protective layer on the pedicle, and the base of the antler will get a shiny texture. Then, you have to keep the antler safe for drying. You have to let the total mud dry, and it will take approximately one day to get the exact texture.

There is a high possibility that after drying, the mud can quickly get melted due to moisture. For this reason, you have to apply a covering on the surface of the pedicle. In this case, you can use leather. You have to take some leather and then wrap it around the total base of the antler. You have to take a nail gun and use the nail gun, and you have to pin the edges of the leather. You have to take a scissor and then cut the excess part of the leather from the back of the base. Once the spare part is eliminated, you have to use a small metal piece and then insert the leather around the antler.
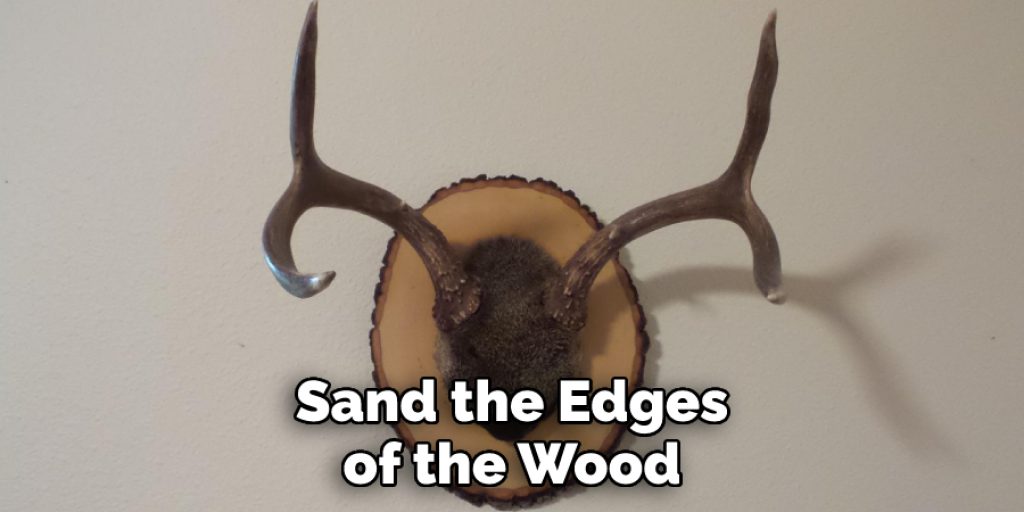
Now you’re ready to hang your antler on the wall. But first, you need to prepare a suitable background. For this, you’ll need to take a piece of wood and draw the shape you want to cut it into. Then you’ll need to put the wood in a table saw and cut it into the desired shape. After that, you’ll need to sand the edges of the wood. You can also apply paint to the wood. But before you do that, you’ll need to apply primer to the wood. It’s better to use standard wood burnish for a more realistic look.
Now you have to take a drill machine and make three holes at the back of the wooden plank, and then you have to make a hole in the center of the wood attached to the pedicle of the antler. Then using a screw, you have to connect both the wood and the antler. Then you have to take a piece of string and attach the two corner screws. Now the antler will be balanced between the string, and it is ready to mount. You have to place a screw on the wall and then hang then mount the antler.
Frequently Asked Questions
What Are Deer Antlers Used for by Humans?
Deer antlers are the most popular parts of a deer’s head, and they are a natural source of calcium, phosphorus, and zinc. They can also help with arthritis, boost your immune system, strengthen bones and cartilage, and aid in recovery from injuries.
One way that people use deer antlers is to make them into a tea by boiling them for 10 minutes or so. Deer antler tea has been used as an alternative medicine for centuries in China, where it is believed to help build up bone strength.
Does Anything Eat Deer Antlers?
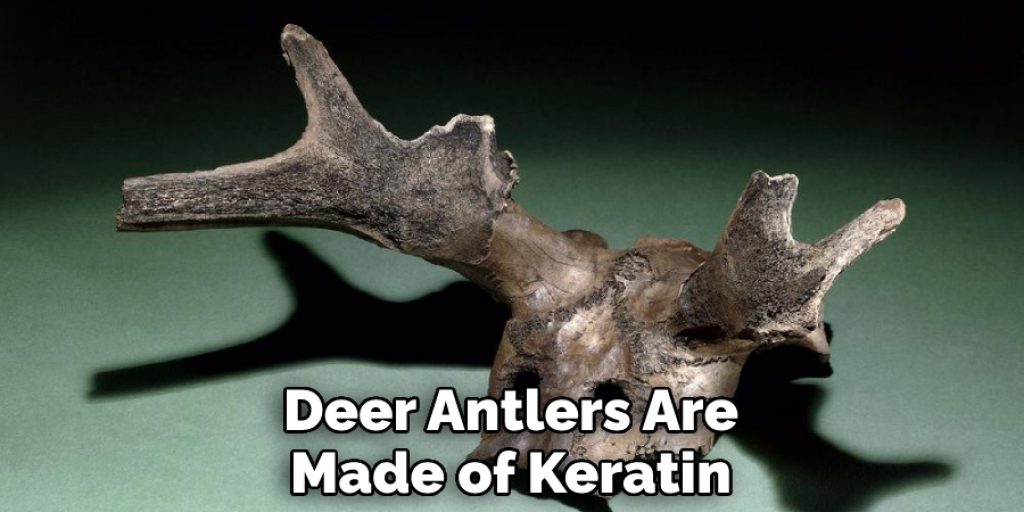
Yes, deer antlers can be eaten. Deer antlers are made of keratin which is a protein that makes up hair and nails. They are composed of 40% protein, 30% calcium, 25% phosphorus, 10% sodium, and 8% iron.
Some animals like raccoons will eat the bone marrow of deer antlers because it has a high concentration of fat and minerals such as calcium and phosphorus.
Can You Drill Into the Deer Skull?
Drilling into the deer skull is not recommended because of the high risk of infection. An excellent alternative to drilling would be using a saw or a bone saw to cut through the skull and then use your hands to remove pieces of bone from around the brain stem and inside the eye sockets.
Conclusion
In conclusion, we would like to express our deepest gratitude to our readers. We hope that the process we have stated here will surely help prepare then antler and then mount it on the wall. The steps mentioned in this process are straightforward to follow, and this process can positively influence the beginners. The people interested in DIY activities will get an excellent opportunity to learn new things from this process. Thank you for your time. Have a nice day!
You May Also Read –


