
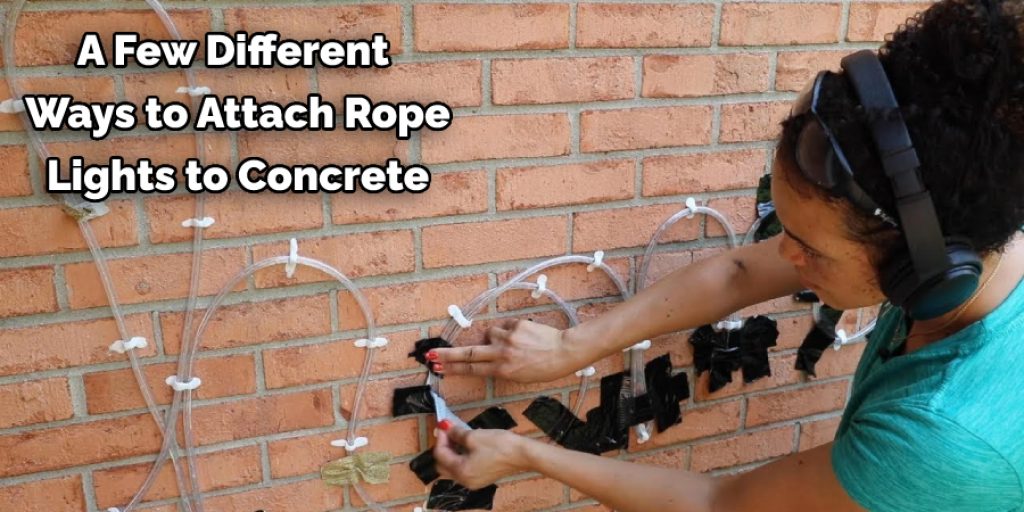
How to Attach Rope Lights to Concrete
Rope lights are a great way to illuminate outdoor areas at night. However, once the holiday season is over and those rope lights have been put away for another year, what do you do with them? The good news is that it’s straightforward to attach your old ropes lights to concrete so they can be used as permanent lighting around your home or business.
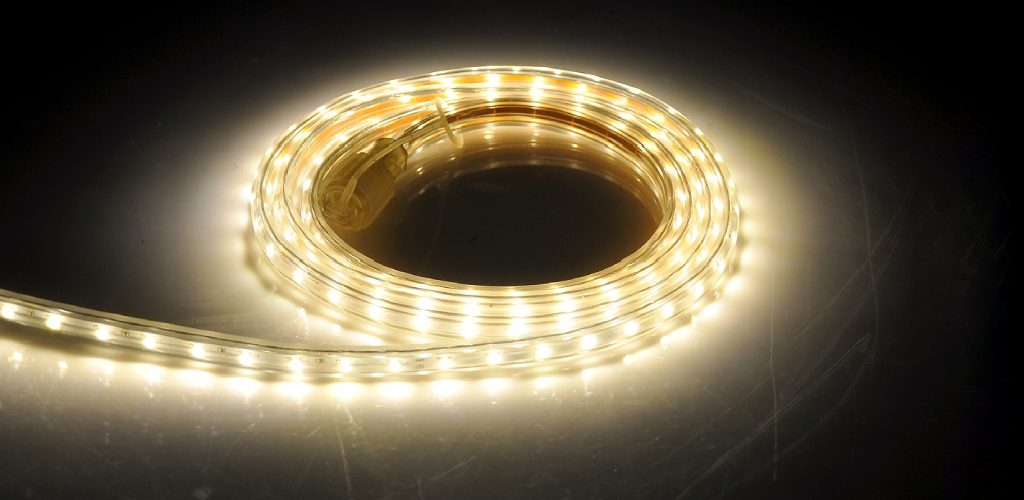
Rope lights are the perfect option when you want to add a decorative touch to your outdoor space. They’re inexpensive and easy to install, but if you’re installing them on concrete or brick, they can be tricky because of how porous these surfaces are. This blog will discuss everything about how to attach rope lights to concrete. Read on to know more!
10 Ways on How to Attach Rope Lights to Concrete:
Rope lights are popular for holiday decorations, but they can be used year-round to add color and accent lighting. These lights are easy to install above ground, but one of the most common complaints about rope lights is how difficult it can be to attach them securely to concrete walls or floors. There are many ways you can achieve this, but we’ve compiled 10 of the most popular and effective methods.
1. Command Hooks:
One of the easiest and most popular ways to attach rope lights to concrete is with a few well-placed command hooks. These hooks can be connected directly to the concrete and hold the lights’ weight without issue. Make sure to hang the light on a stronger part of the command hook, such as near its base or middle.
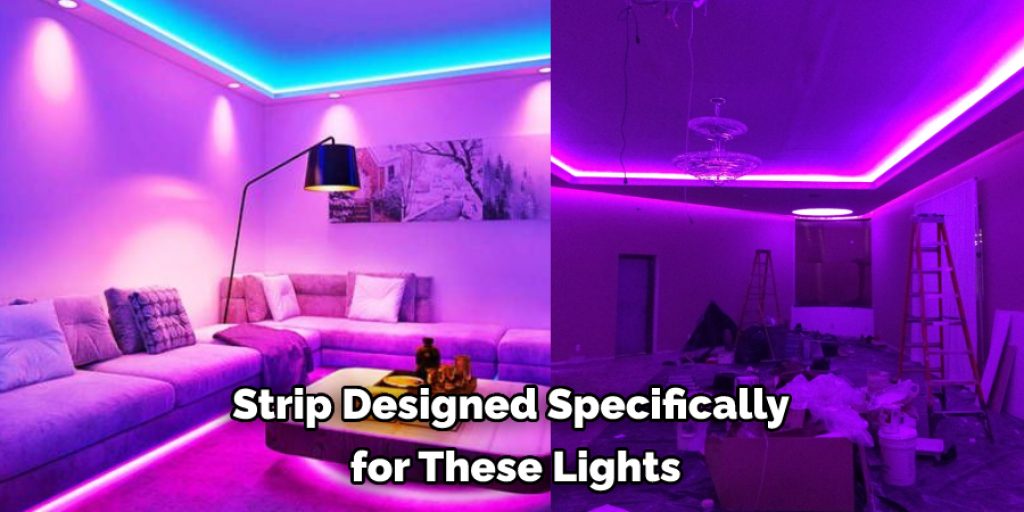
2. 3M Command Adhesive Strips:
Another good alternative to using command hooks is using a strong adhesive strip designed specifically for these lights. These strips have been tested and shown that they’re capable of holding the weight of the lights without any issues.
3. Gorilla Tape:
Gorilla Tape is a heavy-duty adhesive tape commonly used to secure items to concrete. It’s a good option if you need a temporary solution, as it can be easily removed without damaging the surface.
4. Concrete Screws:
Concrete screws are great for attaching rope lights, especially if you need a more permanent solution. Depending on your preference, you can use these with the rope light already in place or pull the cord through and attach it at the other end.
5. Epoxy Putty:
This two-part compound is an excellent option if you want to attach the rope light without drilling any holes. Roll out a long strip of epoxy putty, press it against the wall and mold it into place. Once dry, you’ll be able to run the rope light through its center and push it into place.
6. Concrete Thinset:
This is another great option for securing your rope light if you’ve got a concrete wall with cracks or holes. This type of thinset comes in dry powder form and will be activated with water to create a robust and trowel-resistant bond.
7. Sugru:
Sugru is a heavy-duty silicone rubber that can secure rope lights quickly and easily. Depending on your preference, you can mold it into place around the light or pull the cord through. It’s also great for making custom hooks, stands, and more.
8. Liquid Nails:
This adhesive is best for attaching rope lights if you need a long-term, more permanent solution. It’s excellent for concrete, wood, and stucco surfaces since it has a solid initial grip and is waterproof when dry.
9. Spray Foam:
You can use spray foam insulation to hold your rope light in place by spraying it into cracks or holes in the concrete. This is a great option if you want a more permanent solution, as the foam will expand and harden to create a strong bond.
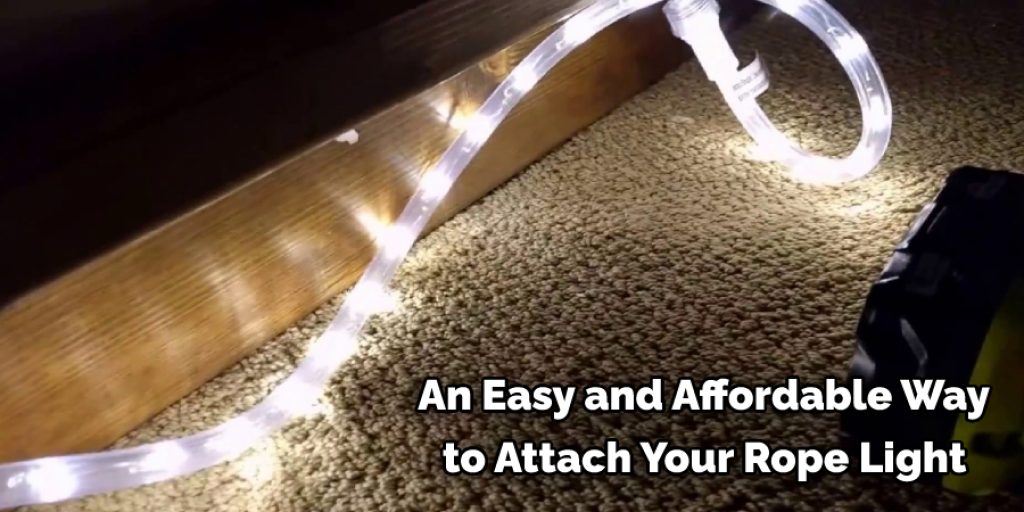
10. Silicone Caulk:
If you’re looking for an easy and affordable way to attach your rope light, silicone caulk is a good option. It’s a type of sealant that comes in a tube and can be applied with a caulking gun. It’s easy to use, dries quickly, and will create a watertight seal.
Step by Step Guide: How to Attach Rope Lights to Concrete
Step 1: Clean the Surface
It would be best if you cleaned off any dirt or debris that might be on your surface before applying anything. If you skip this step, you risk giving yourself unnecessary headaches later. Whether with a broom, leaf blower, scraper, or shop vac, get rid of all visible dry particles. You should also try to remove any leftover adhesive residue from a previous light installation.
Step 2: Tape the Light
Before you start taping your light, decide where you want it to go. To ensure good adhesion, you’ll want to leave at least a ¼ inch gap between the light and the surface. Once you’ve marked its spot, use painter’s tape or duct tape to secure it in place.
Step 3: Take a Look
Take a look at how the light is positioned and make sure you’re happy with its placement. Make any adjustments before removing the tape. Your lights should be perpendicular to your surface and no more than four inches apart. If you can’t get them even, don’t worry about it. It’s much better to have lights too close together than not close enough.
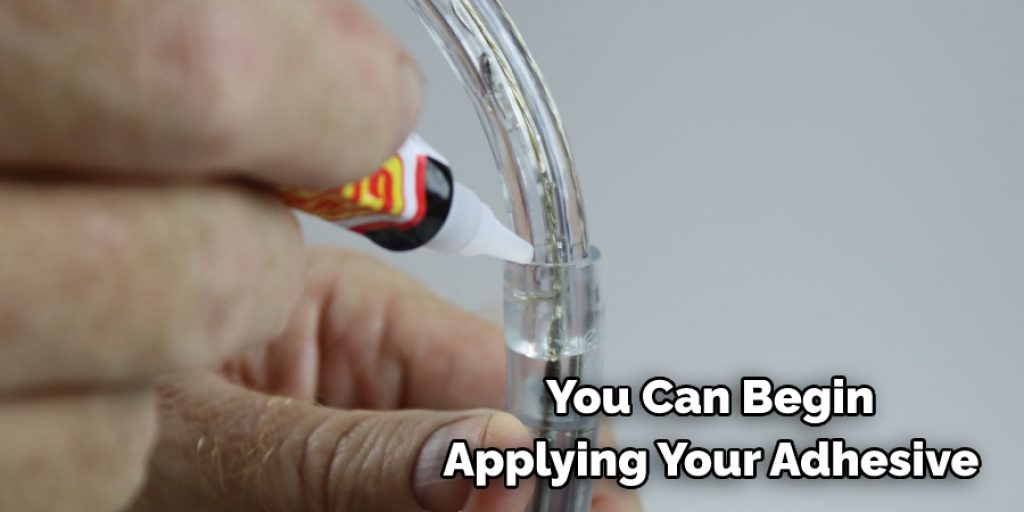
Step 4: Adhesive Application
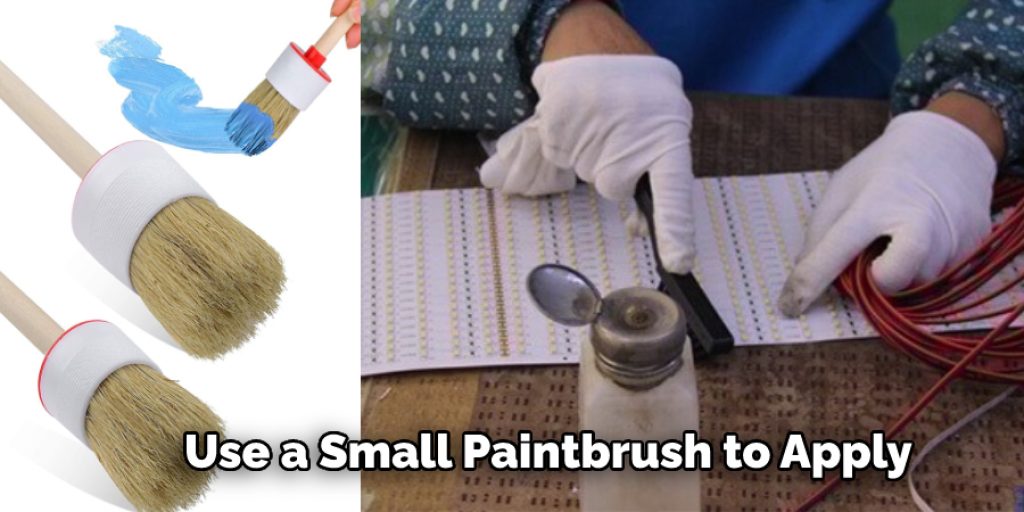
Once the light is in place, you can begin applying your adhesive. You’ll want a small paintbrush for this job, one that’s been cleaned with water. Brush on a thin adhesive layer onto the area where each light will lie. Don’t apply too much, or it may drip. Let the adhesive dry for at least thirty minutes before using your lights.
Step 5: Attach the Rope Light
Now you’re ready to attach your rope light to the concrete, but before you do so make sure that all of its cables are inside the halo ring. If they’re not, you’ll need to remove the light and start again. Once they are, carefully feed the rope light up through the hole in the halo ring until it’s entirely inside.
Step 6: Twist the Light
Once the light is in place, twist it a few times to ensure it’s secure. Now you can begin taping it down. Use the same method as before, leaving a ¼ inch gap between the light and the surface. Be sure to press firmly on each section of tape to ensure good adhesion.
Step 7: Adhesive Application for the Second Light
Once your first light is secured, you’ll need to repeat the process on the second light. Apply more adhesive to its surface with a paintbrush and stick it in place using painter’s tape or duct tape. Allow this adhesive layer to dry completely before moving on to the next step.
Step 8: Connect the Cables
Now it’s time to connect the cables between your two lights. This is a delicate process, so be careful not to tug on the wires too hard. If they’re too tight, you may damage the light or the connector. Instead, start by aligning the cables and securing them with the cable ties. Once they’re in place, you can trim off the excess material.
Step 9: Apply Adhesive to the Cable Ties
Once the cables are connected, it’s time to apply adhesive to the cable ties. This will help keep them in place and prevent them from coming loose over time. Use a small paintbrush to apply a thin adhesive layer to each cable tie. Let this layer dry for at least thirty minutes before moving on to the next step.
Step 10: Finishing Up
Once the adhesive is dry, you’re done! Congratulations, you’ve just attached your rope lights to concrete! Now all that’s left is to enjoy them. Be sure to keep an eye on the adhesive over time and replace it if necessary. With proper care, your lights should last for many years.
You can also check it out to Hang Rope Lights on a Wall Without Nails
Some Tips and Suggestions:
1. It is best to install the lights before pouring concrete. If you can’t do that, it will be easier if you wait until just after the concrete has been set up; that way, it will be strong enough to support some extra weight and not as likely to crack or break under stress.
2. Keep at least one end attached to an electrical source until you are sure the rope lights are in the correct position.
3. When attaching them to concrete, use a drill and screwdriver bit to make pilot holes for the screws. This will help avoid cracking the concrete when you drive in the screws.
4. If you have to cut the rope lights to length, do so before attaching them to the concrete. There is nothing more complicated than trying to cut a rope light after it has been attached in a hard-to-reach place.
5. Before you attach your rope light, make sure that the surface is clean, dry, and free of dust or dirt. This will make for a better hold.
6. Test for electrical safety by firmly attaching one end of the rope light to an electrical source (such as a plug-in transformer or extension cord) and check for flickering or dimming. If there is, try repositioning it or replacing it with another section.
Conclusion:
There are a few different ways to attach rope lights to concrete. The first way is by drilling holes in the ground with an electric drill and installing anchors, which you can find at your local hardware store or on Amazon.
Some silicone caulking, zip ties, screws/bolts, a threaded rod that has been cut into 5-6 inch pieces, metal brackets for attaching the bracket to the anchor bolts, electrical wire nuts, junction box covers, and of course your electrical cords and lighting string will be required.
If you’re looking for an easier way to attach your rope lights without damaging your concrete or driveway, consider using one of these methods instead. We hope this blog post on how to attach rope lights to concrete has been helpful. Let us know your thoughts in the comments below!


