How to Build a Vinyl Lattice Gate
The usability of Vinyl lattice is literally outstanding. Because of being constructed with high-quality vinyl, it is resistant to both weather and impact. That’s why it is a suitable item to be used for several purposes. This material is resistant to weather and moisture, which extends its lifespan to the fullest. Anyway, I have got an outdoor project, and I am going to use this vinyl lattice gate to cover the empty space under my stairs. In this article, I will show you how to build a vinyl lattice gate.
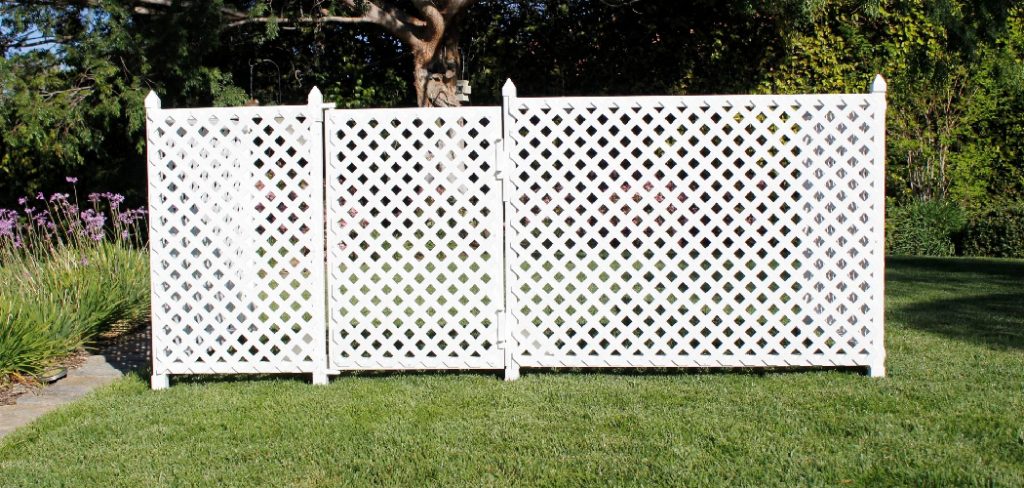
I have a dog problem, which tends me to build these vinyl fences. May dog gets outside through the empty space under the stairs, and that’s why I am going to build a barrier for him to stop him from escaping. So, why not make something that offers an elegant look? That’s the reason why I have chosen vinyl lattice for this project. Let’s see how to build your own gate.
How to Build a Vinyl Lattice Gate
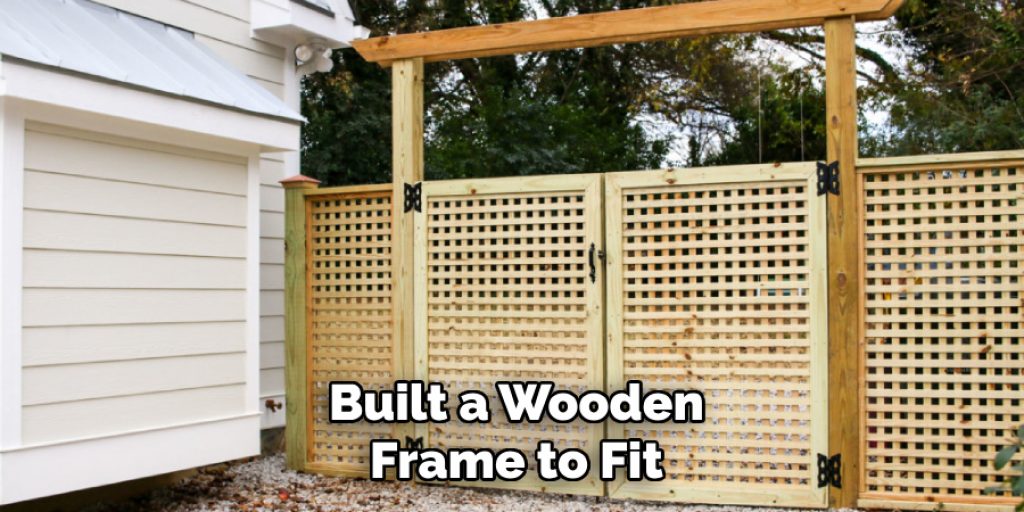
First, you must build a frame to the desired measurements. So, I started my work with that step. I measured the empty space under the stair and then built a wooden frame to fit that space.
You Can Check It Out to Hinge a Gate Outwards
Then I prepared the surface where I was about to attach the frame. For that, I have cut corners a bit and then secured the frame with screws.
After that, I cut the gate parts and then started to assembly. Once I have set up the parts with screws, I took it to the frame I have installed under the stairs. I had kept a small space for the door, so I made it according to that measurement.
Now it is time to attach the vinyl lattice. So, I put all the lattice pieces in one place and then started attaching it with the door and frame. I took the side rills and secured it with hot glue. These side rills help put the screws into it.
As I want to keep the door openable for my personal usage, I attached hinges with the door part. And then positioned it perfectly and started to screw it. In this case, I cut some large pieces and some small pieces. I am going to use both of these pieces are going to be used, particularly for each block. Then I set them and secured them with glue and some more screws. Thus, the door was ready.
Conclusion
Hopefully, you have understood the above steps. If you are still confused, don’t hesitate to inform me through the comment section.