
How to Build a Wooden Outdoor Cat House
If you’re a cat lover, you know that cats love to be outdoors. Being able to roam and explore is essential to their happiness and well-being. But what do you do if you live in an area where it’s not safe for your cat to be out alone? You could build them their own little house to enjoy the outdoors from inside! This blog post will show you how to build a wooden outdoor cat house using simple tools and materials.
An excellent way to provide shelter for your outdoor cat is by building a wooden outdoor cat house. First, gather the necessary materials and tools. Then, follow the step-by-step instructions to build your very own cat house. Finally, please put it in a safe location where your feline friend can stay warm and dry all winter long. Read on to know more!
10 Ways on How to Build a Wooden Outdoor Cat House:
1. Cat House with a Sill
First, the sill is the part of your cat house that your cat will be standing on. Make it several feet long and only an inch or two high. Then you put an entryway onto that piece of wood by cutting out a small hole at one end (the end where the cat goes in). The entryway should be big enough to fit your cat.
2. Post and Sill
The next step is to attach the sill to the four uprights. These are the same height as your sill, and should be about an inch or two high like it. You can attach them by drilling a hole through the upright and applying some glue before you insert it into the hole in your sill. Now it’s time to make your birdhouse door. This is a small, circular piece of wood that should be about an inch and a half in diameter. Drill a hole through the center of your door and then glue it onto the front of your birdhouse.
Make sure the posts are straight and sturdy. The goal here is to prevent the cat from pushing the entire house over or leaning on it too hard, which could cause it to move out of place and break eventually. Place the house in a dry, shaded area so it doesn’t get too hot.
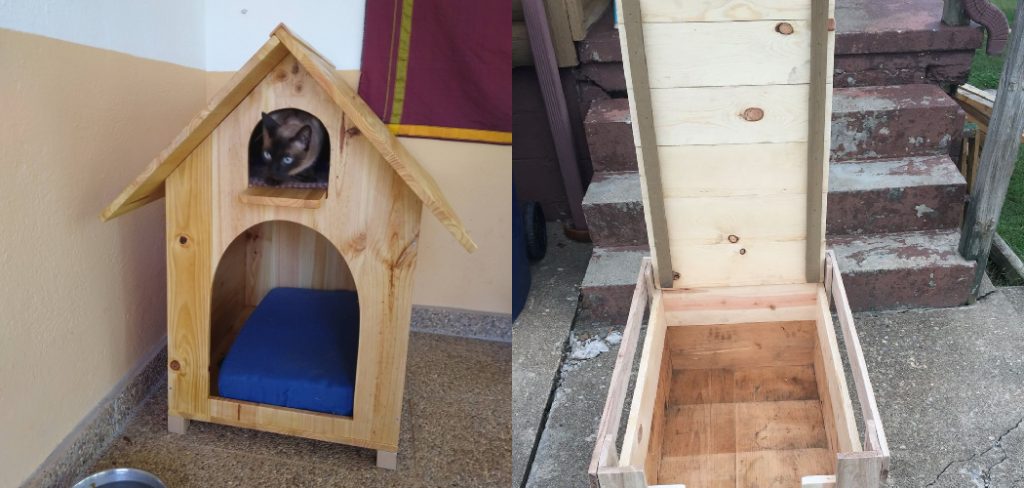
3. Putting a Roof On
The simplest way to weatherproof your cat house is to take a piece of scrap wood that’s about an inch and a half high (or even two inches if you prefer) and attach it to the top of your uprights. That way, when it rains, water doesn’t seep into the insides of your cat house. If you want to be extra careful, you can seal the top of your uprights with waterproof sealant. Just make sure that whatever sealant you use is non-toxic and safe for animals.
You can also add shingles or tin sheets to your roof if you want extra protection. If you want to take your roof off, then set it on top of the posts instead of attaching it. That way, you can carry off the whole structure if needed. Tie the four corners together, then cover it with a tarp to protect it from the elements. You can leave it there until you have finished your shed or carport build. After that, you can put on any additional roofing materials, if desired.
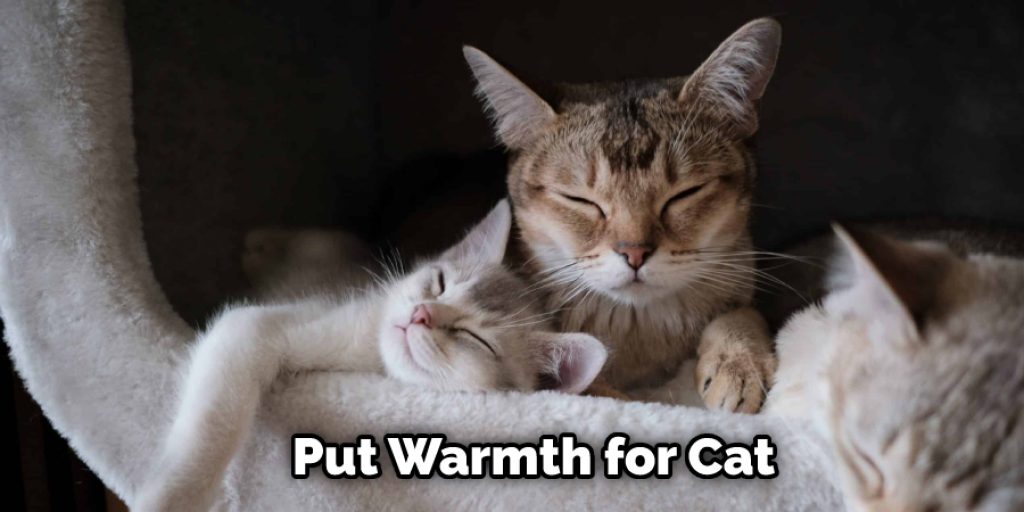
4. Feel the Warmth
The next step is to put insulation inside. You can use either straw or hay, which are great insulators. Make sure your cat doesn’t eat them though they are not good for cats! To keep the insulation in place, you need to apply a little plaster over it, where it goes into the house itself. This will allow you to carry the insulation in place. After you have the insulation in place, the next step is to add the walls. You can use either cardboard or plywood. Cardboard is cheaper and easier to work with, but it will not last as long as plywood.
5. Add Some Comforts
You can add lots of different things to make your cat house more comfortable for your feline friend. One way is to take a scrap piece of carpeting and attach it to the inside walls, which will provide extra warmth in cold weather.
You can also attach a piece of carpeting to the bottom of your cat house for a good scratching surface. Another option is to add a few pieces of board or plywood inside, which will give your cat something firm to sit on rather than the dirt floor.
6. Keep Out The Cold
If you live in an area that gets particularly cold in the winter, then you may want to insulate your cat house even more. The simplest way is to attach some Styrofoam to the inside of your walls. Then, you can either tuck it into place or secure it with some glue. To ensure that the insulation stays in place, you need to plaster over where it’s sticking out.
7. Make It Strong
In addition to the insulation, you should add some plywood on the inside of your cat house so that it’s sturdy enough to take a lot of weight and won’t collapse if your cat happens to sit on it. As with the insulation, plaster over where this wood is sticking out so that everything stays in place.
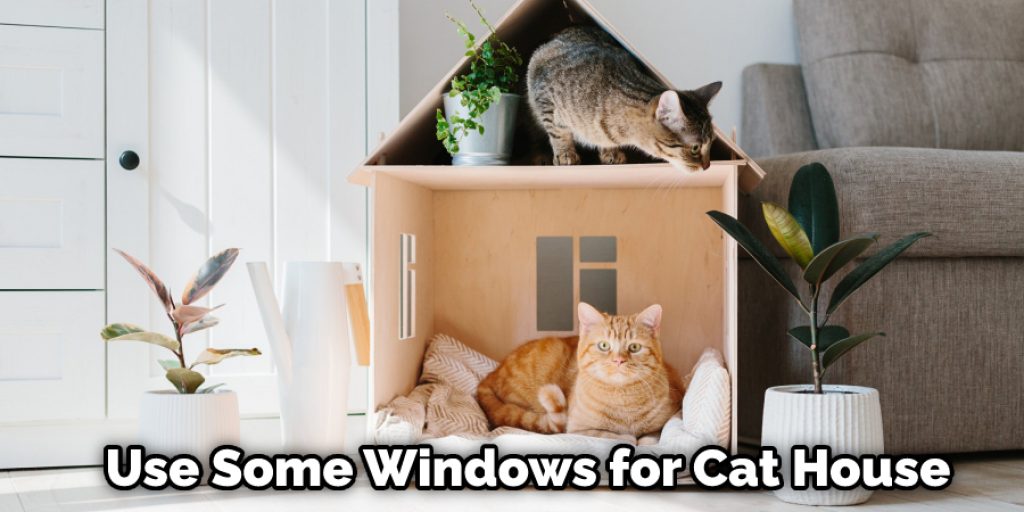
8. Add Some Windows
Another way to keep the cold out is to take some scraps of thick plastic or glass and attach them to your cat house so that there are no openings, just like you’d do with a greenhouse. Make sure you secure them well so that they won’t fall off, potentially injuring your cat.
9. Cut A Hole
Now you need to cut a hole in your house large enough for your cat to go inside. You should choose a spot that’s away from the door, making it more difficult for predators to get in, but allowing your cat to come and go as he pleases. Do make sure if you choose this option that it’s big enough for a large cat to get in and out of.
10. Add a Floor
If you want something easier to clean, you can add a floor to your house while the plastic is still there by simply cutting some wood down to size and then attaching it. If you’re putting carpeting inside, that would be an excellent opportunity to attach it. This will also give your cat something more comfortable to stand on than the dirt.
You Can Check It Out to: Make a Waterproof Wooden Box
Conclusion
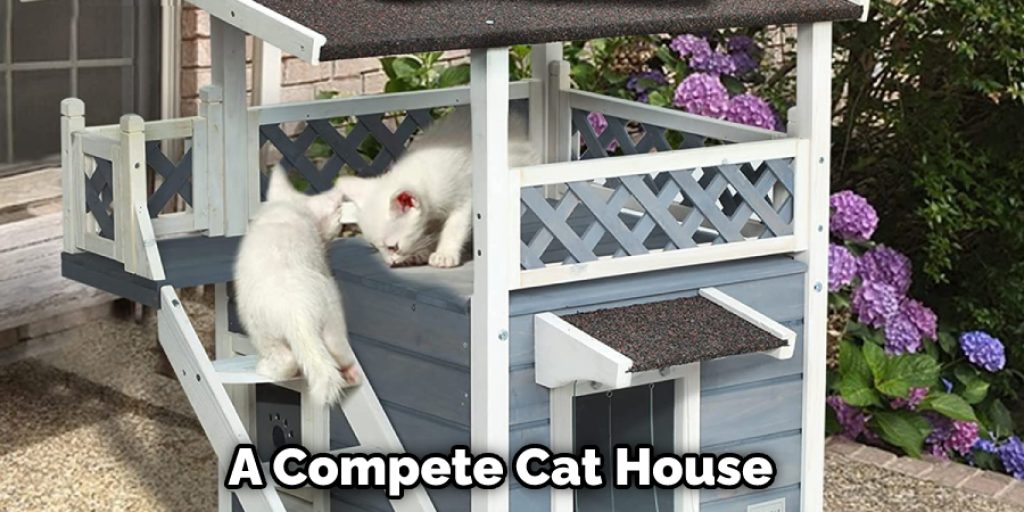
The cat house is now complete. With the roof and exterior walls in place, it’s time to add a few finishing touches inside your new home for cats! This blog post has provided you with a step-by-step guide on how to build a wooden outdoor cat house that is durable and will last for many years.
The information contained in this article can also be applied towards building an indoor kitty condo, so if you have any questions about the process or need help constructing it, please don’t hesitate to reach out! We hope this article has been helpful for those of you who want to make sure their furry friend is well taken care of outdoors as well as in. Let us know how it goes!


