How to Build an Ice House
Are you interested in constructing an ice house but not sure where to start? Building an ice house can seem like a daunting task, from deciding on the design and materials to taking into account weather conditions.
But with the right tools and tips, you’ll find that it’s actually quite easy – even for those new to DIY home construction projects! In this blog post, we will discuss all of the necessary steps for successfully building your own custom ice house.
You’ll be provided with helpful advice on how to build an ice house, from selecting plans and materials best suited for your individual needs as well as valuable insights into things such as insulation techniques and electrical wiring considerations.
Whether you are just starting out or already have experience in DIY projects, this guide has something to offer everyone who is ready to embark on their icy journey!
How Much Ice Do You Need for an Ice House?
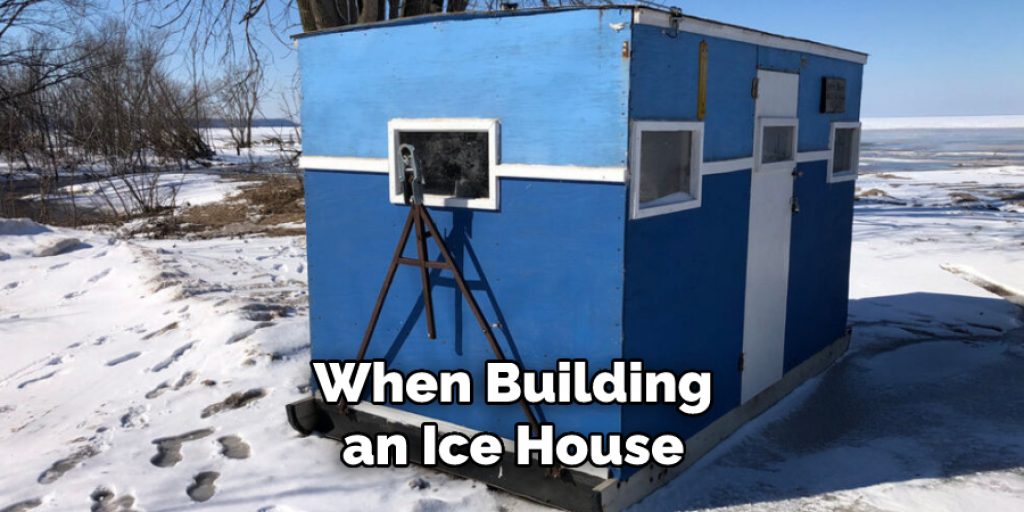
When building an ice house, it is important to know how much ice you need. Generally speaking, the bigger and thicker your ice blocks are, the more insulation they will provide, so calculate accordingly as you plan out your build.
To best determine how much you need, it is recommended that you measure a few inches off the ground of where your walls will be, then use this measurement as the size for all of your blocks.
This way, the blocks will stack evenly and won’t leave any gaps, which could cause issues with insulation later on down the line. As a general rule of thumb, each block should measure 18-24 inches thick, and depending on the height of your walls (each block should be about half the height of the walls), you will need anywhere from 8-24 blocks for each wall.
To ensure that your ice house lasts a long time, you should use blocks made from freshwater or snow, as these are the most durable and least likely to melt quickly. For best results, it is highly recommended that you get professional help when calculating how much ice you need for an ice house.
This way, they can properly measure out your build and help prevent potential issues with insulation down the line. Additionally, by working with a professional, you can make sure that every detail of your build is taken care of and that your ice house will last as long as possible.
10 Methods on How to Build an Ice House
1. Choose the Right Location
When building an ice house, one of the most important considerations is the location. The ice house should be built on a level piece of ground that is well-drained. Additionally, the location should be close to a water source so that it is easy to fill the ice house with ice.
Make sure that the area also has ample shade, as this will help keep the ice from melting too quickly. If possible, try to choose an area that is sheltered from strong winds.
2. Choose the Right Materials
Another important consideration when building an ice house is the materials that will be used. The walls and roof of the ice house should be made from materials that are good insulators, such as wood or straw.
The floor of the ice house should be made from a material that will not conduct heat, such as dirt or sand. The insulation should be filled with straw, sawdust, or wool to keep the ice cold. To keep the ice from melting, the walls and roof should be lined with reflective material to reflect sunlight away from the house.
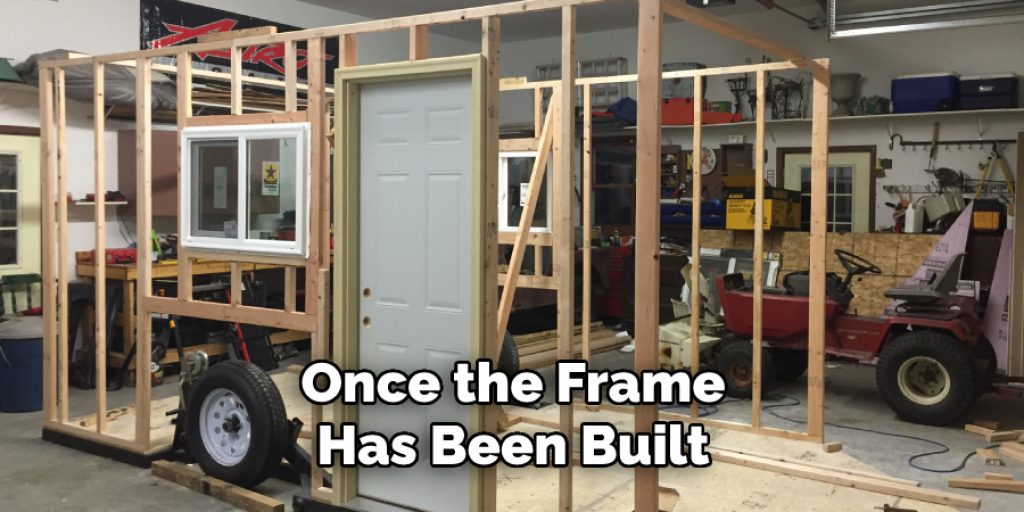
3. Build a Frame
Once the location and materials have been chosen, the next step is to build a frame for the ice house. The frame can be made from any sturdy material, such as wood or metal. It is important to make sure that the frame is strong enough to support the weight of the ice and snow that will be placed on top of it.
For larger ice houses, it may be necessary to use metal scaffolding or other stabilizing materials. Once the frame is constructed, it should be placed on a level surface to ensure that the ice house is stable.
4. Cover the Frame with Insulation
Once the frame has been built, it should be covered with insulation material, such as straw or wood chips. This will help to keep the heat inside the ice house and prevent it from melting the ice. A thick layer of insulation should be applied to the walls, roof, and floor.
If possible, use multiple layers of insulation to ensure maximum efficiency. While straw is an ideal material, other materials such as wood chips, sawdust, and even cardboard can be used. Be sure to have a tarp covering the insulation to protect it from the elements. Make sure to seal any cracks or gaps in the insulation to keep air from entering the ice house.
5. Cover the Insulation with Tar Paper
After the insulation has been placed on the frame, it should be covered with tar paper or another waterproof material. This will help to keep moisture from seeping into the insulation and causing it to lose its effectiveness.
The tar paper should be nailed or stapled to the frame, making sure it is securely attached so that no moisture can get in. It is also important to make sure that there are no gaps in the coverage, so it is best to overlap the tar paper slightly. Once this step is complete, the ice house is ready for the final touches.
6. Fill the Ice House with Ice
Once the frame has been built and covered with insulation, it is time to fill the ice house with ice. The best way to do this is to cut blocks of ice from a nearby lake or pond and place them inside the ice house. If there is no water source nearby, bags of ice can be purchased from a grocery store or other retailer.
7. Cover the Ice with Straw
Once the ice has been placed inside the house, it should be covered with straw or another insulating material. This will help to keep the cold air inside and prevent melting. Straw should be placed between the blocks of ice and around the inside walls.
Make sure to leave some space for air circulation so that the temperature is steady and the ice doesn’t melt. However, too much airflow may cause the ice to evaporate. Once finished, the door should be securely closed.

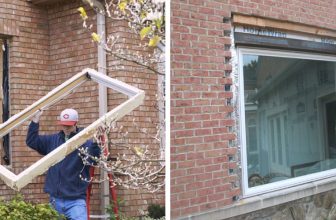
8. Place a Door on The Ice House
Once all of the above steps have been completed, the final step is to place a door on the front of The ice house. This will enable you To enter the house and store items or use it as a shelter from the cold.
The door can be constructed using plywood and should fit snugly into the opening in front of The ice house. Make sure that the door is sealed properly to ensure no cold air gets inside. Once The door has been secured, you are now ready to enjoy the benefits of your homemade ice house.
9. Place a Roof on The Ice House
Once all of The above steps have been completed, the last piece of the puzzle is to place a roof on The ice house. This will help keep The cold air in and The sun out, which will help keep The ice frozen for as long as possible.
It can be made from any material that is waterproof and durable, such as tarpaulin, tin, or wood. Secure it to The frame with nails or screws and make sure that it is sealed properly. If extra insulation is desired, then add a layer of straw on top of The roof to help keep The cold air in. Once this is done, your ice house is complete and ready for use!
10. Enjoy Your Ice House!
Once you have completed the construction of your ice house, you are ready to enjoy it. The traditional way to use an ice house is by storing food and drinks that need to be kept cool. An ice house can also serve as a playhouse or storage shed.
You can even use it as an outdoor bar or kitchen! Be sure to keep the temperature inside your ice house comfortable, and don’t forget to open the window during warm weather days. To maintain your ice house, make sure you are cleaning out any debris or dirt that may have accumulated.
Conclusion
Through careful planning and preparation, you can create an ice house that is sure to provide a warm and comfortable space for outdoor activities, no matter the season.
From selecting a design that fits your specific needs to outfitting it with amenities that make it highly functional, now you have all the information necessary to get started building your very own ice house. Now that you’ve learned how to build an ice house, you can put your new knowledge into practice. Good luck and happy building!
Elizabeth Davis
Elizabeth is a creative writer and digital editor based in the United States. She has a passion for the arts and crafts, which she developed from a young age. Elizabeth has always loved experimenting with new mediums and sharing her work with others. When she started blogging, she knew that DIYquickly would be the perfect platform to share her tutorials and tips. She's been writing for the blog from the beginning, and her readers love her helpful advice and easy-to-follow instructions. When she's not writing or editing, Elizabeth enjoys spending time with her family and friends.