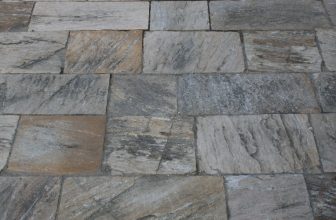
How to Change Hardwood Floor Color
Are you looking for a quick and easy way to update your home without having to invest in a full-scale renovation? Changing the color of your hardwood floors can be an easy and budget-friendly way to instantly transform any room.
Whether you are wanting to brighten up a space or give it more warmth, the right shade of flooring can make all the difference. In this post, we will explore how changing one aspect of your interior design can bring big results. Read on as we discuss tips and tricks on how to change hardwood floor color like a pro!
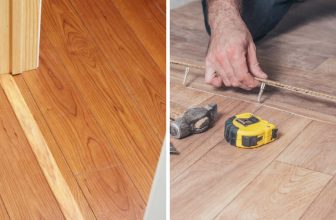
Tools You Will Need
The first step in any successful hardwood floor color change is to make sure you have the right tools. You will need
- A belt sander,
- Drum sander,
- Orbital sander, and
- Some sandpaper of varying grits.
If you are working with an unfinished floor, you may also need to purchase a sealer or finish for the new color. Other tools you may need include a broom, vacuum cleaner, and a rag or mop for cleaning up any dust or debris created during sanding.
6 Steps Guide on How to Change Hardwood Floor Color
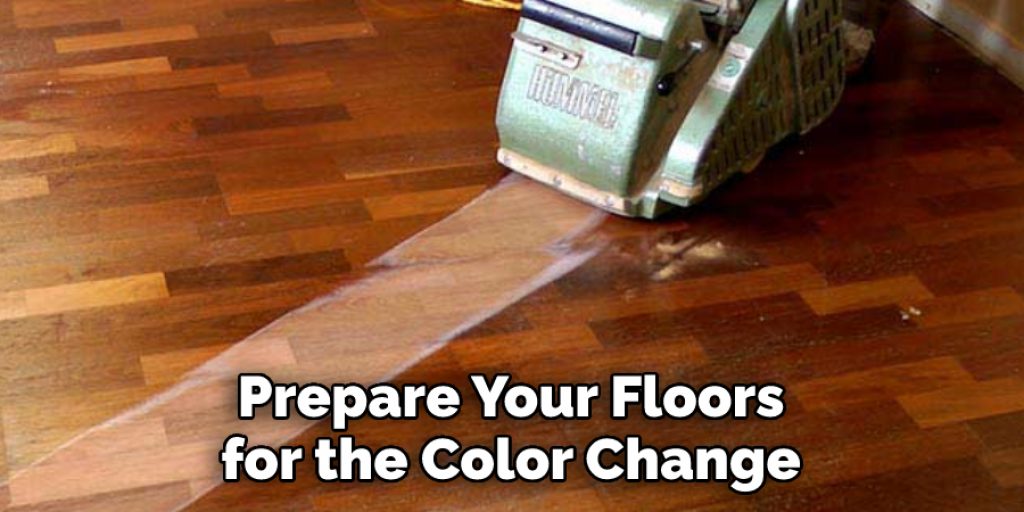
1. Remove the Existing Finish or Sealant
When it comes to changing the color of a hardwood floor, a belt sander is a perfect tool for removing an existing finish or sealant. When starting, make sure to use medium-to-coarse-grit sandpaper for the job and always move in the same direction as the wood grain. This will ensure that you get an optimal finish and end up with smooth, even results – so you’ll have your desired floor color in no time!
2. Create an Even Surface
Before applying a new finish, it’s important to prepare your floors for the color change. To do this, completely remove all of the existing finish. For areas that experience a lot of use and wear, like halls or living rooms, you should use a drum sander along with finer grit sandpaper to create an even surface.
Sanding with the right grit paper means that when you apply the new finish coat, it will adhere properly and will be less likely to become damaged or discolored over time. Preparing your hardwood floor properly is the key to enjoying its beauty for years to come!
3. Protect the Wood From Further Damage
Before you can begin staining and changing your hardwood floor color, it’s important to make sure that any existing finish on the wood is removed. Taking the time to properly prepare and remove any prior finishes will help ensure that the new stain coats evenly and won’t be affected by previous layers of finish.
Once the existing finish has been safely removed, a quality sealer or finish should then be applied to protect the wood from further damage. This will give you a clean and even surface with which you can start changing your hardwood floor color!
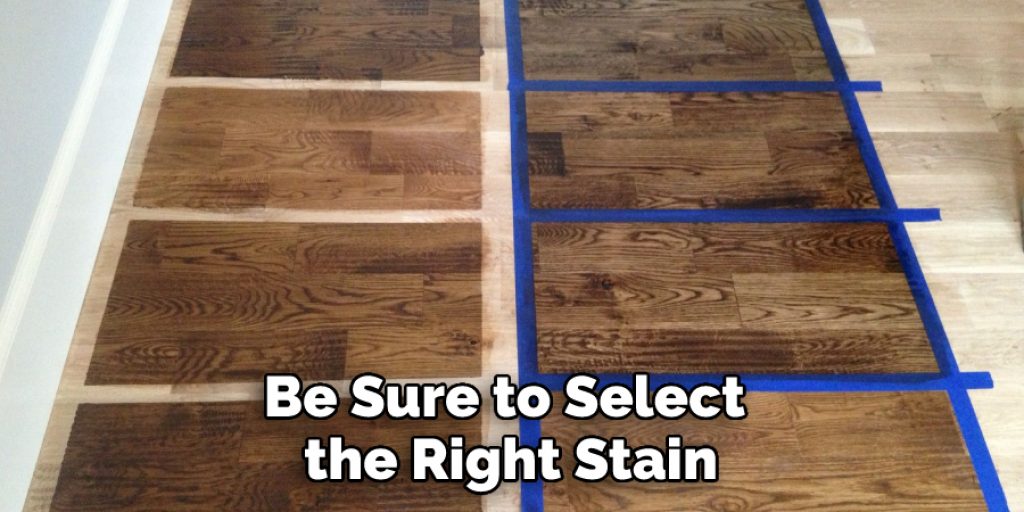
4. Choose the Right Stain Color for Your Space
Choosing the right color stain for your hardwood floors can be a delicate process. Start by searching for inspiration online or at your local home decor store to get a feel for what you like best. Remember that lighting will affect how the hue appears so consider window size and the direction of the sun when selecting your final pick.
Once you have an idea in mind, test out a few on a hidden area of flooring or a piece of scrap wood to make sure they work with the rest of the decor in your room. With this method, you’ll be able to find the perfect style that complements your space while enhancing its beauty!
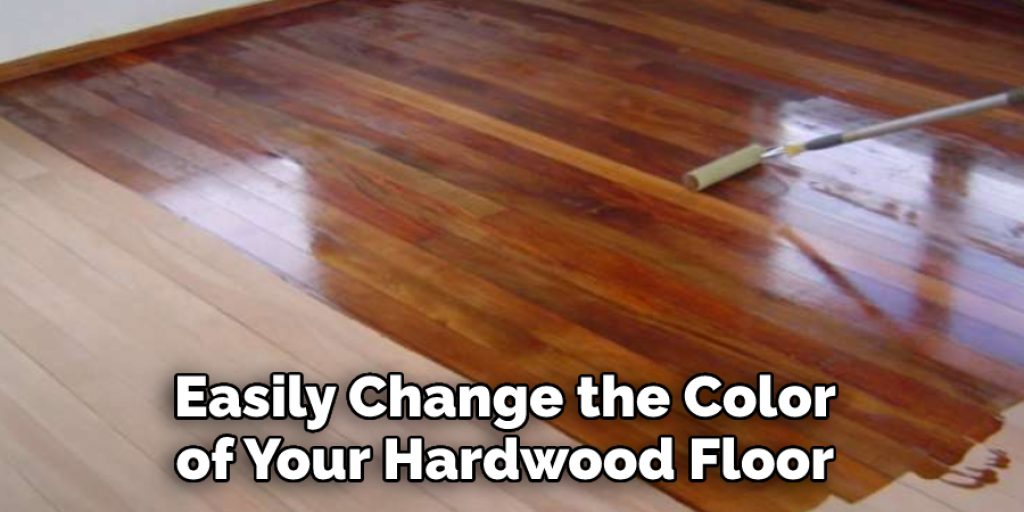
5. Apply the Stain Evenly Across the Entire Surface
Changing the color of a hardwood floor is the perfect way to spruce up the space without completely replacing your flooring. To get started, be sure to select the right stain for your application.
Once you have chosen a stain, prepare the surface of the floor with sandpaper and then apply an even coat across the entire area. Doing so in small sections allows you to easily wipe away any excess material before moving on. With this technique, you will have beautifully stained hardwood floors in no time!
6. Allow the Stain to Dry Completely
Changing the color of hardwood floors is a great way to update any room and give it its unique style. Before completing the project, it is important to allow the stain to dry completely for extra protection against wear and tear. If you want an even more polished look, use a polishing compound and buffer to buff out any minor imperfections in the finish. This will make your flooring look sleek and sophisticated, guaranteed to impress all your guests!
By following these steps, you will be able to easily change the color of your hardwood floor with great results. Changing the color of your floors can be a cost-effective way to instantly transform any room in your house. Just remember to use high-quality products, work in sections, and give adequate drying time for the best results. Good luck!
Tips to Change Hardwood Floor Color
- Decide on the new color you want for your floors. You may want to choose a color that complements your furniture or walls.
- Choose a wood floor stain that is compatible with the type of wood your floors are made of.
- Make sure you have all the necessary supplies, including gloves, goggles, and a face mask.
- Begin by sanding your floors with coarse-grit sandpaper. This will help to rough up the surface and allow the new stain to adhere better.
- Once you have sanded your floors, vacuum them thoroughly to remove any dust particles.
- Next, apply a pre-stain conditioner to help the new stain evenly penetrate the wood.
- Once the pre-stain conditioner has been applied, it’s time to start staining your floors! Use a brush or roller to apply the stain in long, even strokes.
- Allow the stain to dry completely before applying a topcoat of polyurethane or another sealant.
- Once the topcoat has dried, you’re ready to enjoy your newly stained hardwood floors!
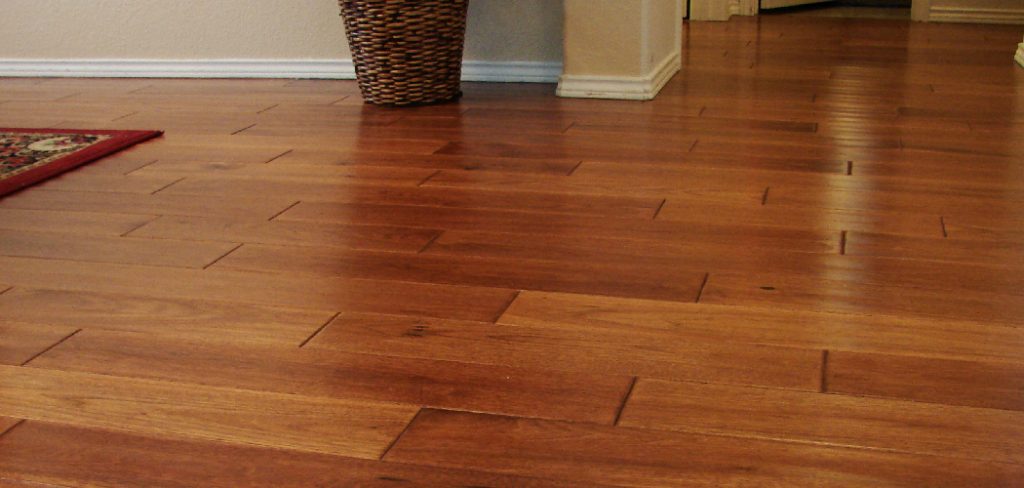
How to Transform Any Room with Hardwood Floor Staining?
Hardwood floor staining can help infuse character and transform any room in a home. Providing an elegant solution for homeowners who want to add life and depth to their space, hardwood floor staining can turn ordinary, dull floors into works of art. Depending on the look desired, it may require sanding the surface down before applying the stain.
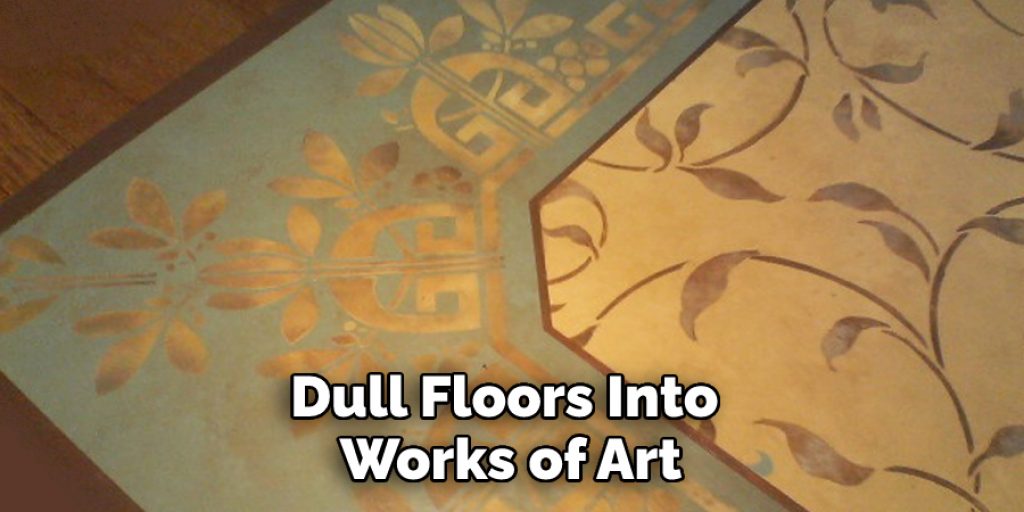
To maximize success, test stains beforehand and choose carefully. It is essential to clean the floor thoroughly for optimal results since dirt will prevent the stain from setting evenly. With hardwood floor staining, homeowners can make a big impact on the feeling of their room just by changing its aesthetic.
How To Add Style and Sophistication With A Hardwood Floor Stain?
Adding a hardwood floor stain can completely transform the look of your home! Whether you prefer a light and airy feel, or something a bit more dramatic, stains are available to suit any style. There is nothing quite like the warm beauty of a dark stain on a hardwood floor.
Its unique character adds an undeniable touch of sophistication and elegance to any room in your home. When done correctly, adding a stain to your wooden floors will not only draw positive attention but also stand up to daily wear and tear. With proper maintenance and good cleaning habits, you can keep your newly stained hardwood floors looking beautiful for years to come.
How to Change the Color of Your Hardwood Floor Without Sanding?
Changing the color of a hardwood floor without sanding is surprisingly easy. It all starts with the right cleaning products and finishes. Before you begin, remove any dirt or debris on the floor surface, wipe it down with a cloth, and vacuum up any particles that may have been left behind. You can also spot-test certain cleaning solutions first to ascertain their effects on the hardwood surface.
Once clean and prepped, apply stain or pigmented finish directly onto the wood surface. The application and drying process should take 1-2 days, depending on your chosen product. Many high-quality shellac finishes are an excellent option for this type of project as they dry quickly without damaging wood fibers as conventional sealant finishes do. When finished, use steel wool to buff and polish for a smooth and glossy look!
How to Rejuvenate Old Floors with a Fresh Coat of Stain?
Giving your floors a fresh coat of stain is an easy and cost-effective way to revive old and worn-out hardwood floors. It’s important to prepare the flooring first by thoroughly cleaning and sanding off any imperfections. Once that is completed, you can begin applying the stain – this will be determined by the type of wood you are working with.
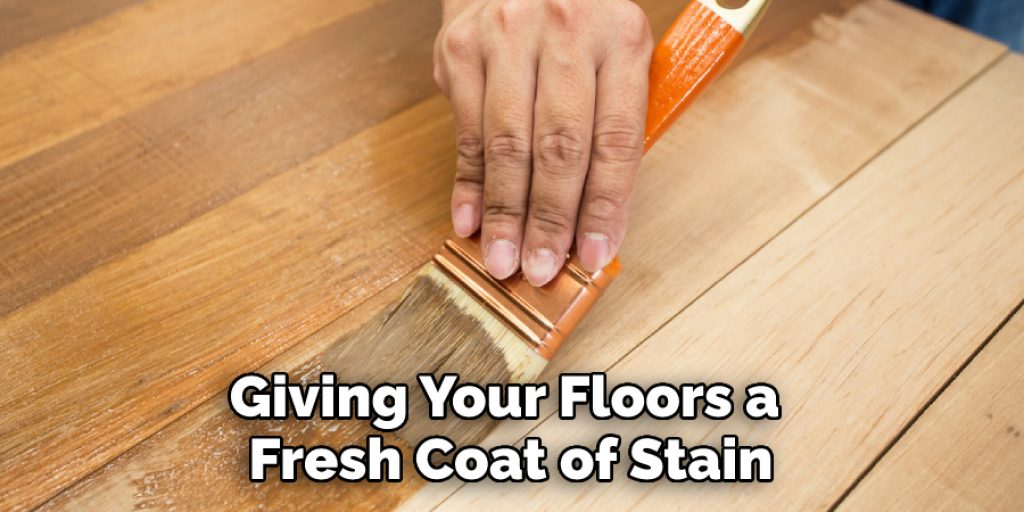
After allowing the stain to set for about two hours, seal it off with a topcoat for extra protection. Finally, it’s time to admire your handiwork – your newly restored hardwood floors look amazing! With a few simple steps, you can transform your worn-out flooring and give it new life.
Conclusion
In conclusion, changing the color of hardwood floors can be a potentially difficult process, but with the right approach and proper equipment, it can become a much more manageable endeavor. While there won’t always be a guarantee that the results will come out exactly as expected, taking the time to prepare for this task and opting for professional assistance if at all possible will undoubtedly up the chances of being successful.
Additionally, being aware of things such as floor dimensions, dirt layers on the wood surface, or existing protective coatings should also be considered before beginning any work on your hardwood floors. Overall, taking these points into account to guarantee that the change of hardwood floor color is something done correctly and with proper care will make sure to protect your investment in the long run.
Angela Ervin
Angela is the executive editor of DIY quickly. She began her career as an interior designer before applying her strategic and creative passion to lifestyle and home. She has close to 15 years of experience in creative writing and online content strategy for housekeeping, home decorations as well as other niche efforts. She loves her job and has the privilege of working with an extraordinary team. She lives with her husband, two sons, and daughter in Petersburg. When she's not busy working she spent time with her family.