
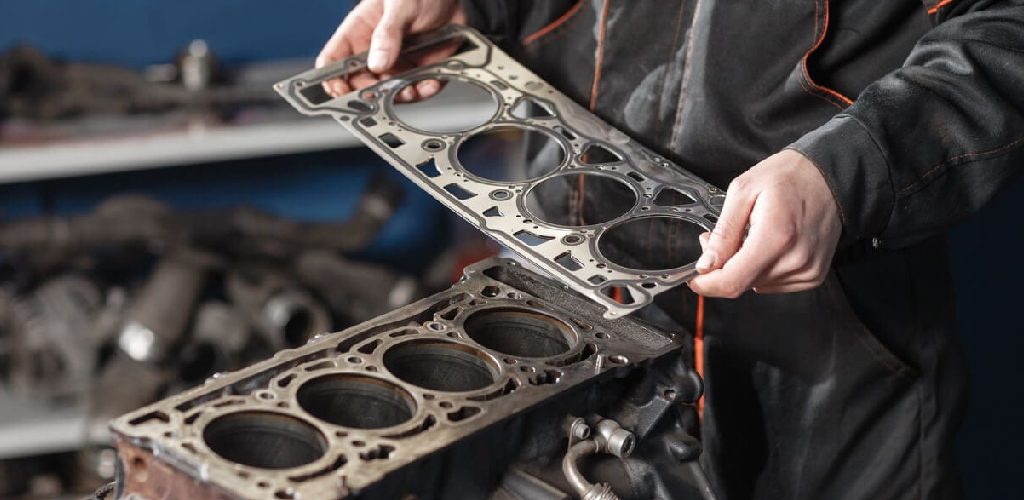
How to Clean Engine Block for New Head Gasket
If your car is experiencing engine problems and determines that the head gasket is the issue, you will need to clean the engine block before installing the new gasket. However, before replacing the head gasket, you may need to clean the engine block. This can be a challenging task, but you can do it yourself with this guide.
This process is not difficult, but you must take your time and do it correctly. In this blog post, we will walk you through how to clean engine block for new head gasket replacement. Let’s get started!
Step by Step Guide: How to Clean Engine Block for New Head Gasket
Step 1 – Build the 2 Trestles
Construct two trestles from wood to support the car while you work on it. This should be straightforward enough. Make sure the trestles are sturdy enough to bear the car’s weight without bending or breaking.
Step 2 – Jack Up the Car
To work on your car, you’ll need to jack it up and create some extra space. Place a piece of plywood under the jack to keep your garage floor from getting scratched.
Step 3 – Remove Grille and Front Under Panel
Now that there is enough room to work, remove all parts underneath the front bumper. This will include the grille, plastic fender liners, headlights, and the front under the panel.
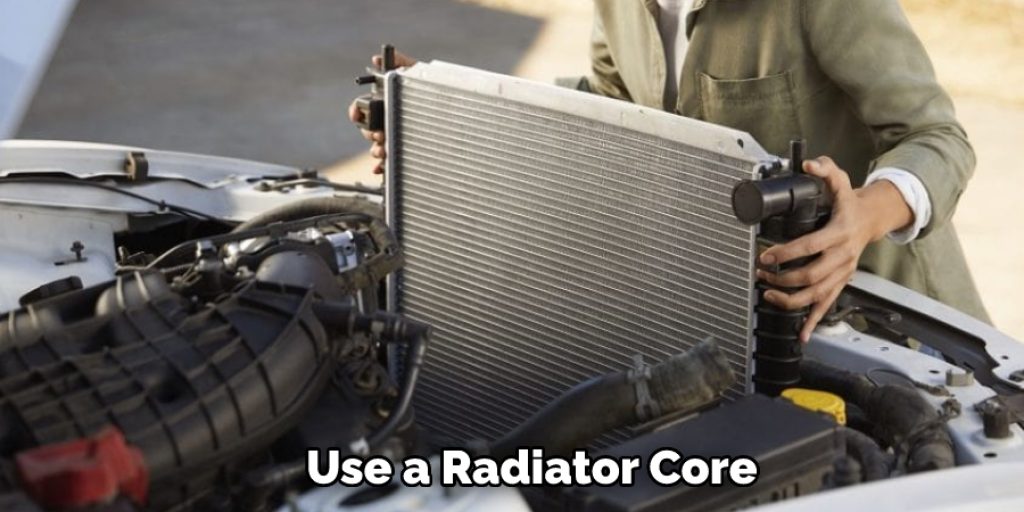
Step 4 – Remove Radiator Core Support Brackets
Once you have everything removed, look at the brackets that hold the radiator core support in place. These will be held on by two bolts above each headlight opening and three bolts below each headlight opening. Use an impact wrench to remove all six bolts.
Step 5 – Lay Out the Long Ropes
You will need to cut a long rope to fit over the headlight openings on the radiator. Once you have cut the rope, you must pull it back through the headlight openings.
Step 6 – Mark Your Cut Line
Pull all the slack from behind the radiator, then mark your cut line. I used a marker, but you can use chalk or anything else lying around if you don’t want to buy a pen.
Step 7 – Attach the First Trestles Under the Dash
You will need to attach two trestles on either side of the cut line to support the car. First, attach one end of the trestle where you marked your cut line. Use a jack to raise that side until there is enough support. Repeat this process on the other side. Finally, remove any remaining slack from under the dash.
Step 8 – Attaching the Second Trestle Under the Hood
Once you have both trestles under the dash, attach the second trestle. This should be attached to where your long ropes are already laying out. Again, use a jack to support this side until you get it straight up and down. Once that is done, remove all remaining slack from under the hood.
Step 9 – Pull the Radiator
Now that everything is pulled tight, tie one end of your rope around the radiator and slowly pull it back through. Use wire coat hangers to help give some slack if needed. Once you get all the rope out from under, cut off any excess with a pair of tin snips.
Step 10 – Pull the AC Condenser
Now that you have pulled the radiator out of the way, it’s time to pull the AC condenser. If your AC is still hooked up, grab some pliers and disconnect the hoses at each end. Lay down more rope once you’ve done that, just like you did with the radiator. Once it is pulled back, cut the ends off with a pair of wire cutters.
Step 11 – Attach the Stringers
Once the AC condenser has been removed, attach stringers to both sides of your radiator. Use a small washer and bolt for each side, just enough to tighten them down once the engine is back in place.
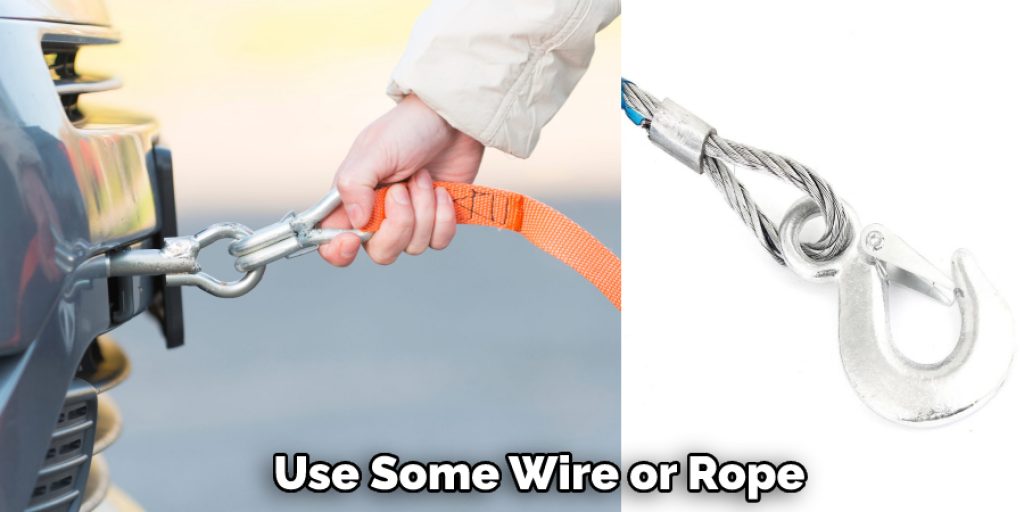
Step 12 – Tensioning the Stringers
Once the stringers are attached, it’s time to tension them. Use some wire or rope to attach one end of the stringers to the radiator, and then pull that end through until you get all the slack out from under. Once that is done, tighten down your bolts on each side.
Step 13 – Remove Your Old Head Gasket
Once the stringers are tensioned, remove your old head gasket. Make sure you have some high temp sealant on hand before doing this. You can use a razor blade or an angle grinder with a metal cutting disk to do the job. Be sure to wear safety goggles while using these tools! Once you have removed your old head gasket, pour some acetone into the hole where it used to sit.
Step 14 – Inserting the New Head Gasket
Now insert the new head gasket (be sure to use sealant if needed) and tighten down your bolts until they are all snug. Then torque them down using a torque wrench. Once you have torqued them all down, go back and make sure they are snug.
Precautions & Safety Measures
1. Make sure the engine is turned off and cool
2. Let the engine block sit for a few days to dry out, so there is less chance of getting burned from all the steam coming out.
3. To clean the inside part of the engine, remove spark plug wires and ignition coil, so you won’t be electrocuted by shorting one of them out with the metal scraper.
4. To protect eyes, always wear safety goggles or glasses
5. Remove all sharp objects from the working area to avoid punctures
6. Never work alone; always have someone standing by for safety purposes
7. Ensure the vehicle is on a level surface and in the park or neutral gear with the parking brake engaged (to keep it safely stationary) before starting any engine repair or maintenance projects.
Final Words
Ensure to replace the head gasket when doing a block cleaning and have your engine professionally looked at. The last thing you want is an old or faulty head gasket to cause more damage elsewhere in the engine.
We hope this blog post on how to clean engine block for new head gasket has been helpful. If you need help with any of this work, reach out to us today! Also, if you have a damaged engine block in need of repair, don’t hesitate to contact our team.
Louis Wein
Louis has always been fascinated by cars. He loves the way they look, the sound of the engine, and how they make him feel when he's driving. He is always keen to learn more about different mechanics of cars and how the engine contributes to other aspects of the car. As an automotive technician with over 10 years of experience, he knew how they worked and loved taking them apart to see how they went back together. He was especially interested in the mechanics of combustion engines and loved finding ways to make them more efficient. He loves to work on cars and help people keep their vehicles running smoothly. As a senior editor, he enjoys contributing to Diy quickly because it allows him to share his knowledge and expertise with others.


