How To Clean Oil Paint Palette
Painting is fun, but when it comes to cleaning the stuff after the painting session, all the complications start. If you are unknown of the proper steps, cleaning your oil paint palette can be a challenging task. But there is nothing to do. Palette is our friend, and we must take good care of them. Otherwise, we won’t be able to use it for longer. Wanna learn how to clean an oil paint palette? If the answer is “yes,” then you are in the correct place because, in this article, I am going to show you some techniques with which you can make your paint palette clean and make it look good as new after every painting session. So, without any delay, let’s dive in!
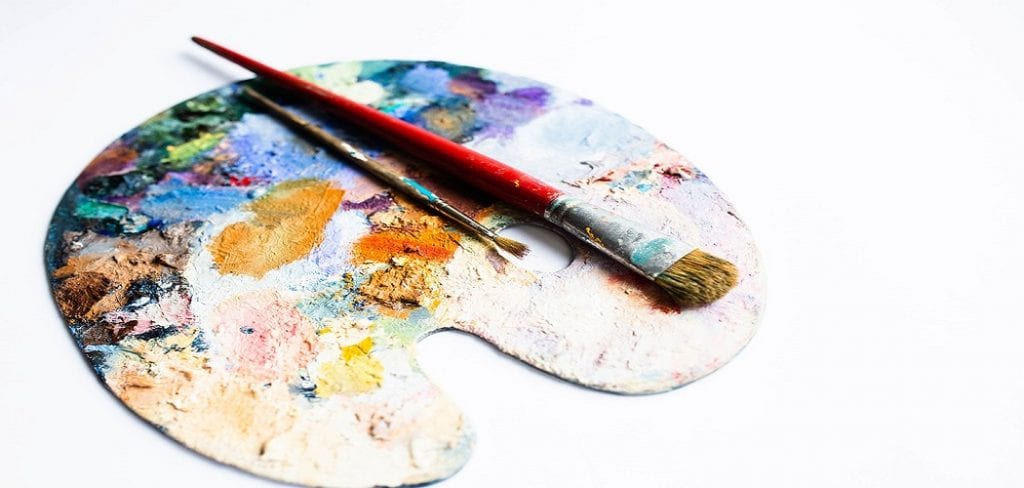
You are not the only one. Like you, many artists face this common, and even if they have great artistic skills, they may not be good ones to clean the palettes properly. Maybe you are also one of them struggling to find a correct way to clean the palettes. Don’t worry; now you are here, you won’t have to worry about these problems anymore. Below you will get the simplest techniques to clean your oil paint with a breeze.
How to Clean Oil Paint Palette
Step 1:
First and foremost, you need to get rid of any excess paint that can’t be saved. There are different ways to clean your palette, but most of them can be quite costly. However, you can complete the process with just two simple tools. One tool you probably already own is a pilot knife – all you need to do is scrape off the residual paint you don’t need. You can either throw the paints away or use them for other projects.
Step 2:
There is another thing that you can use for scrapping the paints. It is a silicone knife that you can get from your dollar store. It is used for baking, but you can also use it to scrape off a lot of the paint. This makes the job much quicker if you have a lot of paint on the whole surface. Now just a quick note out there, you will see similar things that are just the handheld part sold like Michaels and Hobby Lobby, which is a great tool. If you want, you can also use them for this purpose.
Step 3:
Now that you have scraped off the residual paints with your pilot knife or silicone knife. All we need to do now is just clean the surface, and one of the easiest and simplest ways you can do this is with a tool you probably already own if you are painting with oil paints. A lot of people use odorless paint thinner. All you need to do is take a little bit of this and pour it on a paper towel. Once you mix them properly, you have to rub your palette properly, and you will see the colors coming off. After cleaning the space, finish it off with a clean paper towel. If you are going to clean your palette with this, make sure to do this in a well-ventilated area.
There is another product that I recommend to clean your oil pain palette is the simple green. I use it for my house and my oil paintings. This stuff is fantastic, and it eats away all the paint away. Just apply it to your palette, spray on thusly, and let it sit there for a little bit. Then take a loose paper towel and simply just wipe away the paints. You will simply see that it will slowly just start eating away at all that paint, and it gets nice and clean. Once you make it nice and clean, just go over it one more time with a clean paper towel to ensure it is done properly. And that’s it; you are good to go now.
Conclusion
Hopefully, you have understood the above process. But if you are confused and still looking for how to clean oil paint palette, feel free to ask any questions through the comment section. I am eagerly waiting to answer all your questions.
You May Also Read – How to Paint a Front Door With One Side Light Panel

