
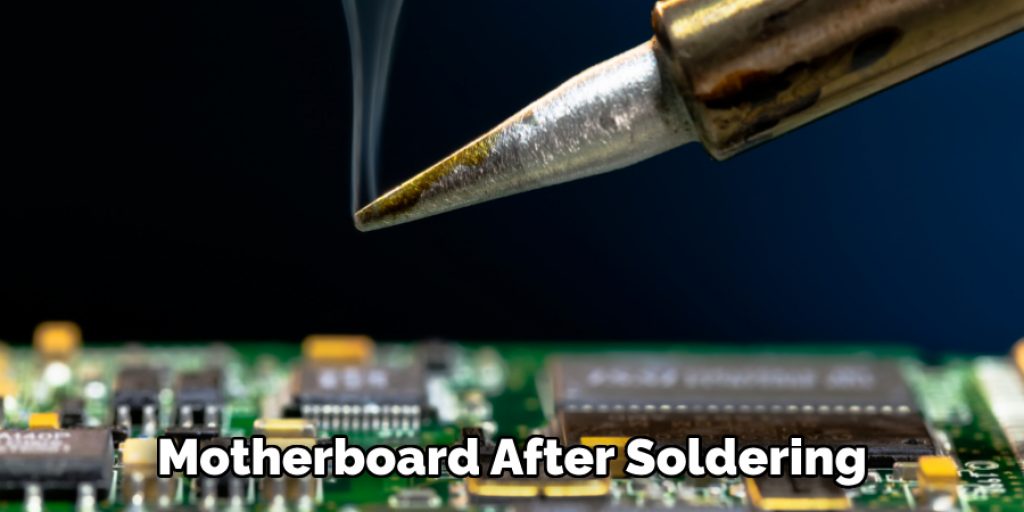
How to Clean PCB After Soldering
It is essential to clean the PCB surface after soldering. This will prevent oxidation and improve heat transfer. It’s also a good idea to use flux remover on the solder joints before cleaning, as this will make removing any unwanted dirt or debris that might be stuck in them easier. One of the best ways to clean your board is with compressed air.
However, if this isn’t available, some rubbing alcohol on a cotton cloth should work fine. The more you practice soldering and desoldering, the better your technique will get, so don’t worry about messing up! However, just because these residues are hard to clean doesn’t mean they have to remain on your PCB forever! Here are some tips for how to clean PCB after soldering.
7 Reasons Why You Should Clean PCB After Soldering:
1. If you leave the solder flux on the PCB (incredibly sticky fluxes) for a long time, it can make your PCB look dull and patchy and even corrode your circuit board if left too long without cleaning.
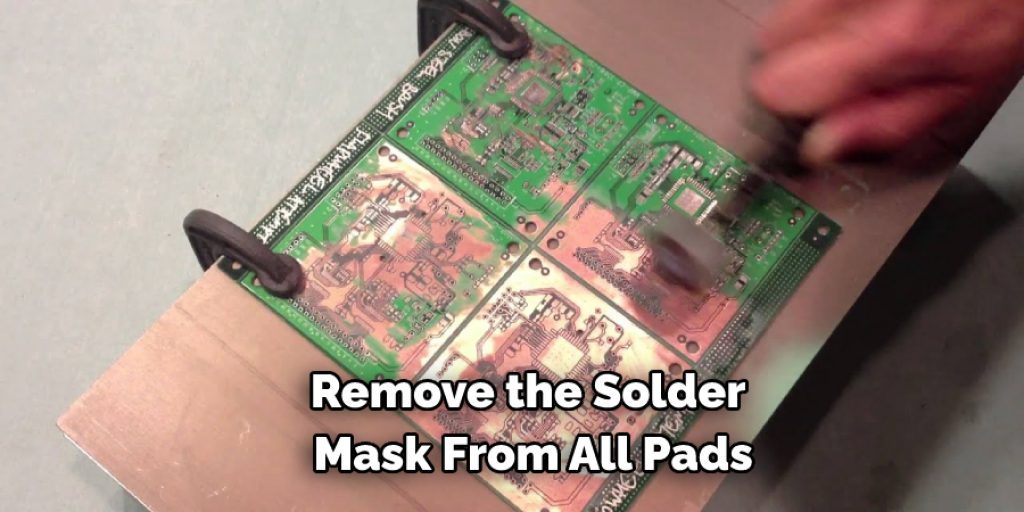
2. It is essential to remove all solder masks from SMD pads when changing the color scheme of an existing design.
3. If you’re not careful when you’re soldering, you might accidentally drop the component you’re working on, and it won’t sit properly on the board. This can make it hard to solder correctly, and if you heat up both solder pads simultaneously with your soldering iron, it can be dangerous.
4. If you are designing a new multi-layer circuit board, you need to remove the solder mask from all the pads. Otherwise, it will look messy and difficult to track which components are on each layer.
5. Removing solder masks can make it easier to tell which traces are on each layer of your PCB by color-coding them with a Sharpie or other marker.
6. It is important to remove all solder masks from pads if you need to apply a silkscreen design over top of the pads because the solder mask will prevent any ink from adhering to the surface.
7. You should remove all solder masks frequently when designing a small multi-layer PCB to ensure that you don’t bridge any traces by having two pads close together after soldering.
10 Ways on How to Clean Pcb After Soldering:
Here we have mentioned ten ways how to clean PCB after soldering.
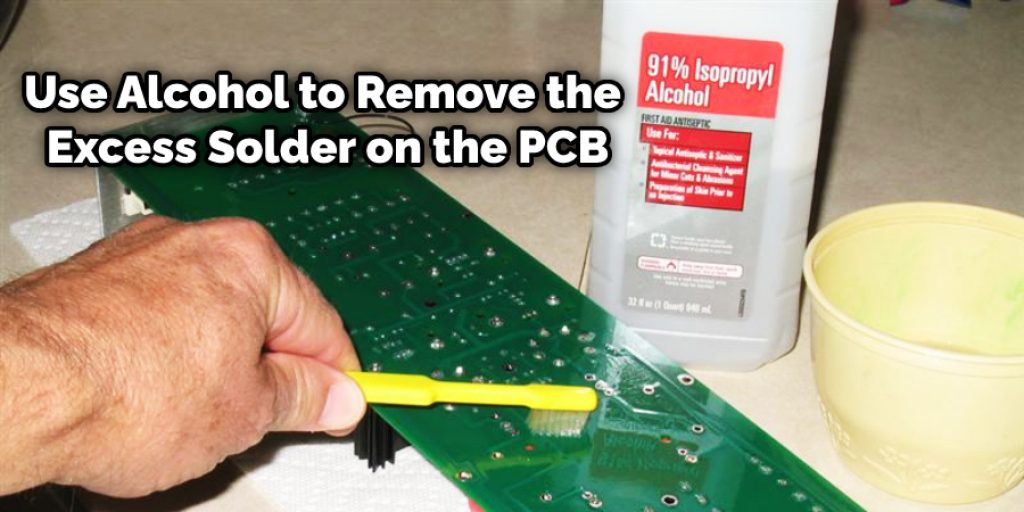
1. Alcohol, Ethyl, or Isopropyl:
One can use alcohol, ethyl, or isopropyl to remove the excess flux and solder on the PCB. Alcohol is used for cleaning metals like iron and copper but doesn’t work that well on solder (it may not remove it and could damage some components).
There are many kinds of alcohols, for example, methylated spirits, isopropyl alcohol, ethanol, etc., you can use either of them to remove the flux on PCB. Just put some of it on a cotton bud or something similar and rub it down the PCB so that the solder melts away, then wipe off with a paper towel.
2. Lemon Juice:
For cleaning copper PCB board, lemon juice is the answer. It’s a good substitute for alcohol and has a low acidic value, unlike vinegar or other acid-containing liquids.
First, pour some lemon juice on a sponge/paper towel and rub the PCB with it in circular motions. Continue doing this until there is no more flux left on your board to remove, then use a paper towel to dry off as much of it as possible. Then, wipe with a cotton cloth, and your board is ready for soldering!
3. White Vinegar:
White vinegar can also be used to clean solder flux on PCB. However, since it is highly acidic, one has to be very careful as it will damage the circuit if overused. Instead, put some white vinegar into a jar and soak your board in it for about 15 minutes (or more, depending on how badly the flux is). Then, you can wipe it off.
4. Alcohol-Free Liquid Solder Remover:
Some brands make solder removers that don’t contain alcohol. You can get these at your local hardware or electronics store. Spray this liquid onto the board and let it sit there for about ten seconds. Then, wipe off with an old cloth/towel before soldering again.
5. Ammonia:
Ammonia is another cleaner that can be used to remove old flux and solder on PCBs. Ensure your board is off and not plugged in before doing this, as you don’t want anything happening while the ammonia is near.
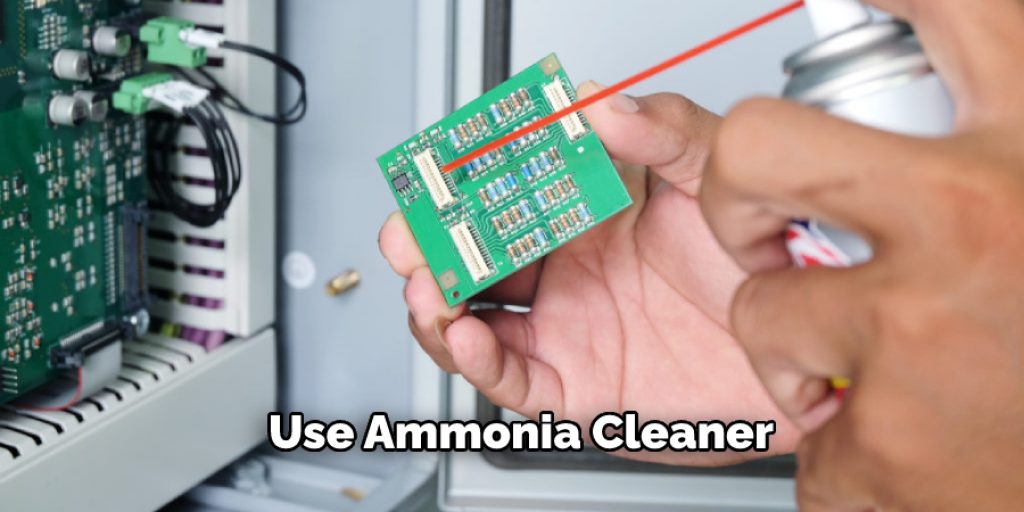
It’s an excellent way to ruin a circuit! Instead, spray some onto a sponge or cotton bud and rub the solder off with it. You can also spray some onto a cloth and wipe your board down with that. Just make sure you wash off the board after because ammonia smells very bad!
6. WD-40:
WD-40 is used for unplugging rusty nails, so we know it thaws out frozen locks. Well, it can do more than that; WD-40 comprises some strong solvents that break down the flux and solder on PCBs. Spray some onto a cotton bud or sponge (or cloth) and wipe your board with it to clean it.
7. Nail Polish Remover:
Nail polish removers work in the same way as the other chemicals mentioned above. They contain strong solvents that will break down flux and solder on your board. Put some onto a cotton bud or paper towel and rub around your board in circles to clean it off.
8. Baking Soda and Water:
Baking soda is a good de-greaser, so we know it’ll do well at cleaning PCBs. Take 1 cup of baking soda and add water to make a paste (about 3/4C). Rub this over your board in circles until the solder melts away. Keep doing this until there’s nothing left to rub off. Then, wipe with a paper towel or cotton cloth, and you’re ready for soldering again!
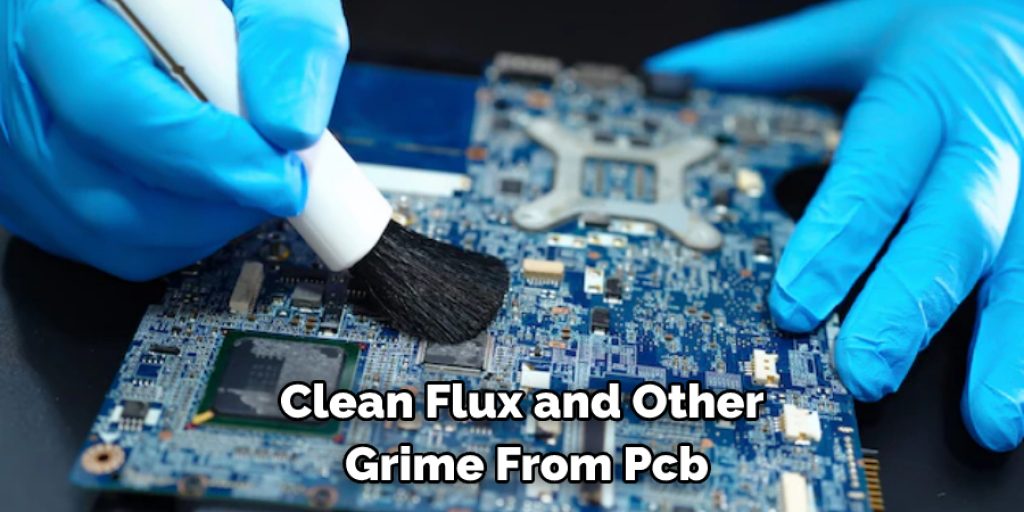
9. Desoldering Wick:
Desoldering wick is a spongy copper thing that sucks up solder from your board when heated up. It can also be used to clean flux and other grime from PCBs. You can also use a flattened strand or two of solid copper wire to clean your board this way if you don’t have a desoldering wick.
10. Alcohol-Soluble Flux Cleaner:
There are chemicals out there made to clean solder flux off of PCBs. If you want something a little more professional, you should get this next time. Ensure you follow the instructions for properly using these cleaners so they do their job correctly without damaging anything.
Tips and Tricks:
Here are some tips on how to clean PCB after soldering.
- Don’t use water or solvents of any kind on the motherboard after soldering. You can use 99% isopropyl alcohol if anything is left over on the board from the solder but try not to get it on the motherboard as it will remove any protective coating.
- Don’t forget to use flux remover before you start soldering! Then, after you finish, put down some flux remover too! Just in case there is still some excess solder or leftover flux that will short out your board if not cleaned up properly with the right chemicals.
- WD-40 is not a flux remover; it does not work on removing solder from circuit boards and should never be used as such!
- When you return to your desk after a long while, remember to check your tray for any leftover components that may have fallen off the board while working on it before putting it into a new project.
- When you place your board on a table or any hard surface after soldering, ensure the solder side is facing up. This will help prevent the components from falling off and causing short circuits if anything falls out of place.
- Don’t panic! If something doesn’t work as it should, take a step back and look at the board. Check for any visible shorts between components or components that are touching each other inappropriately. Also, check the polarity of diodes, etc., before powering up your board!
- If you’re having trouble soldering surface-mount components like resistors or small capacitors, consider investing in a flux pen which you can apply directly to the board before placing down components.
Why is It Important to Remove Flux?
It’s important to remove flux from PCB because flux residue can cause various issues over time. Flux is a chemical that is used to clean and prepare the PCB surface for soldering, and it helps to distribute the heat during soldering to ensure a reliable and strong bond between components.
However, when PCBs are not cleaned properly after soldering, flux residue can remain on the surface, leading to several problems over time. For example, flux residue can corrode and damage the PCB, leading to electrical shorts, which can cause the PCB to malfunction or fail entirely.
Additionally, flux buildup can trap dust and debris, leading to poor connections between components, which can result in the erratic behavior of electronic devices. Moreover, flux residue may absorb moisture, leading to the formation of mold, which can cause further damage to the PCB. Therefore, removing flux residue from PCB is essential to ensure the longevity and proper functioning of the electronic device.
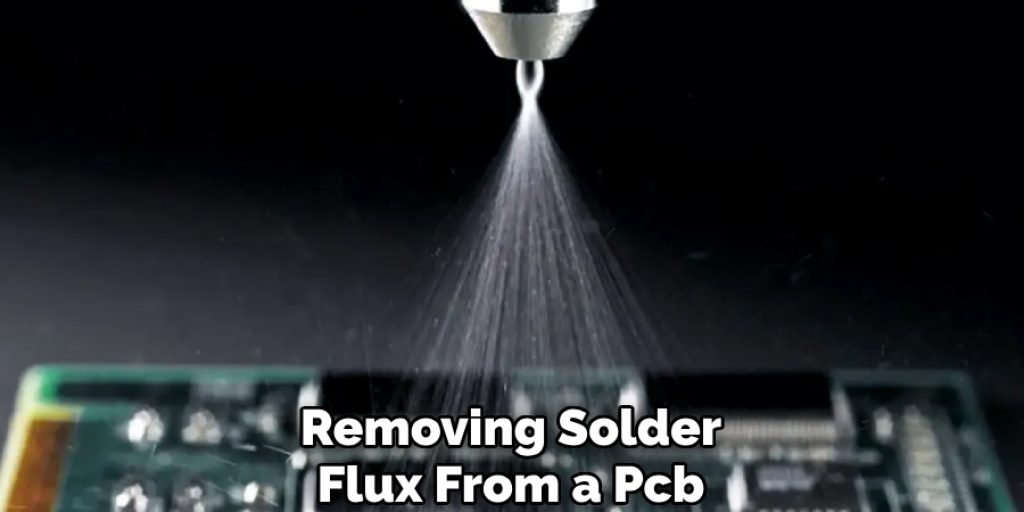
How Do You Remove Solder Flux From Pcb?
Removing solder flux from a PCB involves a few steps that must be taken to ensure that the process is done correctly. To start, it’s important to wear gloves and eye goggles to protect yourself from isopropyl alcohol, which can be harmful. Additionally, working in a well-ventilated area is essential to avoid inhaling any fumes.
The next step is to dip a soft-bristled brush into the isopropyl alcohol. Gently brush the solder flux residue on the PCB until it starts to dissolve. Once the residue has been loosened, wipe the area with a clean cloth or paper towel to remove the dissolved flux. It’s important to repeat this process until all of the solder flux has been removed from the PCB.
Finally, it’s crucial to use 99% pure isopropyl alcohol as it’s less likely to leave any residue on the PCB, which could cause harm to the electronic components. In conclusion, removing solder flux from a PCB requires care and attention, but it’s a necessary step to ensure the longevity and optimal performance of the electronic device.
Frequently Asked Question
Do I Need to Clean Pcb After Soldering?
Yes, you should clean the PCB after soldering. Soldering is the process of joining two pieces of metal by heating them and then pressing them together. This creates a strong connection to hold the parts together and is flexible enough to move and bend.
When you solder, tiny droplets of solder will form on the joint and will eventually cause corrosion if they are not cleaned off. Cleaning the PCB after soldering will remove these droplets and prevent corrosion from happening.
What Can I Use to Clean a Pcb?
Many different types of cleaning products can be used to clean a PCB. Some of the most common include:
• Acetone: This is a highly effective cleaner that can be used to remove fingerprints, oils, and other contaminants from a PCB. It should only be used in a well-ventilated area and should not be breathed in.
• Alcohol: This type of cleaner can be used to clean PCBs that have been damaged or contaminated by oil or grease. It also works well to remove dried residue and other pollutants.
• Isopropyl alcohol: This is a milder alternative to acetone that can also be used to clean PCBs.
• Water: Simply rinse the PCB with water to clean it.
Can You Clean Pcb With Water?
Yes, you can clean PCBs with water. However, it is important to use the right water type and follow the proper cleaning procedures. To clean PCBs with water, you will need:
• A bucket or container can hold at least 2 gallons of water.
• A sponge or cloth.
• Soap or detergent.
• A scrub brush.
• A pot to boil the water in.
• Protective gloves if necessary.
Can I Clean Pcb With Nail Polish Remover?
Yes, you can clean a PCB with nail polish remover. However, be very careful and wear gloves while doing so. Nail polish remover is a strong chemical that can damage the PCB if it is not used correctly.
Conclusion:
PCBs are delicate components that can easily be damaged if not cleaned correctly. Our quick guide will help you understand how to clean PCB after soldering. After soldering a component on a PCB board, you will need to remove the flux residue from both sides of the solder joint. The best way to do this is by using an appropriate solvent and then wiping it down with low-lint paper towels or cloths.
In most cases, acetone works well for removing any residual resin at the surface of the circuit board. Be sure not to use water as it can corrode or weaken components that are sensitive to moisture, such as electrolytic capacitors! Remember these simple steps for cleaning your board, and ensure it is ready for use in the next project!


