
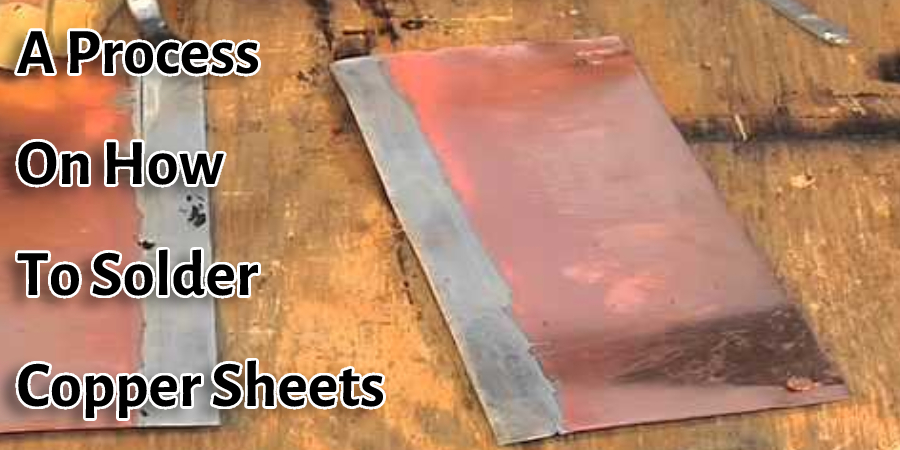
How to Solder Copper Sheets
Are you quite curious about the perfect process of how to solder copper sheets? If the answer is positive, we can assure you that you are in the correct place. Patching copper sheet metallic is the main piece of applying a copper rooftop. The bind seals the associations between copper sheets.

To weld copper sheets efficiently, you must ensure that the copper sheets, fastening iron, and the bind are all in top condition. If any contaminants are present while welding, the puddle of the softened weld will not flow properly.
Required Materials
- Copper Sheets
- Elbow Joint Pipe
- Solder Wire or Flux Paste (or both)
- Acid brush, solder pick/torch & fluxing pen.
A Process on How to Solder Copper Sheets
Process One
Step One:
- At first, place the copper sheets on a flat surface with enough space around them to work.
- Set up your workspace so you have plenty of room for all the tools and parts you will need, as well as some soldering sponges or towels in case it’s necessary to wipe off excess flux or solder from an area before getting started.
- For beginners, lay out only two pieces simultaneously to avoid confusion.
- Keep one piece as is (uncut) while cutting another into smaller sections that are just large enough for what you want to do without wasting any material unnecessarily. This way, nothing will be left over when you’re done!
- The larger sheet can also be cut down if desired, but do so before starting a project.
- Mark the back of one sheet with masking tape or marker to indicate which side is up (the unmasked surface).
Step Two: Clean and Flux the Copper Sheet
- Use your soldering sponges/towels to wipe off excess flux from surfaces that will not be touched by solder. This may include areas on top, bottom, sides, and corners where materials won’t touch each other during construction. Make sure all sheets have been cleaned in this manner before proceeding!
- Dip an appropriately sized cloth into molten rosin-cored solder paste or resin core solder wire after it has melted for about 15 seconds.
- Apply the flux to one side of the copper sheet.
- Ensure the solder is hot enough by touching it with a damp sponge or rag until molten, and then add solder paste/resin core wire directly onto your workpiece.
Step Three: Solder Copper Sheets Together in Cross Position
- Place two sheets together so they are perpendicular (at right angles) – this will place them crosswise, also known as “cross position.”
- Lay one piece flat on your table or working surface while you lay the other over the top at an angle, upside-down relative to each other. The bottom layer must be facing up for both pieces where contact occurs during construction! Take care not to get solder paste on the top sheet.
- Apply a layer of flux to both sheets, and then apply some solder wire near the point where they will touch each other.
- Attach them by pushing them towards one another while heating with your soldering iron for about 15 seconds or until you see that all the solders have melted into place.
- If it doesn’t melt, try moving the pieces toward one another until contact is made again and continue heating for another 15 seconds before removing it without disturbing any jointed areas.
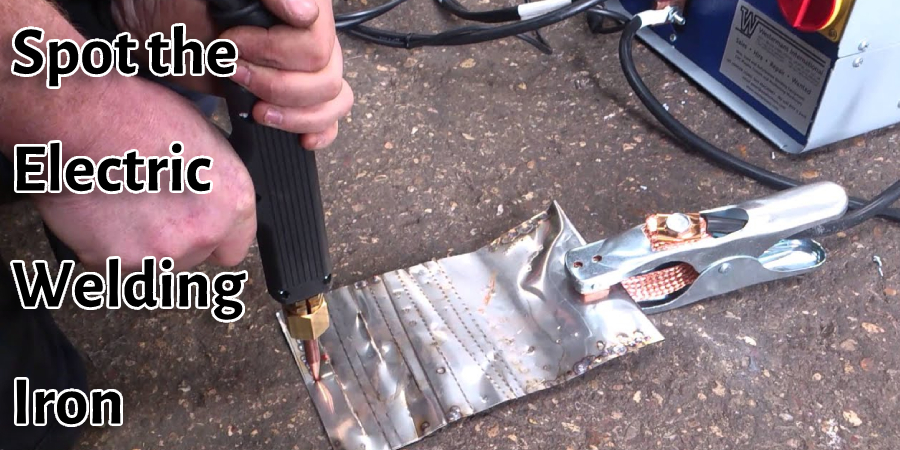
Process Two
1. Spot the electric welding iron.
2. Pour a confined quantity of fluid rosin bind into the little glass box. If you observe motion legitimately, you hazard defiling the entire field of action.
3. Tin the out of doors of the hot binding iron. Spot the top of the iron on the outside of the Sal ammoniac cake.
4. Rehash the strategy from the past to strengthen the patching iron head.
5. Plunge the corrosive brush into the little glass box of fluid rosin.
6. Relaxation of the tinned pinnacle of the hot binding iron outside the least bit of lapped copper.
7. Spot the without lead bind straightforwardly onto the peak of the fastening iron.
8. Tin the pinnacle of the binding iron earlier than you patch each weld.
Final Thoughts
We have appeared almost at the end. At this stage, we think you have all the necessary knowledge of how to solder copper sheets. And as an outcome, you may execute the entire work all by yourself by applying the acquired knowledge.
Lastly, we suggest re-reading the whole article with proper concentration and following all the steps mentioned above accordingly to have your work done flawlessly! You must maintain personal safety while working with electrical equipment. So let’s get started then!
You May Read Also.
Elizabeth Davis
Elizabeth is a creative writer and digital editor based in the United States. She has a passion for the arts and crafts, which she developed from a young age. Elizabeth has always loved experimenting with new mediums and sharing her work with others. When she started blogging, she knew that DIYquickly would be the perfect platform to share her tutorials and tips. She's been writing for the blog from the beginning, and her readers love her helpful advice and easy-to-follow instructions. When she's not writing or editing, Elizabeth enjoys spending time with her family and friends.


