
How to Combine Texture Packs
Are you a Minecraft player looking to change up the appearance of your game? If so, you may be interested in using texture packs. Texture packs can change the look of textures in-game, making your world look completely different. However, if you’re new to using texture packs, you may not know how to combine them.
This blog post will show you how to combine texture packs. So, whether you’re looking to add a bit more detail to your world or completely change its appearance, keep reading for tips on combining textures packs!
What Are Texture Packs?
Texture packs are a great way to change the look of your Minecraft world. You can find them on many different websites, and they often have their own unique style. For example, some texture packs go for a cartoony look, while others give more of a realistic feel to items and blocks. Some texture packs even almost completely redesign the game!
There are many different types of texture packs available for download to change the look and feel of Minecraft. Some players prefer to use the default textures, while others enjoy the different looks and styles that texture packs can provide. In addition to the visual changes, some texture packs also come with changed sound effects, block and item models, and even music!
Step by Step Process: How to Combine Texture Packs
Step 1: Modify Mod Textures
Open the mod’s ZIP or RAR file and extract the textures. Copy them all to a temporary folder on your desktop. Then, open the Minecraft.jar file using your favorite archive manager program. For example, 7-Zip.
Step 2: Find the Texture IDs
To change a texture in a mod, first find the texture you want to change in the temporary folder of textures. Right-click on it and open its properties. The part of the file name that states which mod this texture is from will be highlighted in blue. Copy this block of text out of the “Properties” window. Do this for every texture in the mod.
Step 3: Find Texture IDs in Default Textures
To open the Forge profile settings in Minecraft, click “Mods” and select “Forge.” Scroll down to the “Default texture files” section and paste your text in there instead. The ID for each texture is located to the right of its name. It’s a number with two periods and many numbers after it.
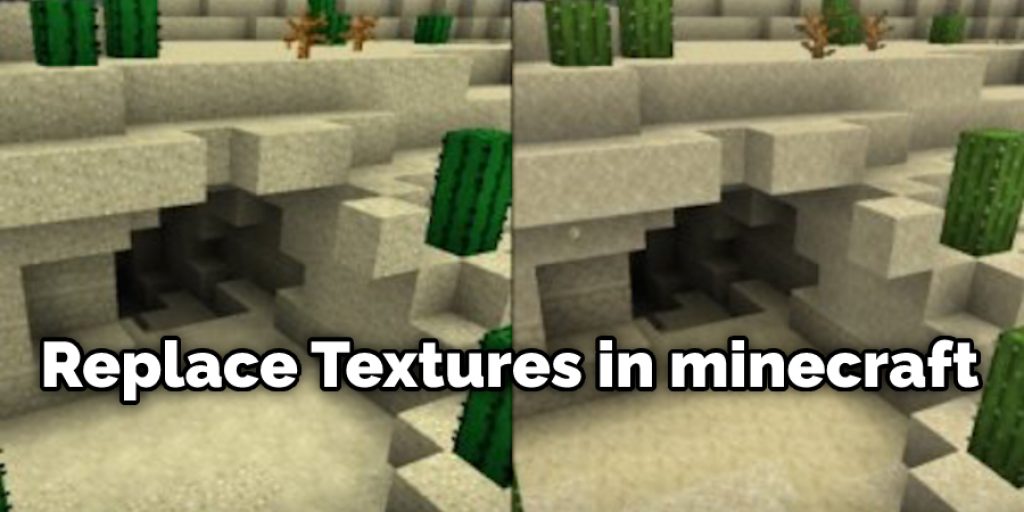
Step 4: Replace Textures in Game
To uninstall a Minecraft mod, first exit out of Minecraft. Then, go to the folder where the mod is stored and delete all the textures you copied from the mod. Next, copy all of the default textures (all of them) into this same folder. Open up the properties window for one of these default textures and replace its text with a copy of your mod’s text (copy-paste). Do this for all of the default files.
Step 5: Merging Texture Packs
Drag all of the default textures out of this temporary folder and back into their original place. Then, drag your mod’s textures in there as well. The final result should be a copy of the default files, with whatever mods you choose to keep adding on top of them.
Remember: Some texture packs can’t be combined as quickly as this one because the textures that come with and the surfaces you want to connect them with might be the same. If this is the case, use a texture pack that changes fewer things, so it’s easier to modify those remaining ones.
Step 6: Open Minecraft.jar
Once everything is back in its original place, open up your archive manager program (such as 7-Zip). Drag the file “Minecraft.jar” out of it and replace it with an empty version. Now double-click on “Minecraft.jar” and replace the META-INF folder with an empty one (that is also accessible at that link ).
Step 7: Test Your Texture Pack
Drag all of your textures out of the temporary folder and place them back into their original locations. Open the Minecraft launcher. Click on “Launch Options” and select your modded version of Minecraft. Click Play, enjoy your new textures!
Understanding the Terminology of Texture Packs
1. Texture Pack: A collection of files that refer to textures in the Minecraft world, including items, blocks, and GUIs (graphical user interfaces)
2. MCPatcher or Optifine: Programs that allow Minecraft to use HD Texture Packs. They also fix bugs and improve performance.
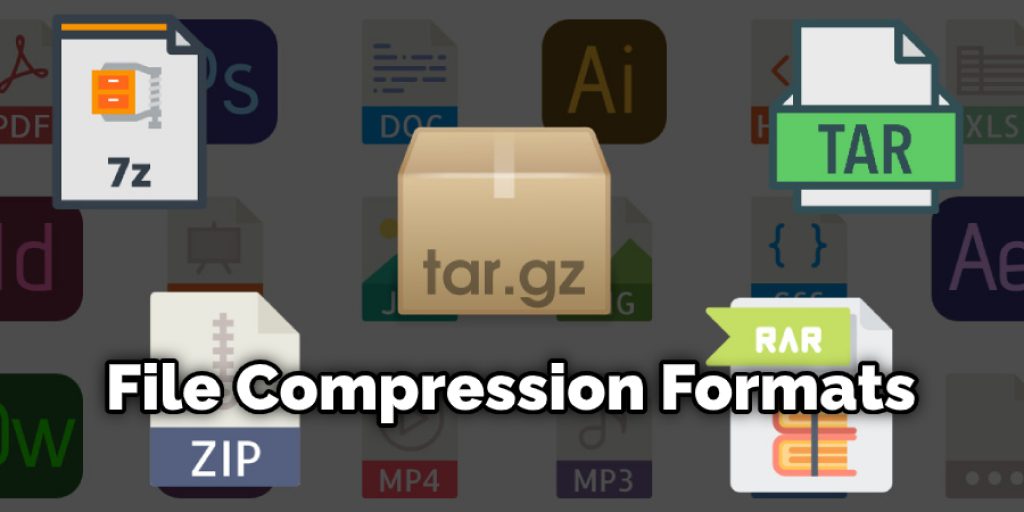
3. Zip, RAR, 7Zip: File compression formats that may be used to store data. These are often not interchangeable with other forms of compression.
4. Conflicting: Conflicting files will cause Minecraft to display invisible objects, make things appear as different textures than they are (in 3D), and other strange errors. For example, if two texture packs both replace the “grass.png” texture, but one has grass that looks like dirt, this would be conflicting.
5. DMC: A modified version of Minecraft that changes everything in the game. This is usually only allowed by the creator on their servers.
How Do I Combine Multiple Resource/texture Packs Together?
Some Minecraft texture packs can be combined without any problems – as long as the packs are designed to work together. Combining Texture Packs is a way to save space by having multiple texture packs with similar graphics. It is also a good idea if you find an error in one pack and want to fix it without losing all the other changes that have been made.
Texture Pack Combiner is a program that allows you to combine multiple Minecraft texture packs into a single pack. The program will scan the texture packs to find identical textures and remove any redundant copies. This will reduce the overall file size of your combined resource pack, allowing you to save valuable space on your computer’s hard drive.
You can also check out to Remove Heavy Texture From Ceiling
Which Type of Textures Would You Recommend for Different Types of Items in My Game?
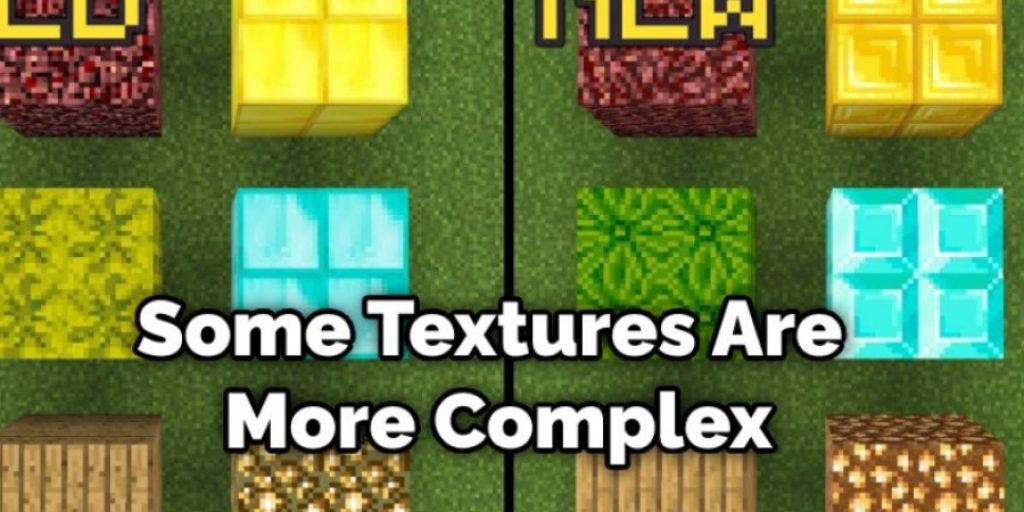
Some textures are more complex than others they may contain more detail, be larger in file size (not necessarily the same thing as complexity), and be higher resolution. Therefore, some textures will not look good when put together.
The best two examples I can think of are items that don’t require a texture to animate, such as torches, armor stands, brewing stands, etc. Even though they are items with animated textures, you should use the same texture pack for each one to avoid them having different surfaces at different resolutions. This makes the animation less fluid and does not match the texture.
Conclusion
This blog post was about how to combine texture packs. It’s important to remember that it is a good idea to make sure the textures in your pack match when you’re combining texture packs. In addition, you’ll want them all to have similar palettes and color schemes, so they work together seamlessly. In general, matching up colors is not enough because there are many different types of textures for each tone.
For example, suppose you’re trying to combine two earthy tones with one light-colored palette and another dark-colored palette. It may be difficult or impossible to get an effect where both sets of textures look like they belong together nicely on your site.
So we recommend sticking with either only adding new ones or removing old ones from time to time instead of constantly swapping out. If you have any questions or want to know more, then feel free to comment below!


