
How to Remove Heavy Texture From Ceiling
Removing heavy textures from a ceiling can be a big job, but it can be tackled with the right tools and techniques. In this post, we’ll walk you through the steps for how to remove heavy textures from the ceiling and show you some of the best ways to do it.
We’ll provide tips on what tools and materials you’ll need, as well as how to go about the entire process. So read on for all the information you need to know before taking on this project!
10 Methods on How to Remove Heavy Texture From Ceiling
1. Wet Brush Method
You can use a wet brush to remove the texture. The wet brush will help you reach all the difficult spots to reach when you use a dry brush. When you buy a wet brush, make sure it has natural bristles. These bristles will not damage the surface of your ceiling, and they will quickly pick up the texture.
2. Wear Nonslip Shoes
Heavy textures that have been applied with a roller can be challenging to remove from ceilings. This is especially true if the texture has been applied with a roller that does not nap. You will need to get on your hands and knees and crawl towards them slowly to remove these textures. Wear nonslip shoes when you do this so that you don’t fall off the ceiling.
3. Use a Mild Acid
Before removing heavy textures from your ceilings, make sure that you have all of the other supplies you will need on hand. These supplies should include mild acid, natural bristle brushes, and rags. Wear rubber gloves to protect your skin when you are using acid. Heavy textures on your ceilings are made up of many layers of materials. The first thing you will need to do is remove the surface layer of the material. This can be done by using a chemical stripper and following the instructions on the bottle.
4. Apply a Light Coating of Water-Based Primer
Once you have entirely removed the heavy texture from your ceiling, apply a light coating of water-based primer to it. This will prepare your ceiling for a coat of paint. When choosing a primer, make sure that it is used with water-based paints because this type of primer will not damage the texture.
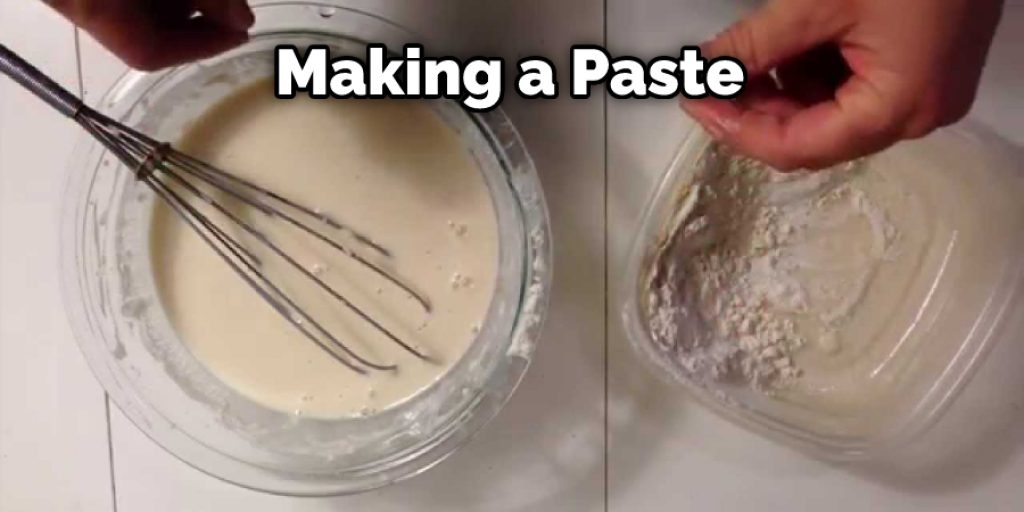
5. Make a Paste From Water and Floor Wax
If you are looking for an alternative to acid, make a paste from water and floor wax instead. Use the same rubber gloves when you perform this task as well. Apply this paste to your ceiling with a putty knife or trowel, cover it with a glass sheet, and let it sit for a few minutes. When you remove the glass sheet, the texture from your ceiling should be gone. TIP! The best way to find out if your plumbing is a source of water leaking is to call your water meter when you are not using any water.
6. Spray With Air Compressor
If you want to strip away all of the texture completely, use an air compressor to do so. You will need a spray nozzle that is adjustable for this job. Set the nozzle on its lowest setting and spray your texture until it is completely gone.
7. Use a Foam Paint Roller
Get a foam paint roller instead if you do not want to use an air compressor. It works in much the same way as an air compressor, but it is less efficient at spraying off the texture. Spray the texture until it is completely gone. Apply a new layer of texture to the ceiling with an air compressor. Begin by pouring some texture onto the tray. Dip the roller into the texture and apply it to the ceiling in long, even strokes. Move the roller in different directions to create different patterns in the texture.
8. Use a Coarse Sanding Pad
Another option for removing texture from a ceiling is to use a coarse sanding pad. These pads can be used with a rotary tool, but they are also available in other forms. When using this method of removing heavy textures from your ceiling, take your time to sand away all of the texture evenly. You may need to use a few different grades of sandpaper to completely remove the texture. Use caution when using power tools as they can easily cause damage to your ceiling.
9. Use an Acid-Based Cleaner
If you are willing to sand down your ceiling, use acid-based cleaner instead of sanding pads or sprays. This type of product can strip away old layers of texture in addition to leaving it behind. Make sure that all traces of the old texture are gone before you paint your ceiling.
10. Scrape It Away
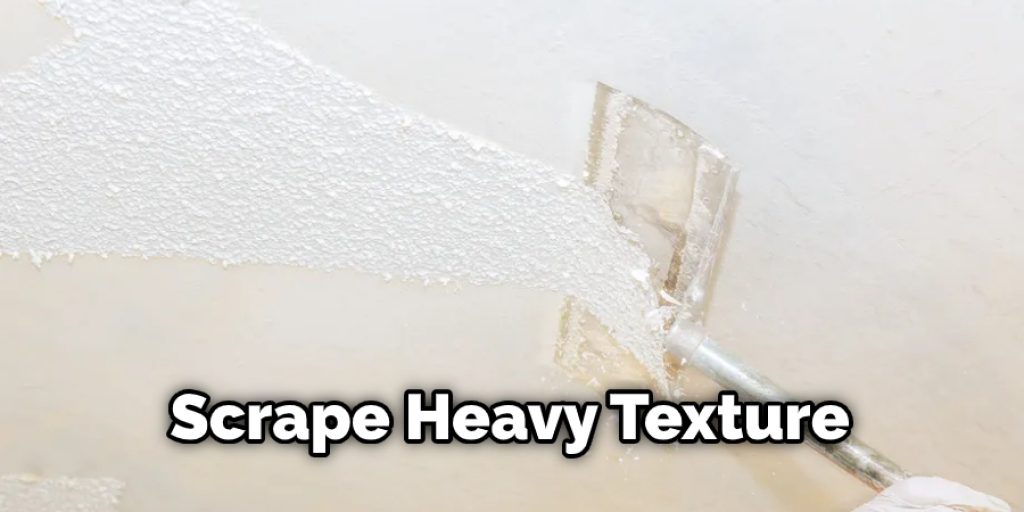
If the heavy texture coating on your ceiling is not very thick, you may be able to scrape it away instead of removing it completely. Use a putty knife or trowel for this task. If you plan to replace it with drywall, you will need to remove all texture traces later. Scraping It Away Start with a heavy-duty putty knife or trowel. If you are not sure if the tools will be strong enough, try testing it on another part of the ceiling.
You can also check out to Paint Water Texture
Some Helpful Tips and Suggestions
1. Make sure to have a pot of boiling water at hand.
2. Use the putty knife to remove small sections of the texture one by one until you have cleared large areas away altogether.
3. The warm, wet rag will help to dissolve the adhesive that might be left behind when you are done with the putty knife.
4. Treat the patch with a primer before you paint it over to avoid any problems with loose particles of texture falling off later on.
5. Protect yourself when removing heavy ceiling texture because this dusty work can trigger asthma attacks in some people. Put on your mask, glasses, hat, and gloves. Keep the windows open during the process to allow dust and fumes to clear out of your home.
6. Work as quickly as you can before the texture dries, but make sure not to rush the job because it might cause damage or leave a mess behind if you try to go too fast.
7. You may need a second person’s help when removing gloves before you start.
How to Remove a Painted Stomp Textured Ceiling?
The painted stomp textured ceiling is a very good finish for ceilings as it gives the room a custom feel and hides imperfections that might be in the drywall or wall. The only issue with this type of texture is removing it because some problems can come up during removal.
To begin with, you will need to know what type of paint was used on the ceiling. This is important because different types of paint create different finishes and have a different amount of adhesion. In addition, you can remove one kind of texture but not another, so it is very important to know the right steps and tools for the job at hand.
You can also check out How to Combine Texture Packs
How to Paint or Resurface a Blown Ceiling?
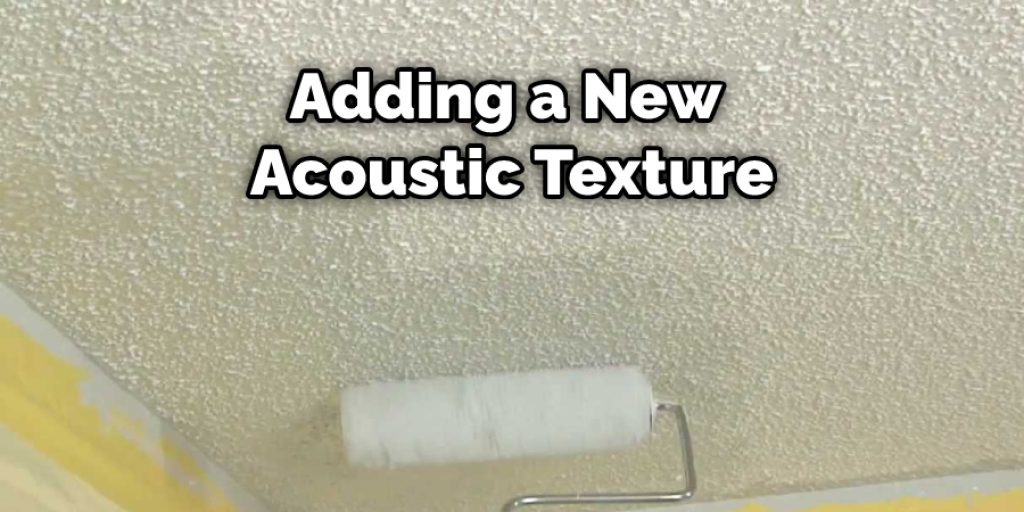
The heavy texture on a ceiling can be applied as a decorative or ornamental element. For example, suppose the homeowner, an exterior decorator, or an architect prefers a plain rather than textured surface. In that case, it is possible to remove the texture in preparation for a smooth coat of paint or another finish. Sometimes, after time has gone by, an owner may change their mind again and want to add a decorative touch to the ceiling.
In preparation for adding a new acoustic texture, it must be removed from the existing surface. Removing the old ceiling texture is not a particularly difficult task. A homeowner or decorator can do it themselves or hire a professional to assist them in the task. Most major home improvement stores carry the necessary tools to accomplish the task quickly and with minimal difficulty.
You Can Check It Out to: Use Gesso for Texture
Conclusion
If you want to remove heavy textures from your ceiling, the best thing you can do is hire a professional. They have experience and know exactly what they’re doing. Just be sure to ask for their credentials before hiring them so that you don’t get scammed!
You should also make sure not to let any textured paint dry on your walls or flooring, as it will only cause more headaches when trying to clean up later down the road. We recommend taking care of this project sooner rather than later for all of these reasons. We hope this blog post on how to remove heavy textures from the ceiling has been helpful. If you have any questions or want to know more, then feel free to comment below!


