
How to Connect Led Lights to Alexa
LED lights are becoming more and more popular in homes across the globe. Not only are they affordable, but they also offer a range of benefits over traditional lightbulbs. This blog post explains how to connect led lights to alexa.
As technology advances, so do the ways we can make our lives easier. With devices like Amazon’s Echo and Alexa, it’s now possible to control many aspects of your home using just your voice. Alexa is a voice-activated personal assistant developed by Amazon.com. You can use Alexa to control various smart devices in your home, including Philips Hue lightbulbs.
Here, we cover everything from selecting the right light bulb to setting up voice commands. By following these simple steps, you’ll be able to control your LED lights with ease. Let’s get started!
What Are the Benefits of Connecting Led Lights to Alexa?
1. Convenience: With voice control, you can turn your lights on or off without interacting physically with a switch or remote. This is especially useful when your hands are full or if you’re lounging in bed.
2. Energy efficiency: LED lights use less energy and last longer than traditional lightbulbs, helping to save both the environment and your wallet in the long run.
3. Customization: Using Alexa, you can dim your lights, change their color, and even set timers for them to turn on or off automatically.
What Do You Need to Connect Led Lights to Alexa?
1. A compatible smart device such as Philips Hue lightbulbs, an Amazon Echo (or a similar device such as Google Home).
2. A wireless internet connection and a smartphone or tablet where you can download the Alexa app.
3. The Philips Hue bridge is the central hub for your smart lighting system. This device connects to your router and allows Alexa to control your lights.
10 Easy Steps on How to Connect Led Lights to Alexa
1. Buy LED Light:
First, make sure you have the right LED light bulbs. Look for ones that are compatible with your smart device and Alexa. Philips Hue is a popular option, but many others are available on the market.
2. Install Light Bulbs:
Once your LED lights arrive, install them in the appropriate fixtures around your home. To install the Philips Hue bulbs, simply screw them in like a regular light bulb. Make sure they are turned on and within range of your wireless internet.

3. Connect Bridge:
Next, connect the Philips Hue bridge to your wireless router using an Ethernet cable. This device is the central hub for your smart lighting system and allows Alexa to control your lights. Be careful to follow the instructions that come with your specific bridge.
4. Download Alexa App:
Download the Amazon Alexa app onto your smartphone or tablet, and sign in with your Amazon account information. This is where you will set up and control all of your smart devices, including your LED lights.
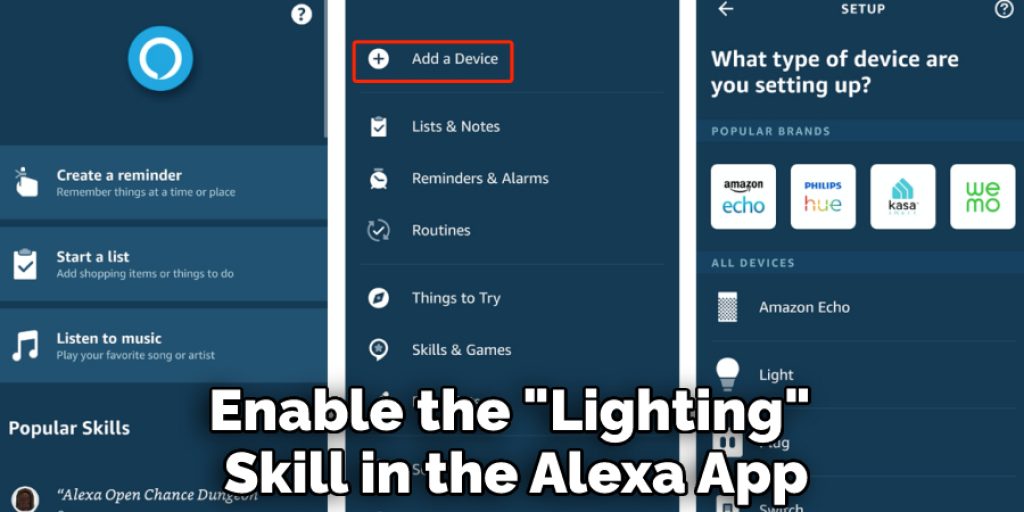
In the Alexa app, go to the menu and select “Add Device.” Then, follow the on-screen instructions to set up and connect your Philips Hue bridge to your wireless network.
5. Open Smart Home Section:
In the Alexa app, open the “Smart Home” section and select “Add Device.” Follow the on-screen instructions to add a new device (in this case, it will be the Philips Hue bridge). Another option, you can ask Alexa to “discover devices.”
6. Discover Light Bulbs:
Once the bridge is successfully connected, it’s time to add your LED lights. In the Smart Home section of the Alexa app, select “Discover Devices” and wait for the app to find and add your light bulbs to the system.
7. Name Your Lights:
Now that your LED lights are added to the system give them personalized names in the Smart Home section of the Alexa app (such as “kitchen lights” or “bedroom lamp”). This will make it easier for you to control them with voice commands later on.
8. Set up Voice Control:
To control your LED lights using just your voice, you’ll need to enable the “Lighting” skill in the Alexa app. Simply search for it in the Skills section and follow the steps to set it up.
Now, you can ask Alexa to turn on or off specific lights or groups of lights (using the names you assigned earlier). You can also dim or brighten the lights, change their color, and set up schedules for them to turn on or off automatically.
9. Explore More Features:
The Philips Hue app (available for download on your smartphone or tablet) offers even more options for customizing and controlling your LED lights. Experiment with different settings and have fun creating the perfect lighting for any occasion.
10. Enjoy Your Smart Home:
Now that you have your LED lights successfully connected to Alexa, it’s time to sit back and enjoy the convenience of a fully integrated smart home. Use voice commands or the Alexa app to control your lights from anywhere in the house, or even when you’re not home.
By following these ten steps, you can easily connect your LED lights to Alexa and enjoy the convenience of a fully integrated smart home. Happy lighting!
7 Additional Tips and Tricks
1. If you have multiple smart home devices, consider setting up “routines” in the Alexa app. This allows you to control multiple devices with just one command (such as saying “Alexa, good morning” to turn on the lights, start a coffee maker, and play your favorite morning playlist).
2. You can also use Alexa to control your LED lights while away from home by enabling the “Remote Control” setting in the Alexa app.
3. Use the Philips Hue app to set up different “scenes” or pre-set lighting combinations for specific activities or moods (such as a cozy reading scene or an energizing workout scene).
4. Group your LED lights into different rooms or zones for easier control. For example, you can say, “Alexa, turn on the kitchen lights” without affecting the lights in other areas of your home.
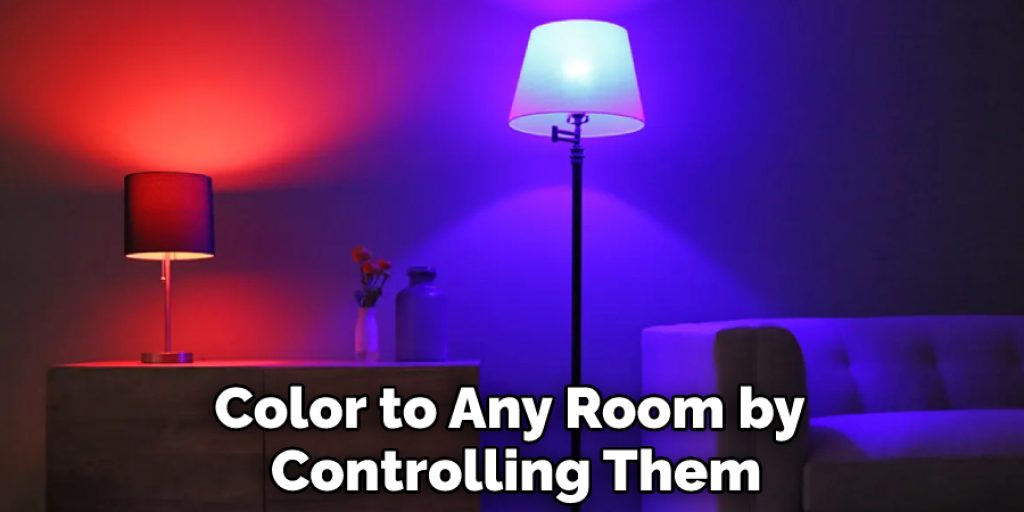
5. Use LED strip lights to add a fun pop of color to any room by controlling them with Alexa voice commands or the app.
6. Consider using smart light bulbs with adjustable color temperatures to help improve your sleep or productivity. You can set a schedule for the lights to gradually brighten in the morning and dim at night.
7. Explore third-party Alexa skills, such as “Party Lights” or “Ambient Lighting,” to add even more fun and functionality to your LED light setup.
These tips and tricks can help enhance your experience by connecting LED lights to Alexa for a truly smart home.
7 Precautions You Can Take
1. Make sure to follow the manufacturer’s instructions for installing and setting up your LED lights to avoid any damage or safety hazards.
2. Keep your smart home devices, including LED lights, updated with the latest software for optimal performance and security.
3. Remember to secure your Wi-Fi network and all smart home devices with strong passwords to prevent unauthorized access.
4. Consider setting up a separate guest network for visitors, so they can control the LED lights in their room without compromising your own network security.
5. Use multi-factor authentication when available, adding an extra layer of protection for your smart home devices and network.
6. Research and understand the privacy policies of your smart home device manufacturers to ensure they are collecting and using your data responsibly.
7. Regularly review the devices connected to your network, removing any that are no longer in use or trust. This can help prevent potential security breaches.
Taking these precautions can help ensure a safe and secure experience with your connected LED lights and other smart home devices. Happy connecting!
You Can Check It Out Connect Portable Generator to House without Transfer Switch
How Can You Control LED Lights from Outside the Home?
1. Enable the “Remote Control” setting in the Alexa app to control your LED lights from anywhere with an internet connection.
2. Use a smart plug or outlet to turn on and off LED lights remotely through the corresponding app or voice commands with Alexa.
3. Install smart switches or dimmers to remotely control individual LED lights or groups of lights.
4. Set schedules and timers for your LED lights through the app or Alexa to turn them on and off while you’re away from home.
5. Make sure to secure your Wi-Fi network and all smart home devices with strong passwords to prevent unauthorized access while controlling your LED lights remotely.
You Can Check It Out Connect Nintendo Switch to Roku Tv

Conclusion
This blog post showed you how to connect your LED lights to Alexa. We went over the basic requirements and then walked you through the process step-by-step.
In conclusion, connecting your LED lights to Alexa is very easy. You just need the right smart bulb and a compatible device. By following the instructions above, you can easily do it yourself without hiring a professional. With LED lighting, you can save money on your energy bill and have more control over the ambiance of your home.
Now that you know how to connect led lights to alexa, go ahead and try it out for yourself! With these simple steps, you can control your lights with voice commands. Give it a try today and see how convenient it is!


