
How to Correct An Oversized Air Conditioner
Introduction:
Many people are unaware of this, but the size of your air conditioner is significant to maintaining comfortable temperatures in your home. However, having an oversized unit can result in high energy bills, constant overworking, and, more importantly, uncomfortable temperatures- even too much humidity at times!
That’s why you must have a trained technician check the size of your current AC unit before buying or installing a new one. In this article, I will discuss how to correct an oversized air conditioner. So let us get started.
Downsides of an Oversized Air Conditioner:
There are several downsides to having an oversized air conditioner. The biggest downside is that it will run much more frequently than necessary, using more electricity and costing you significantly more money in the long run.
The other issue is that if your system isn’t large enough, it won’t be able to keep up with cooling your home during extreme weather conditions. This means that parts of your home may not get cool enough, leading to uncomfortable living conditions or additional strain on the system trying to cool down hot spots.
Make sure to turn off all accessories on the unit, such as the AC and heat. This is to prevent accidentally breaking or burning something while performing this task.
How to Determine if You Have an Oversized Air Conditioner?
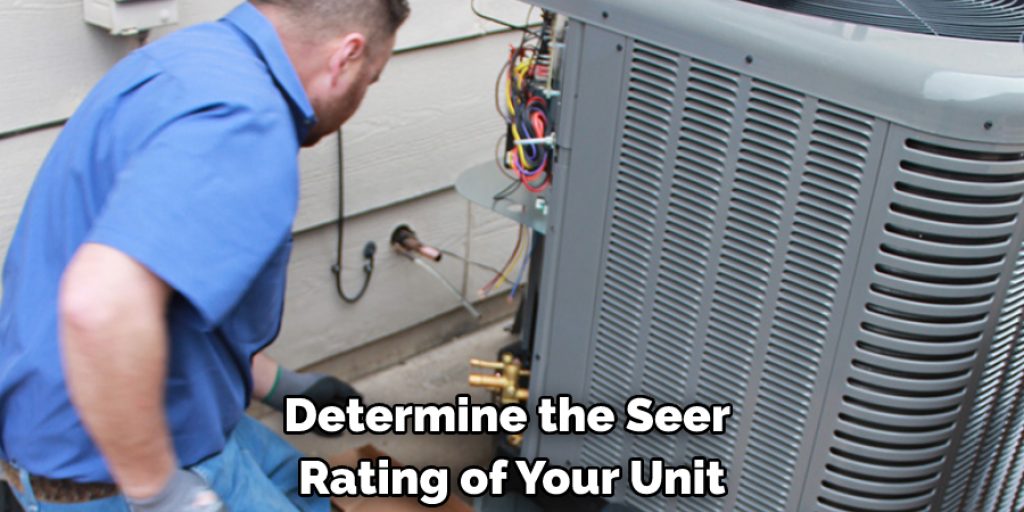
An easy method for determining if you have an oversized unit is simply looking at your current energy bills. If you notice that your energy costs are much higher than usual and significantly higher in the summer, there’s a good chance that you may have an oversized air conditioner. To determine the SEER rating of your unit, divide EAC by EER.
For example, if your cooling system has a 10 EAC and a 12.2 EER, the equation would be ten divided by 12.2, which equals 0.869 or rounded up .88 (eighty-eight point nine percent). The resulting number will give you a quick idea of whether your air conditioner may be oversized.
If Energy Costs Are High, Do Not Overlook the Air Conditioning System:
Your air conditioning system is integral to your home’s comfort and safety. If you feel that something isn’t quite right with your cooling system, don’t hesitate to get it inspected by a professional who can help determine the cause of your high energy bills.
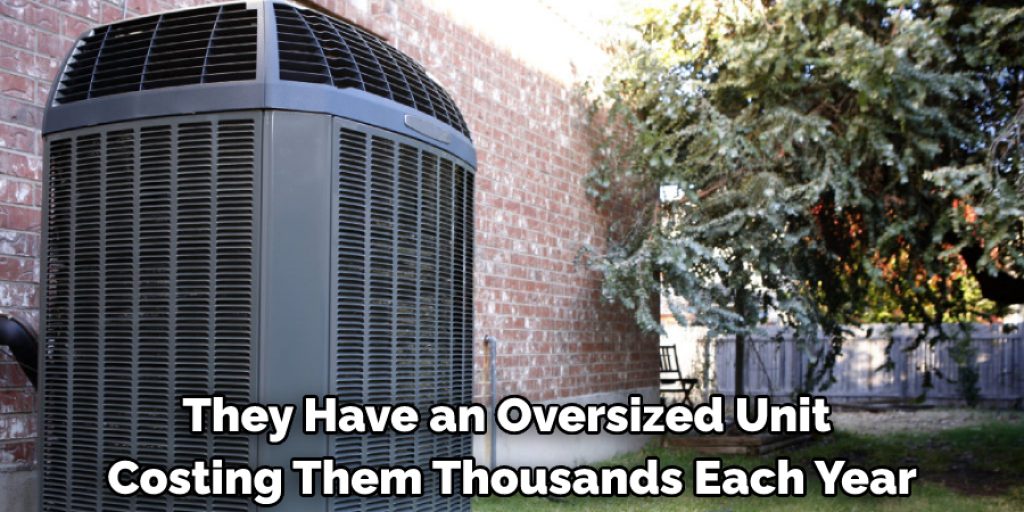
Sometimes people assume that their expensive summer energy costs are due to faulty insulation or poor windows. In reality, they have an oversized unit costing them thousands each year.
Stepwise Guide on How to Correct An Oversized Air Conditioner:

A. Basic Troubleshooting:
1. Verify the AC unit is not running in fan mode only by checking that the compressor is running. If the compressor is not running, check for tripped breakers or blown fuses in the circuit the unit plugs into.
2. Check the house thermostat to confirm it’s set at an incredible temperature-most likely lower than what you are trying to achieve with the unit installed. For every degree cooler you want in your home, add 1 BTU of cooling capacity to your AC-unit size calculations (So if you wish to 70 degrees F, select an AC unit with slightly over 7000btu).
This way, when you set it at this temperature, assuming closed doors/windows are closed, the unit will not constantly cycle on/off until it has reached this temperature.
3. After your home is cooled to the desired temperature, give 24 hours for the AC unit to stabilize at room temperature while running in fan mode only (not compressor mode). During this time, be wary of the system to ensure that no leaks or other problems arise. After 24 hours, switch to your desired cooling programmable settings and verify that the compressor turns on/off accordingly.
4. If the above steps fail, get a qualified technician to help correct wiring issues or design issues before moving on to Step B below…
B. Wiring Troubleshooting:
1. Verify that the entire house is tied to 1 dedicated 20 amp circuit breaker by checking the panel. If there is no dedicated circuit, get one installed by an electrician and reset the breaker to the newly created dedicated circuit.
2. Check house wiring for proper voltage, considering it’s tied to a dedicated 20 amp circuit (if under 18 amps-it can be undersized). If the voltage is too high or low, get the problem fixed by an electrician before moving on to Step C below…
3. Verify that the wire connecting the outside compressor unit to the inside box has capacity according to the size of the wire/circuit (Most likely already this size, but if not, make sure).
4. Verify that all wiring connections are tight and secure between the outside box and inside and outside units(compressor & fan). If links appear loose or damaged, replace them as needed with proper gauge wire and 3-wire connection (white, black, and the green wire in most units).
5. If the above steps fail, get a qualified technician involved to help correct wiring or design issues before moving on to Step C below…
C. Design Troubleshooting:
1. Verify that the outside AC unit is not oversized, considering the size of a house in total square footage. If you purchased a big unit without knowing this beforehand, check if it can be returned for one that fits your needs.
2. Check room dimensions to see how many BTUs per sq ft are required according. Ensure room meets min/max requirements set forth by the chart. If room dimensions are smaller/larger than chart min/max, then size unit accordingly.
3. Ensure windows and doors are closed when cooling the house to avoid rooms becoming pressurized while cooling, keeping cool air in these rooms rather than circulating throughout the whole home.
4. Ensure that there is no heat gain coming from any other source that will interfere with the proper performance of the AC unit (i.e., gas stove, lights near window-if too close, etc.)
5. If the above steps fail, get a qualified professional to help design a system for your specific needs.
Precautions While Correcting An Oversized Air Conditioner:
1. Always wear protective clothing when working around the unit.
2. Locate the air conditioner in an open area near a wall with at least one foot of room around it so that you can easily access the backside to install extension valves and piping for installation.
3. Use proper size hammer or rubber mallet for disassembly, especially when removing screws from panels and weather stripping if required. Smaller plastic wedges are adequate for loosening/tightening joints without creating scratches on materials used in assembling.
4. Do not obliterate any screws because they may fall within the AC’s coils where they cannot be recovered, thus causing improvisation later on during re-installation, which might lead to malfunctioning of the unit. Always keep screws, nuts, and bolts in a tray for proper re-assembly and avoid using leftover components from the old unit since they might not be compatible with a new one.
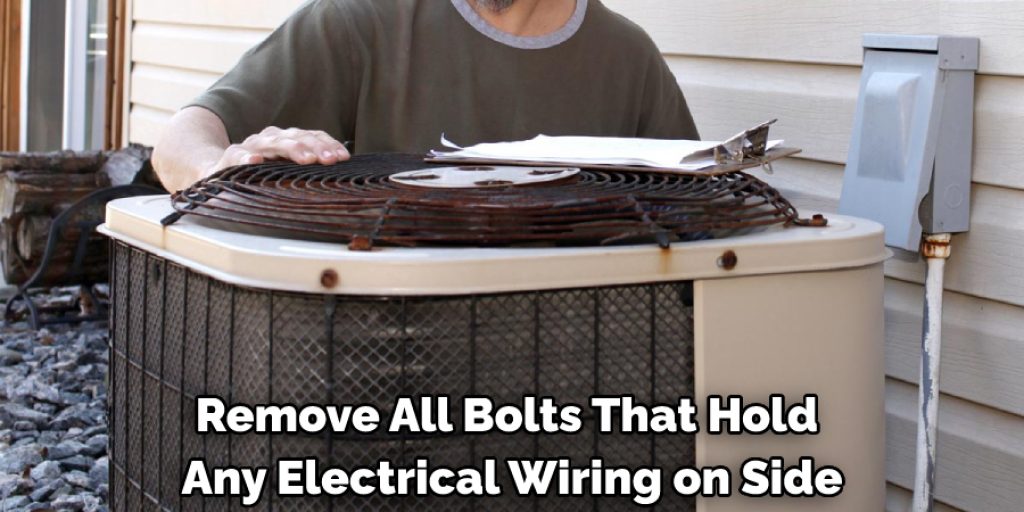
5. When removing screws attaching panels to side rails, remove them only enough for the panel to come out because the remaining ones may be holding tight enough and need more force than they can handle. Also, remove all bolts that hold any electrical wiring on the sides and those securing compressor on the bottom to disconnect completely before working further.
6. Use correct size wrenches around rotating parts. Otherwise, you will end up causing damage either through overtightening or loosening, resulting in leaking joints later on, which causes water damage inside the building after some time.
7. Upon completing the task, do not forget to remove all protective clothing.
8. Never pour water or any other liquid into the unit unless instructed otherwise by the manufacturer.
9. Never install the unit without checking for correct operation using the safety lock pin provided with it, which ensures that the compressor cannot run when power is ON. Else you will end up causing damage to the refrigerant circuit.
10 Do not open the refrigeration system until the gas has escaped entirely. It might explode, releasing harmful fumes during re-installation, which might cause injury if proper care is not taken while working around an active cooling system. It is advised to remove external housings before doing so and cover the exposed area with plastic sheeting for insulation purposes with the help of experienced people.
Ideal Dimensions for Air Conditioner:
1) Width:
The standard width of a window AC unit is between 15 and 24 inches. Remember to measure the narrowest part of your window frame, as this will be where you’ll need to fit your new AC unit.
2) Height:
Regarding the height, you want about 10 inches of space above your window AC unit for it not to look awkward or bulky. It’s also preferable that the top edge of the air conditioner is flush with the top of your window frame.
3) Depth:
You can choose an AC size according to how far back your current cabinet or shelf is from the wall. Make sure you take measurements before purchasing! A rule of thumb when measuring depth is to subtract 11 inches from the width. For example, if your window frame is 24 inches wide, purchase an AC unit that’s about 13 inches deep.
4) Manufacturer & model:
While the information above should help you determine what size air conditioner to purchase, it’s also important to note that each brand and model varies slightly in terms of dimensions. Some brands may be either broader or narrower than others, so take measurements of your window and the unit itself before deciding which air conditioner will work best for you – to be sure!
Conclusion:
I hope this article has given you all the necessary information on correcting an oversized air conditioner. Thank you, and have a nice day!


