
How to Cover a Round Box With Fabric
This post will teach you how to cover a round box with fabric. Many types of fabrics can be used for this tutorial, but the best one is often considered upholstery fabric.
This type of fabric has a nap that goes in one direction, making it an easy choice when covering boxes because it won’t fray or peel off after being wrapped around the box. For more information on choosing the best material for your project, see the following blog post.
7 Ways To Cover a Round Box
1. T-shirt Quilt:
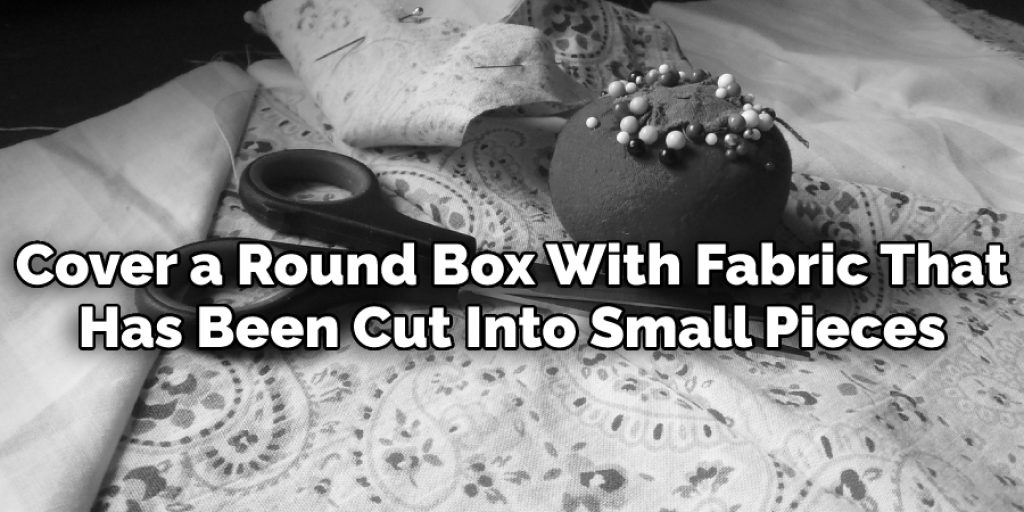
Turn your old t-shirts into something new and stylish by making a t-shirt quilt! Cutting the fabric into small pieces and then covering a round box is not too difficult, but it is time-consuming.
2. Fabric Covers with Ribbon Edge:
This method is the most difficult of all because it involves hand-stitching. It’s time-consuming but ultimately worth the effort because it looks very professional. In addition, this is a great way to cover boxes that will be handled often.
3. Heat and Bond:
Heat and bond work beautifully for covering boxes. You won’t have to worry about embroidering the edges or having a facing. The only downside is that you will need to find heat and bond adhesive, which may be difficult for some people to locate.
4. Fabric Covered Box:
This method takes a lot of time, but it also looks great when finished! A fabric box is great for storage purposes because it’s sturdy, well-made, and stylish.
5. Fabric Poufs:
This method is essentially the same as the fabric-covered box; however, it isn’t as expensive for larger projects. It also has its own set of unique benefits that make this method perfect for various situations.
6. DoodleQuilting:
DoodleQuilting is a fun way to cover boxes. It adds color, pattern, and design to your decor while adding texture and dimension. This method can be very time-consuming, but the result always looks great!
7. Burlap Fabric Boxes:
Burlap is all the rage right now, and this fabric makes a great covering for a round box. It comes in many different colors and patterns. When covering boxes with burlap, it’s important to be mindful of your design because you may not cover over mistakes.
You Can Check It Out To Cut a Circle in Fabric
Things You’ll Need To Make Round Box:
1. Cardboard Box
2. Craft Knife/ Box Cutter
3. Ruler/ Measuring Tape
4. Fabric
5. Pins/ Needles
6. Glue/ Sewing Machine/ Iron
Steps To Follow: How to Cover a Round Box With Fabric
Step 1: Get the Fabric-Ready
Take your round box and measure the height and circumference to get an idea of how much fabric you will need. First, measure the height of your box in inches. Multiply that number by 3.14 to find out the circumference of your round box. Then measure the width and length needed for the fabric piece opening. You will need two pieces, one for the top and bottom panels. For each piece, add 1-2 inches to the length and width.
Step 2: Pin & Sew Fabric Pieces
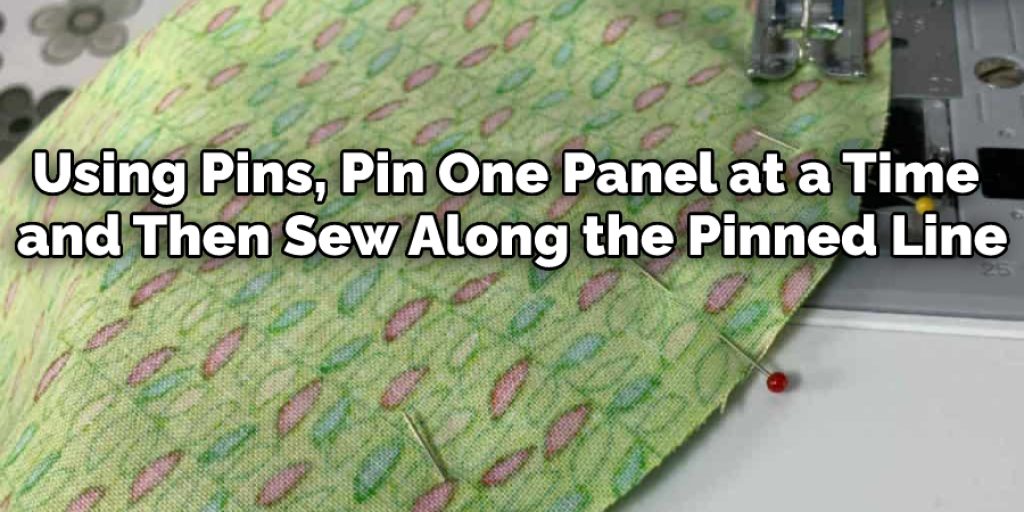
Fold your fabric in half so that the wrong side faces out, then place it over the box opening. Use a pencil or pen to mark where you need to pin on each piece of fabric. Using pins, pin one panel at a time and then sew along the pinned line.
Step 3: Cover the Box
Remove pins from one of the panel pieces and place it face down over your work surface. Next, place the box on top of this fabric piece, lining up the raw edges of the fabric with each other, and then place a heavy book on top to hold everything in place, then place the second fabric piece on top of this raw edge.
Using a sewing machine, sew along the remaining three edges to attach them. Leave a gap between the top and bottom pieces that is roughly 2-3 inches wide. This will create an opening to turn your box inside out.
Step 4: Turn Inside Out
Cut a small slit along the top folded edge of your fabric using a pencil or pen. Next, carefully cut along this line with scissors, stopping when you hit the stitching line. Then, turn the fabric inside out and pull all four corners until they meet up using both hands.
Step 5: Press & Stitch Top Edges
Press all four fabric edges for your box cover using a hot iron, so they are flat and even. Then, using matching thread, stitch along each seam to give the top of your round box cover a clean, finished look.
Step 6: Make & Attach Handle
Using some scrap fabric, cut two rectangles that measure 2 inches by 12-inches. Fold each rectangle in half and press to make a crease, then open back up and fold the edges of one side into the center to create your handle shape. Then sew along the edge to hold this shape together. Punch two holes at either side of the handle, and then attach them to your box using a strong thread.
Step 7: Add Ribbon to Top Panel of Box
Cut two pieces of ribbon that are the same length and string them through the top panel hole(s) on your box cover. Knot both ends at either side so it can’t slip loose and use hot glue to hold each knot into place. You may need to trim some ribbon ends before you glue them into place so you don’t end up with too much excess ribbon that isn’t attached to your box.
Step 8: Admire Your Finished Box Cover
Your new fabric-covered round box is ready for use. Personalize it by using different color schemes or gluing on some buttons, beads, or other embellishments to make it unique.
You Can Check It Out To Make Fabric Pumpkins with Real Stems
Conclusion:
When you’re ready to cover your round box with fabric, the best thing that you can do is take a deep breath and start sewing. You’ll want to use pins or clips as needed so the fabric doesn’t slip around on top of the box before it’s hemmed in place.
Sewing isn’t always easy, but there are plenty of resources online for beginners who need some guidance now and then. For example, you now know how to cover a round box with fabric. If you want more information, check out our blog for additional tips and tricks on sewing!
You May Read Also – How to Cover Cord with Fabric
Elizabeth Davis
Elizabeth is a creative writer and digital editor based in the United States. She has a passion for the arts and crafts, which she developed from a young age. Elizabeth has always loved experimenting with new mediums and sharing her work with others. When she started blogging, she knew that DIYquickly would be the perfect platform to share her tutorials and tips. She's been writing for the blog from the beginning, and her readers love her helpful advice and easy-to-follow instructions. When she's not writing or editing, Elizabeth enjoys spending time with her family and friends.


